The workshop guide to disassembling a bike
By Steve Cooper, VJMC Editor
Yes I know I’m a predictable mug, a sucker for a bargain that’s anything but an inveterate lover of small two strokes, but that’s just me I guess! Some years ago I got the nod regarding an AS1, Yamaha’s seminal 125 cc sports twin and even though I was locked in an apparent life-or-death struggle with the Suzuki Stinger I ‘had to have it’. You know that feeling where the project will inevitably be protracted but deep down you’ve always wanted one? No? Oh, it’s just me then! Anyway, the poor little bike had spent more than two decades in a wet Welsh coal cellar; an environment not best known for its preservative properties. Better still, the engine had stopped working and the owner had taken it apart then given up. Knowing how often I counsel would be restorers not to buy any bike in boxes you’d think I’d listen to my own advice but obviously not. Long story short, the bike cost me £75 to buy and £100 to get to my old workshop.
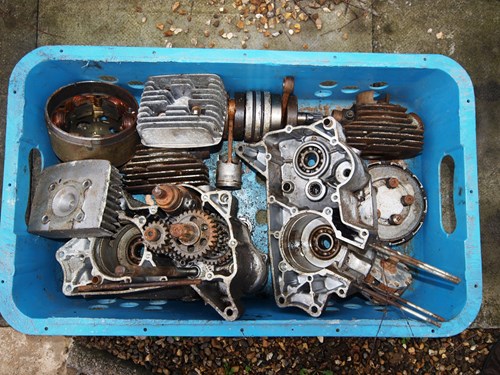
When it arrived it had to be dragged, literally, out of the back of the Mercedes Sprinter by virtue of both wheels being seized. Several old storage boxes accompanying the bike carried the engine and gearbox, an assortment of panels, exhausts and other random ephemera. A severe and protracted talking-to session ensued twixt brake drums and a large, angry, dead blow mallet and finally, the brake shoes gave up their vice-like grip. The AS1 was then wheeled into the workshop, liberally hosed down with ACF-50 then inspected for any obvious signs of damage. Once moderately certain the bike wasn’t about to fall apart under my weight, a plan was hatched that would, hopefully, deliver a working, if not pristine, Yamaha AS1.
Many a pleasant weekend was spent rooting through the various parts, assessing and evaluating the serried rotten remains until I was convinced the project was viable. And every so often the now-rolling chassis was squirted with more ACF-50; every visible bolt, each butchered crosshead screw, rust encrusted nuts…absolutely anything with threads was sprayed. Occasionally we had a laying-on-of-the-spanners session, more in hope than expectation and very gradually threads began to ease. In the meantime, I’d cynically dropped the box of engine parts into the back of a mate’s van at a Stafford show. He knows AS1s inside out and better still had lots of parts available. When he confirmed the engine was repairable I knew it was game on; we had a viable project and not a spares donor. Now it was time to break the bike down ready for restorations.
“Can you have a look at this for me, please? Can I leave it in your capable hands?” He isn’t best pleased but….
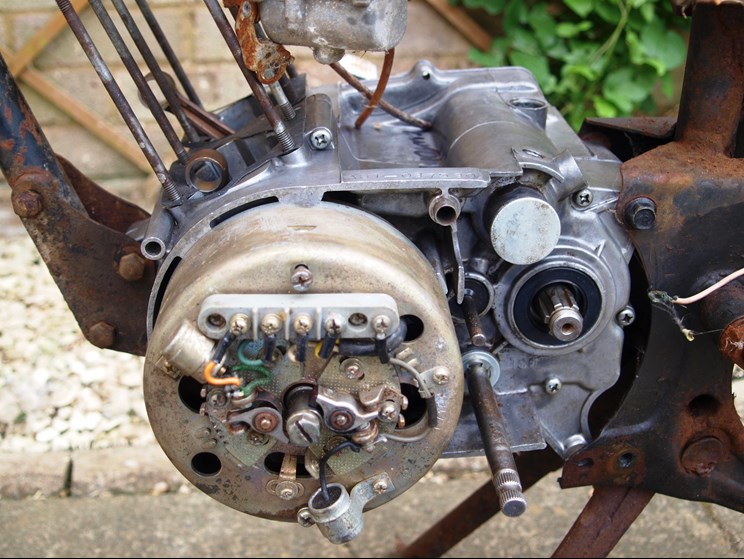
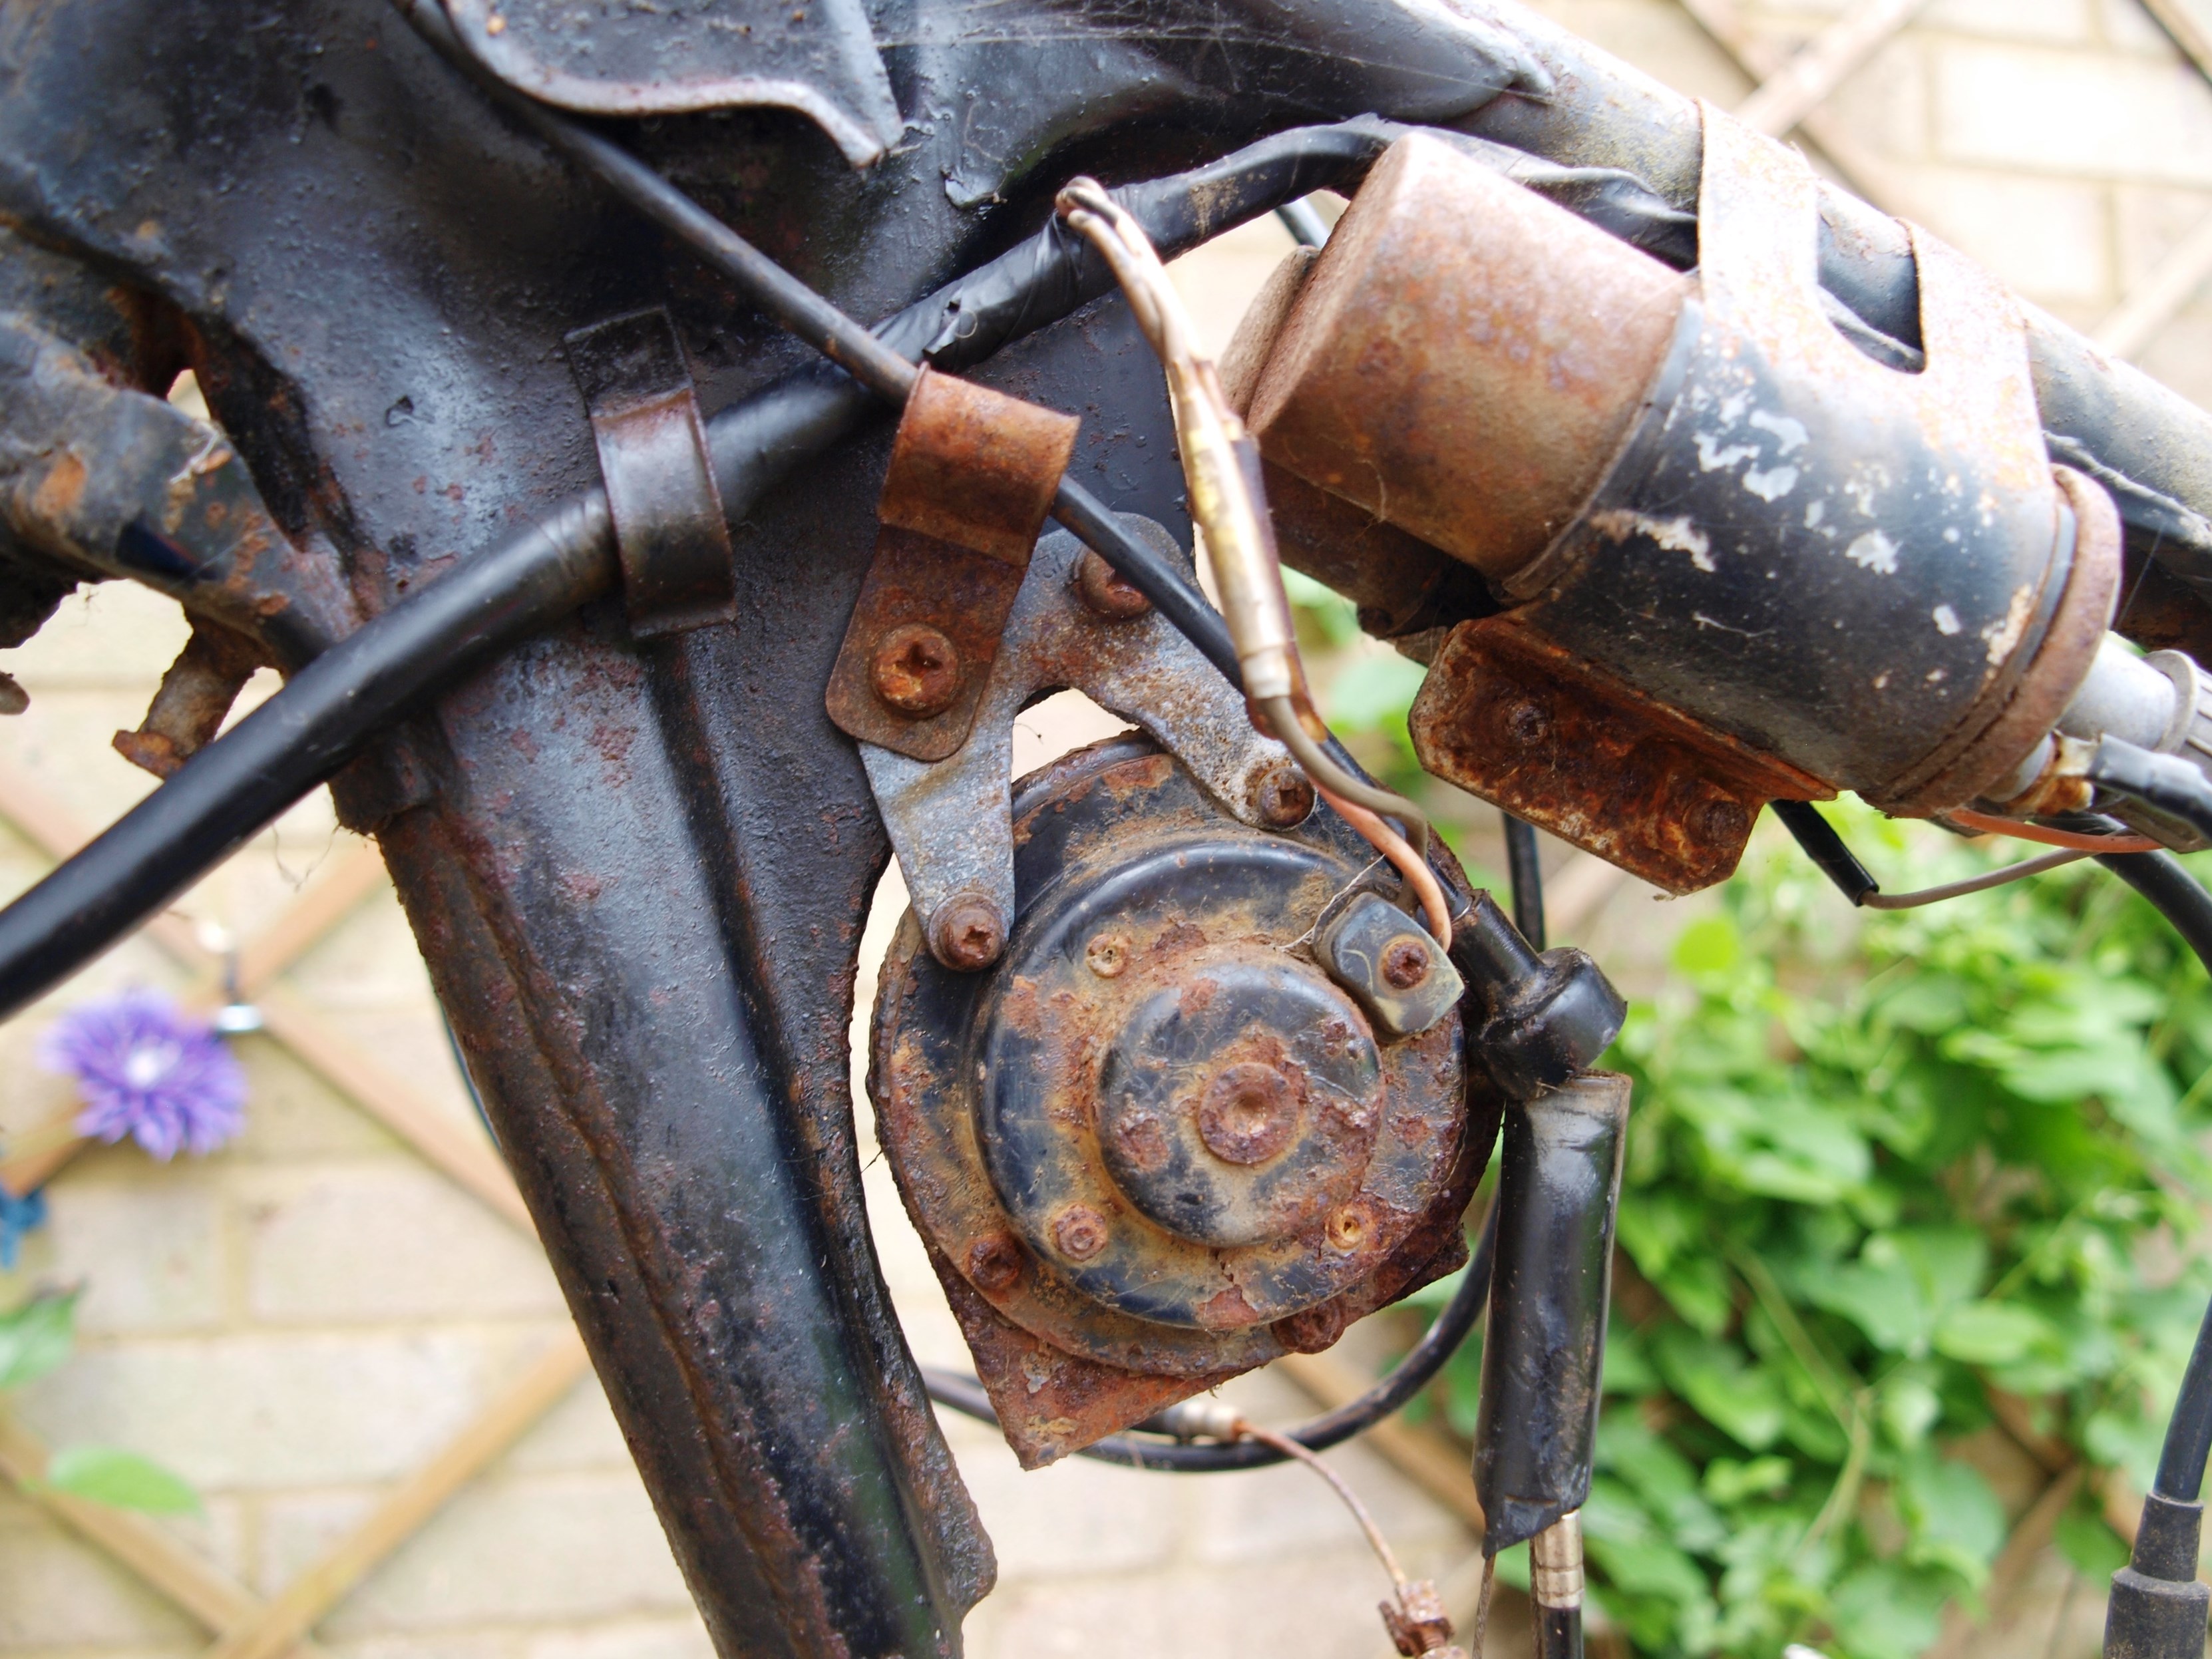
… the motor has miraculously been revived and is now sitting in the frame ready for a sanity check. The front and the top rear engine mounts confirm that everything fits as it should, suggesting the frame isn’t falling apart.
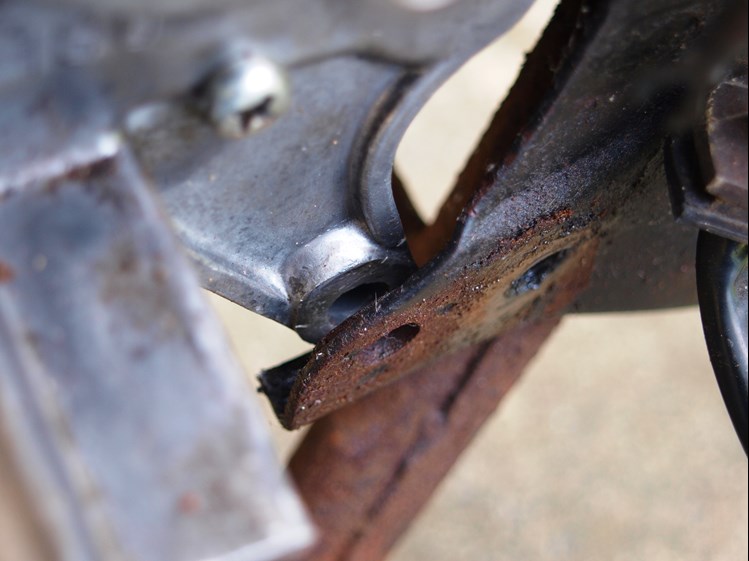
However, the lower rear mount has been sprung open and will need to be knocked back into place before the frame is painted.
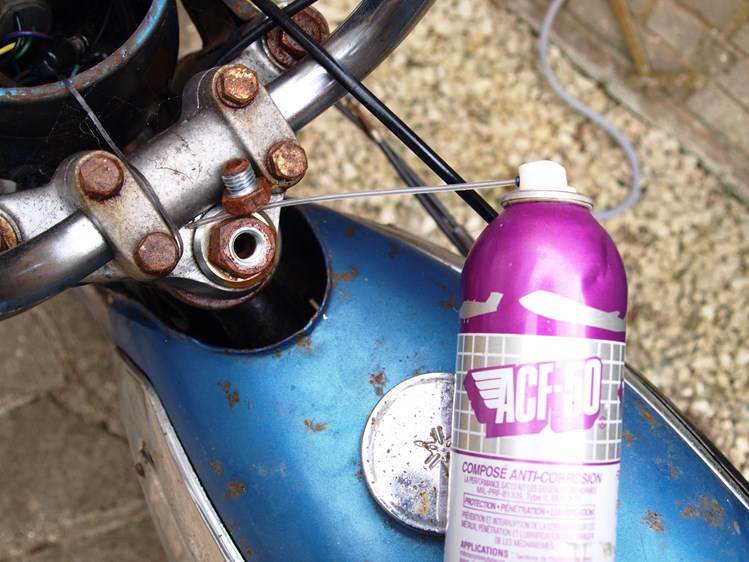
Unashamed plug for ACF-50; sorry but nothing I have used comes anywhere near this stuff’s ability to deal with corrosion. Repeated applications and patience in between consistently deliver positive results like this.
I’m resisting the temptation to overexert leverage or I may shear off fixings which is not the desired outcome. Eventually, it gives in.

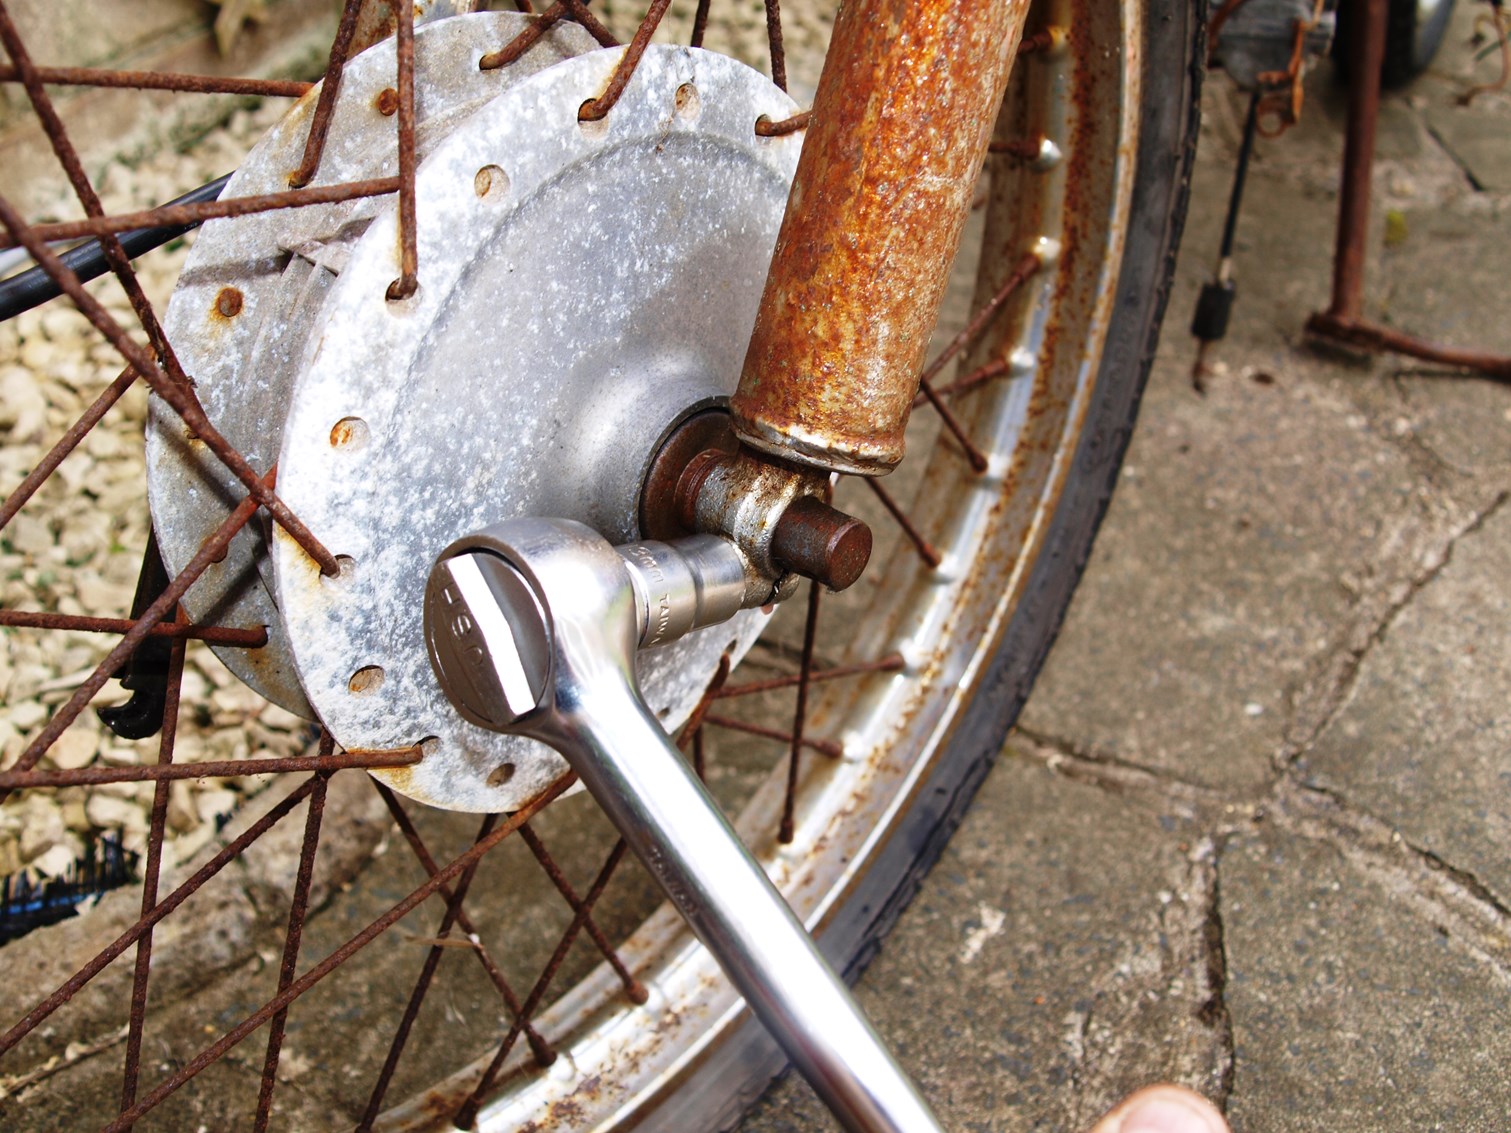
Clamp bolt out, it’s time to apply so more leverage via the tommy-bar hole in the wheel spindle. This should loosen/free off the axle from the hub bearings and spacer tube.
With the axle nut wound on just a few turns, it’s possible to strike it with a dead blow mallet and not damage the threads.
With the tank off there are a lot more small fixings that will need freeing off. Spot the welded-on loom guide bracket top left; easily damaged but hard to repair. Note to self, don’t rip the loom out of here numpty!
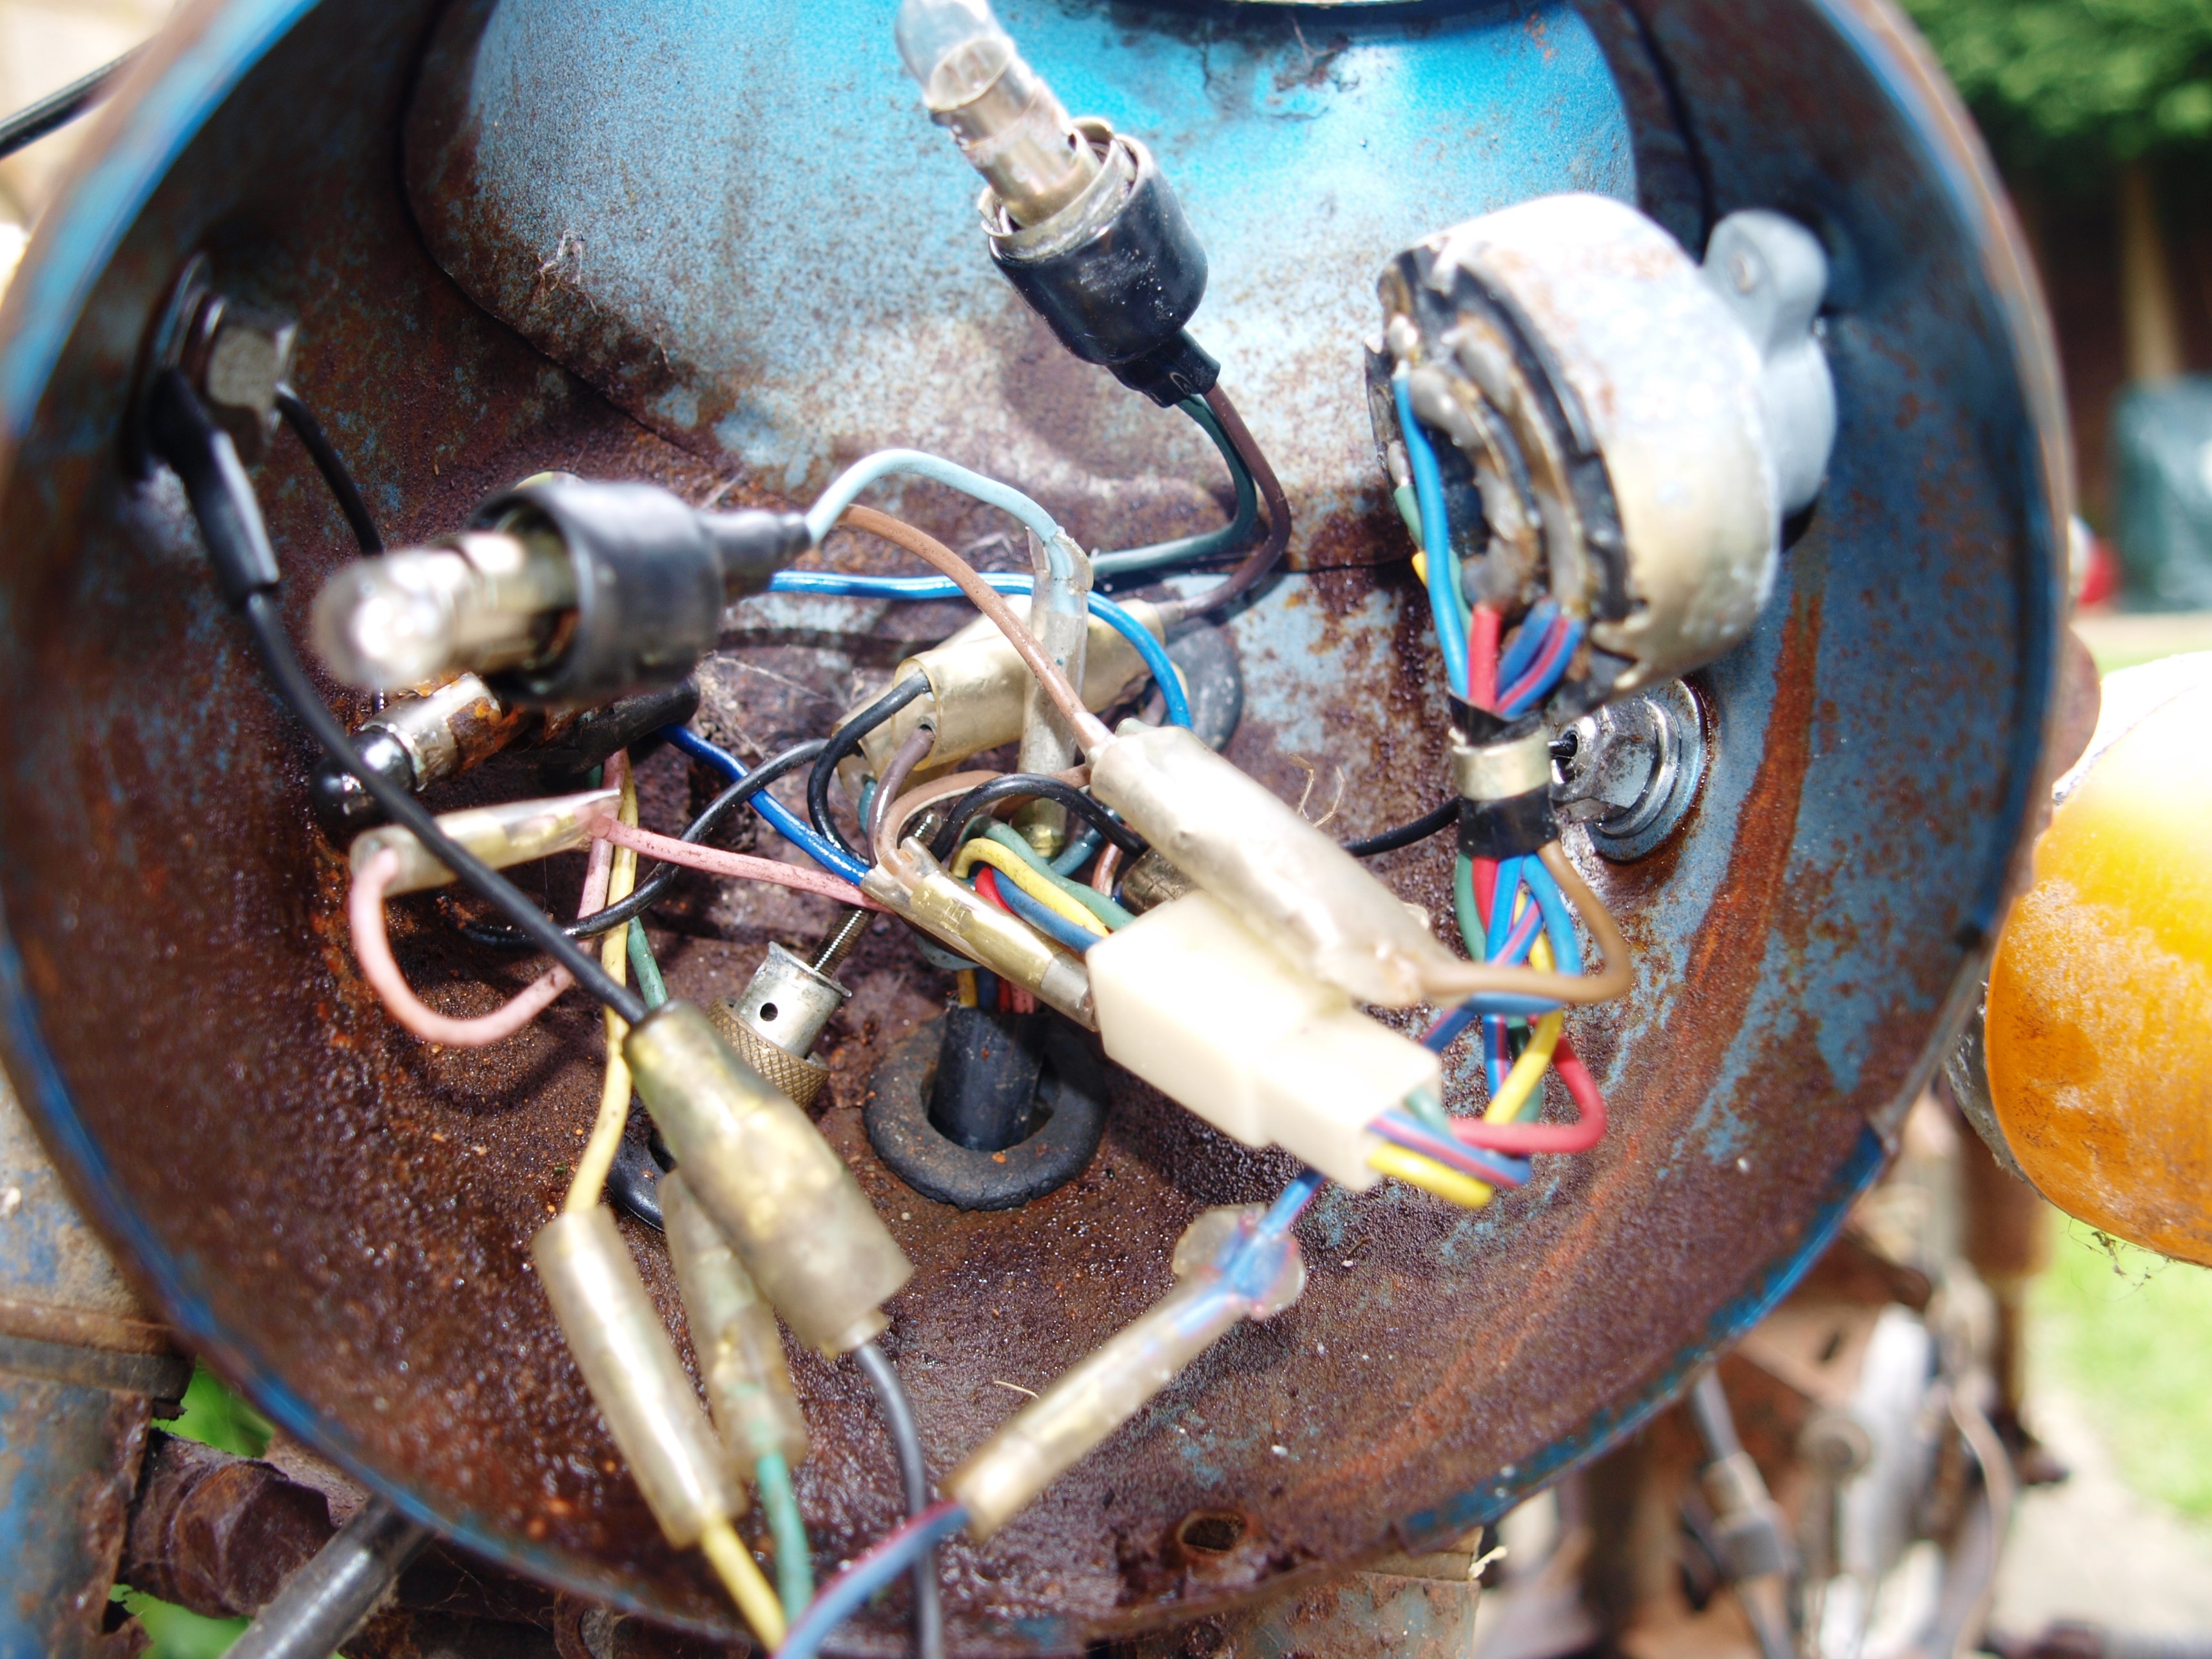
An accurate photographic record of what goes where in the headlight bowl should ensure minimal hassles come at rebuild time.
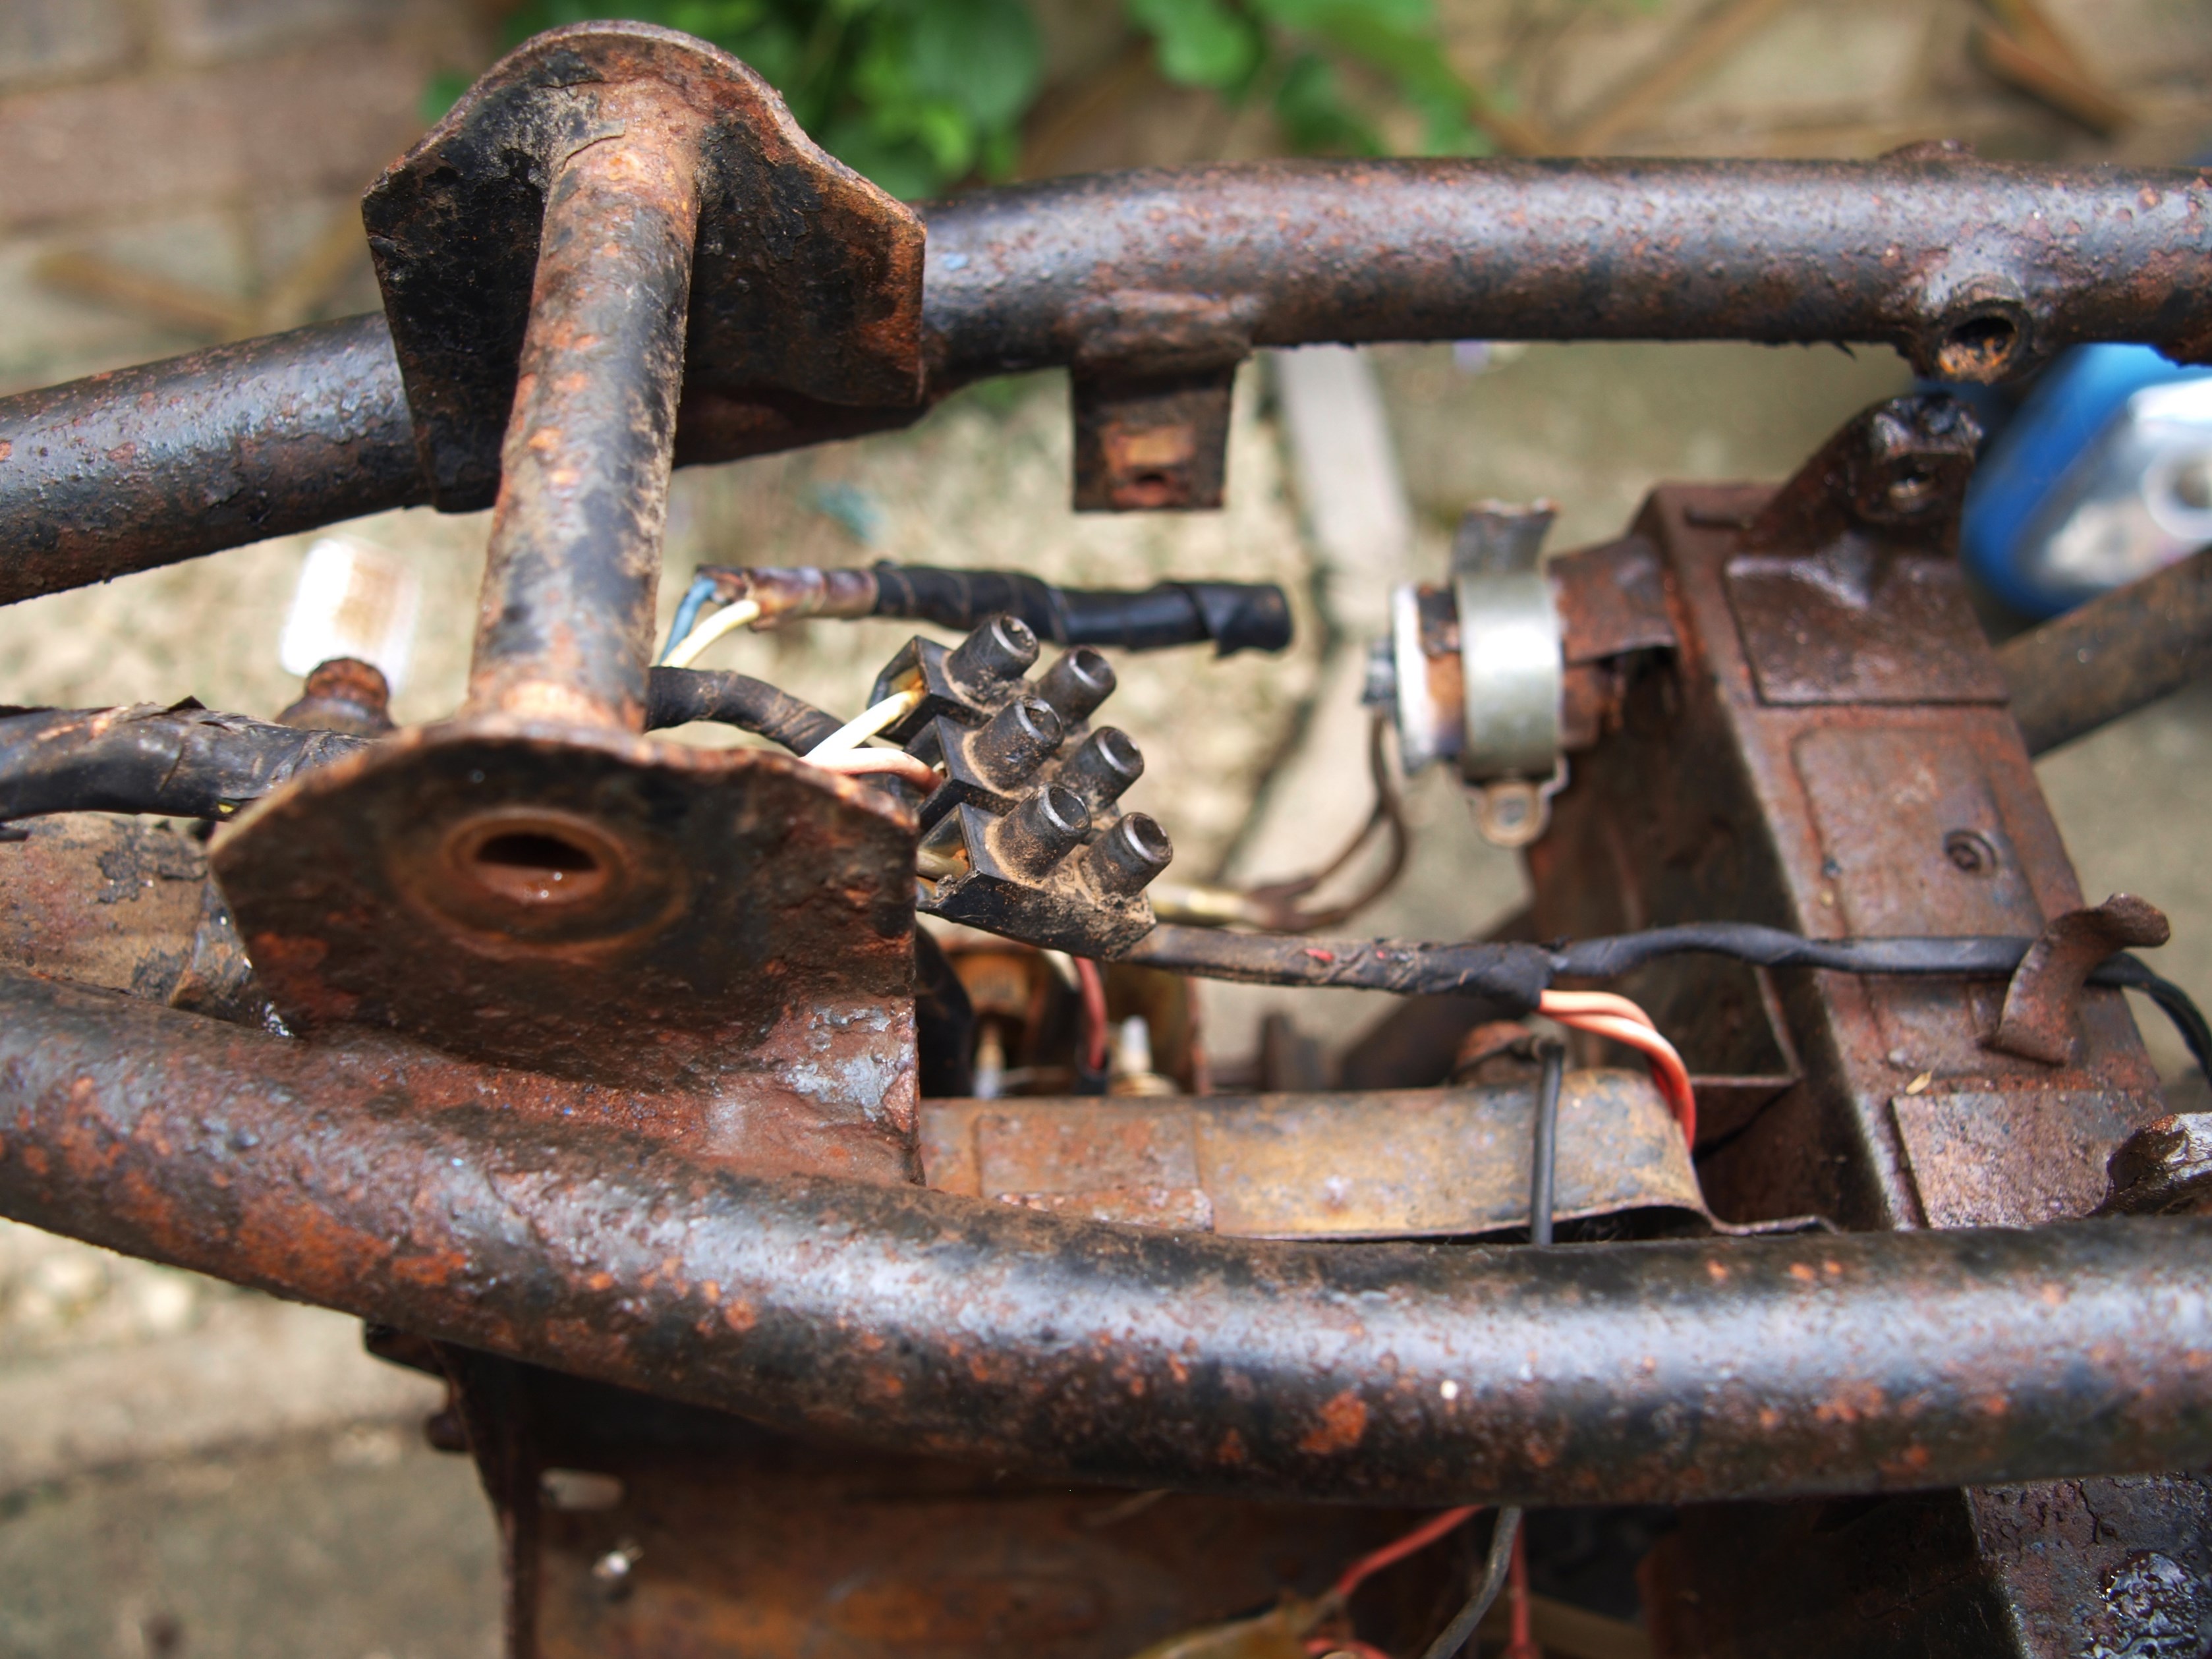
But I won’t be repeating this act of grand butchery; domestic wiring connectors on a motorcycle for crying out loud!
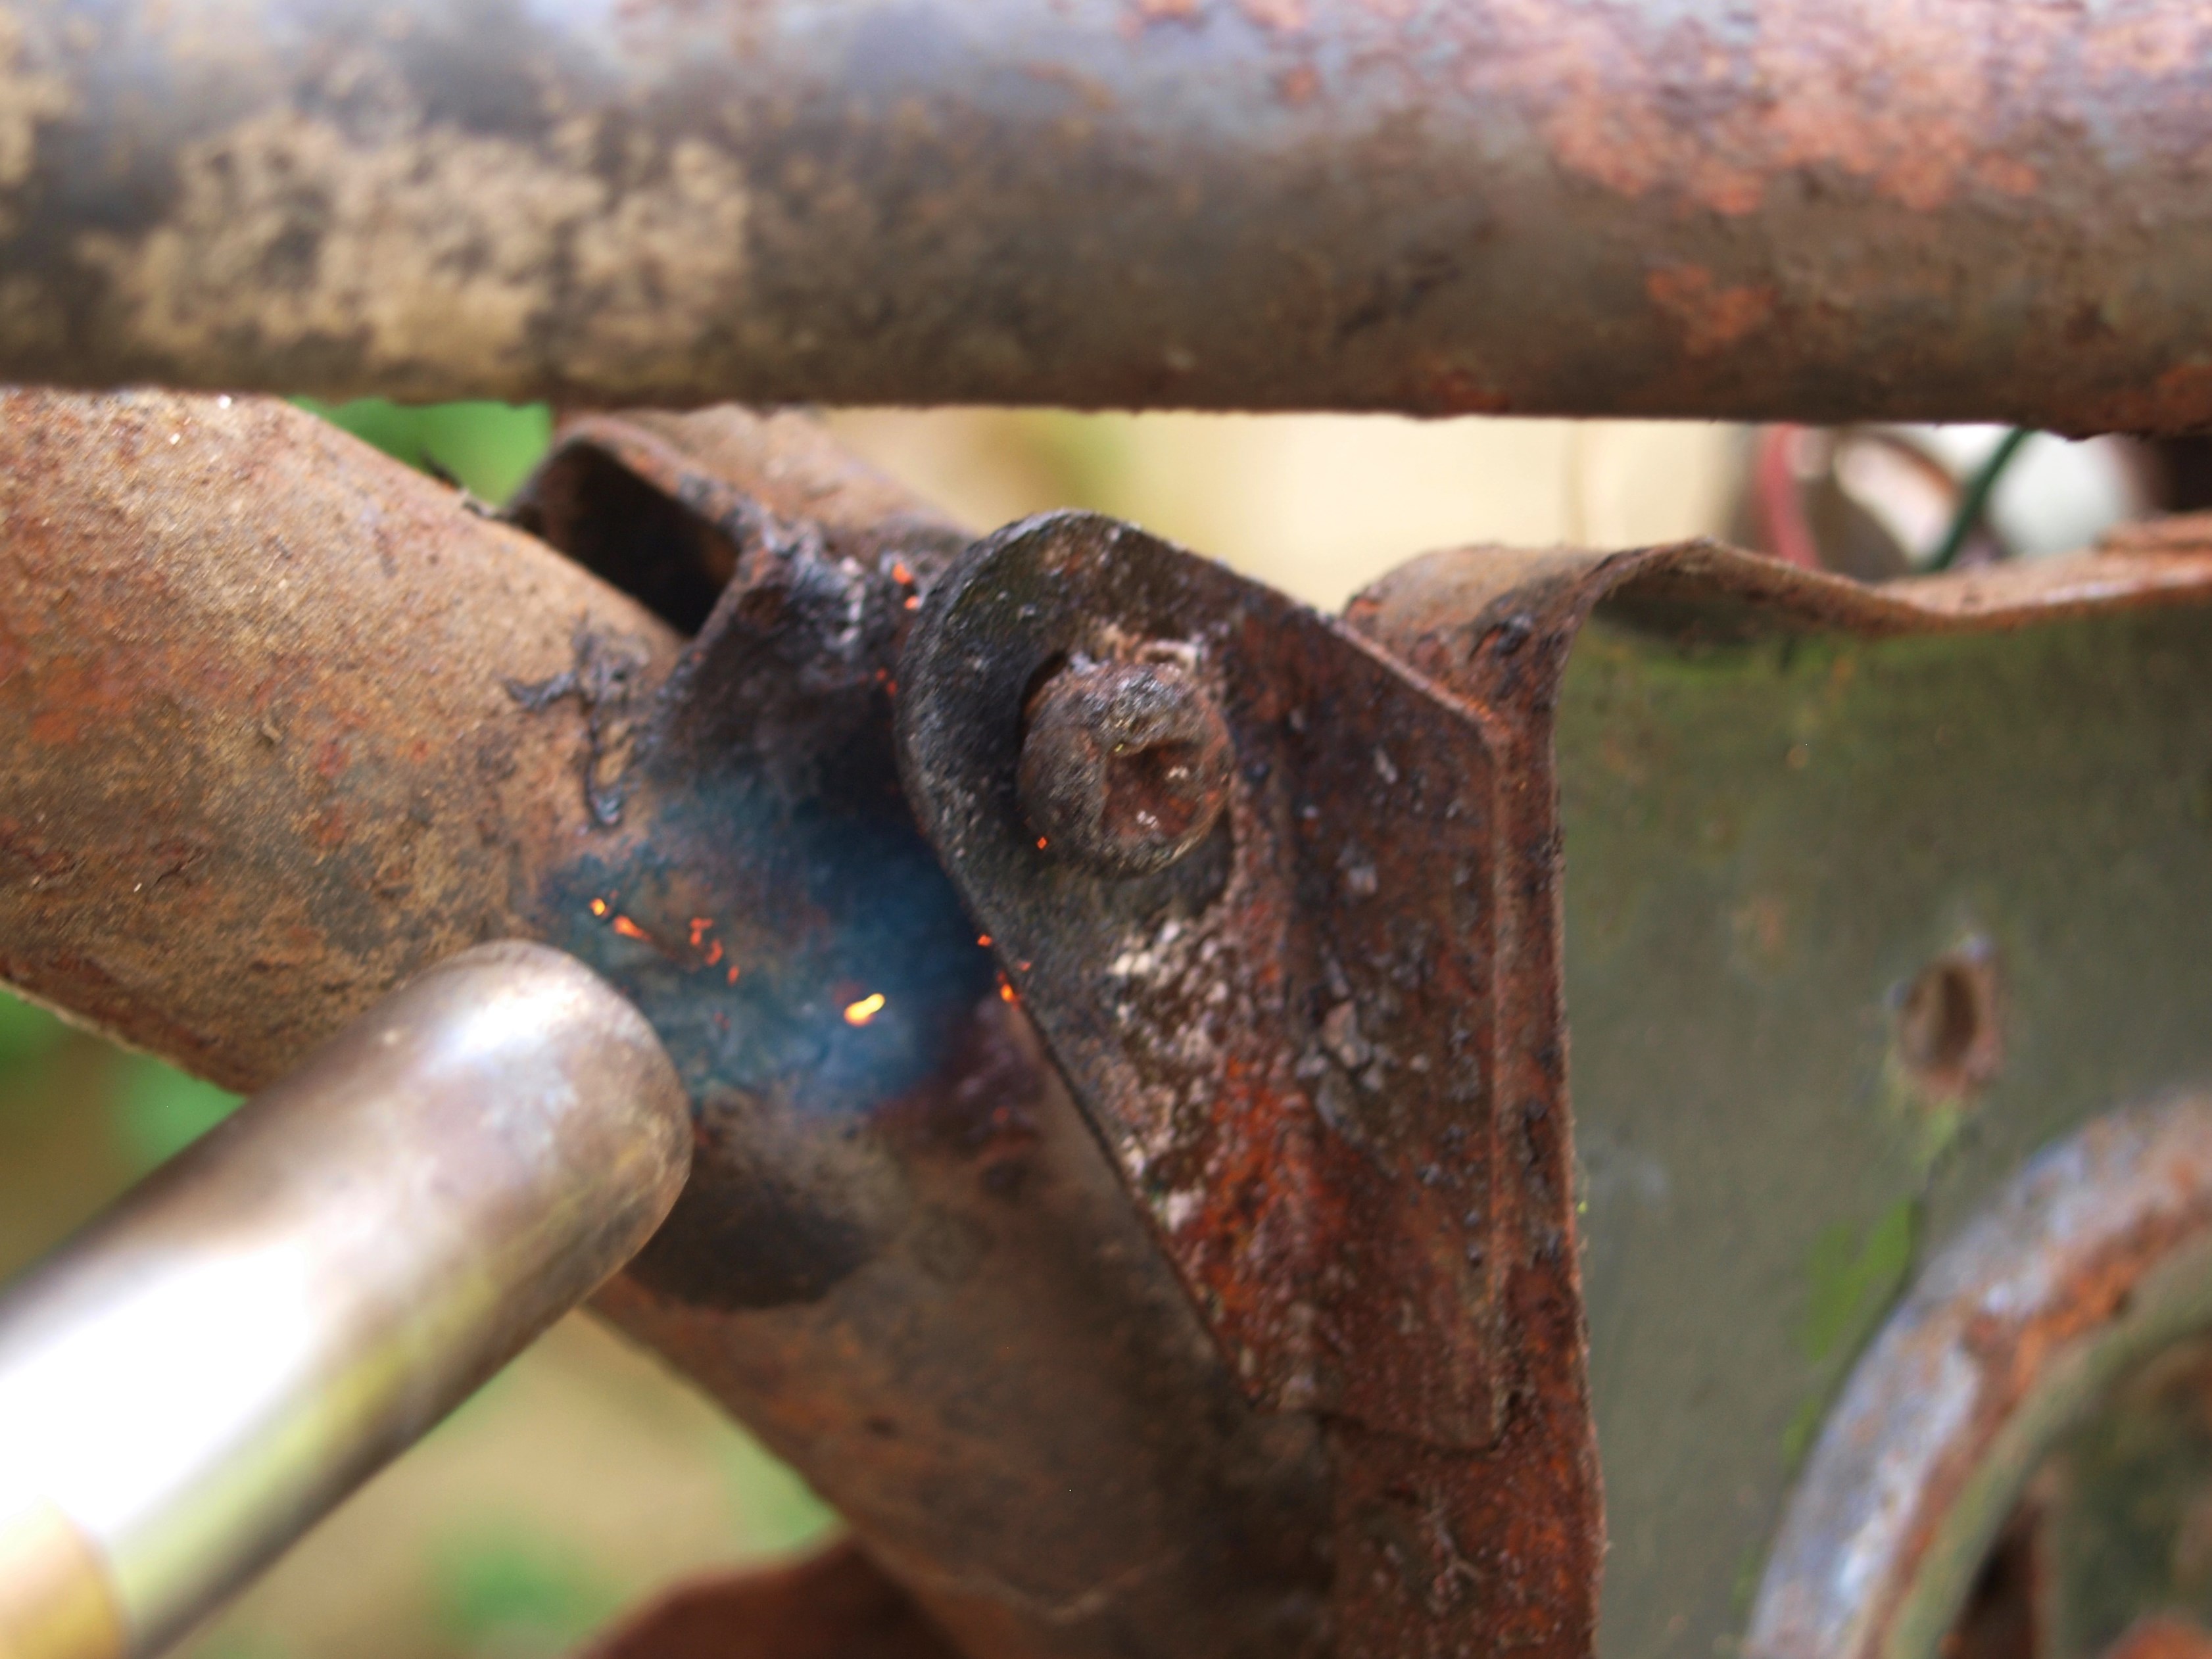
The screw head holding on the battery tray is both damaged and seized in place. Time to bring in the big guns with a gas torch to break the corrosion bond and hopefully expand the female thread.
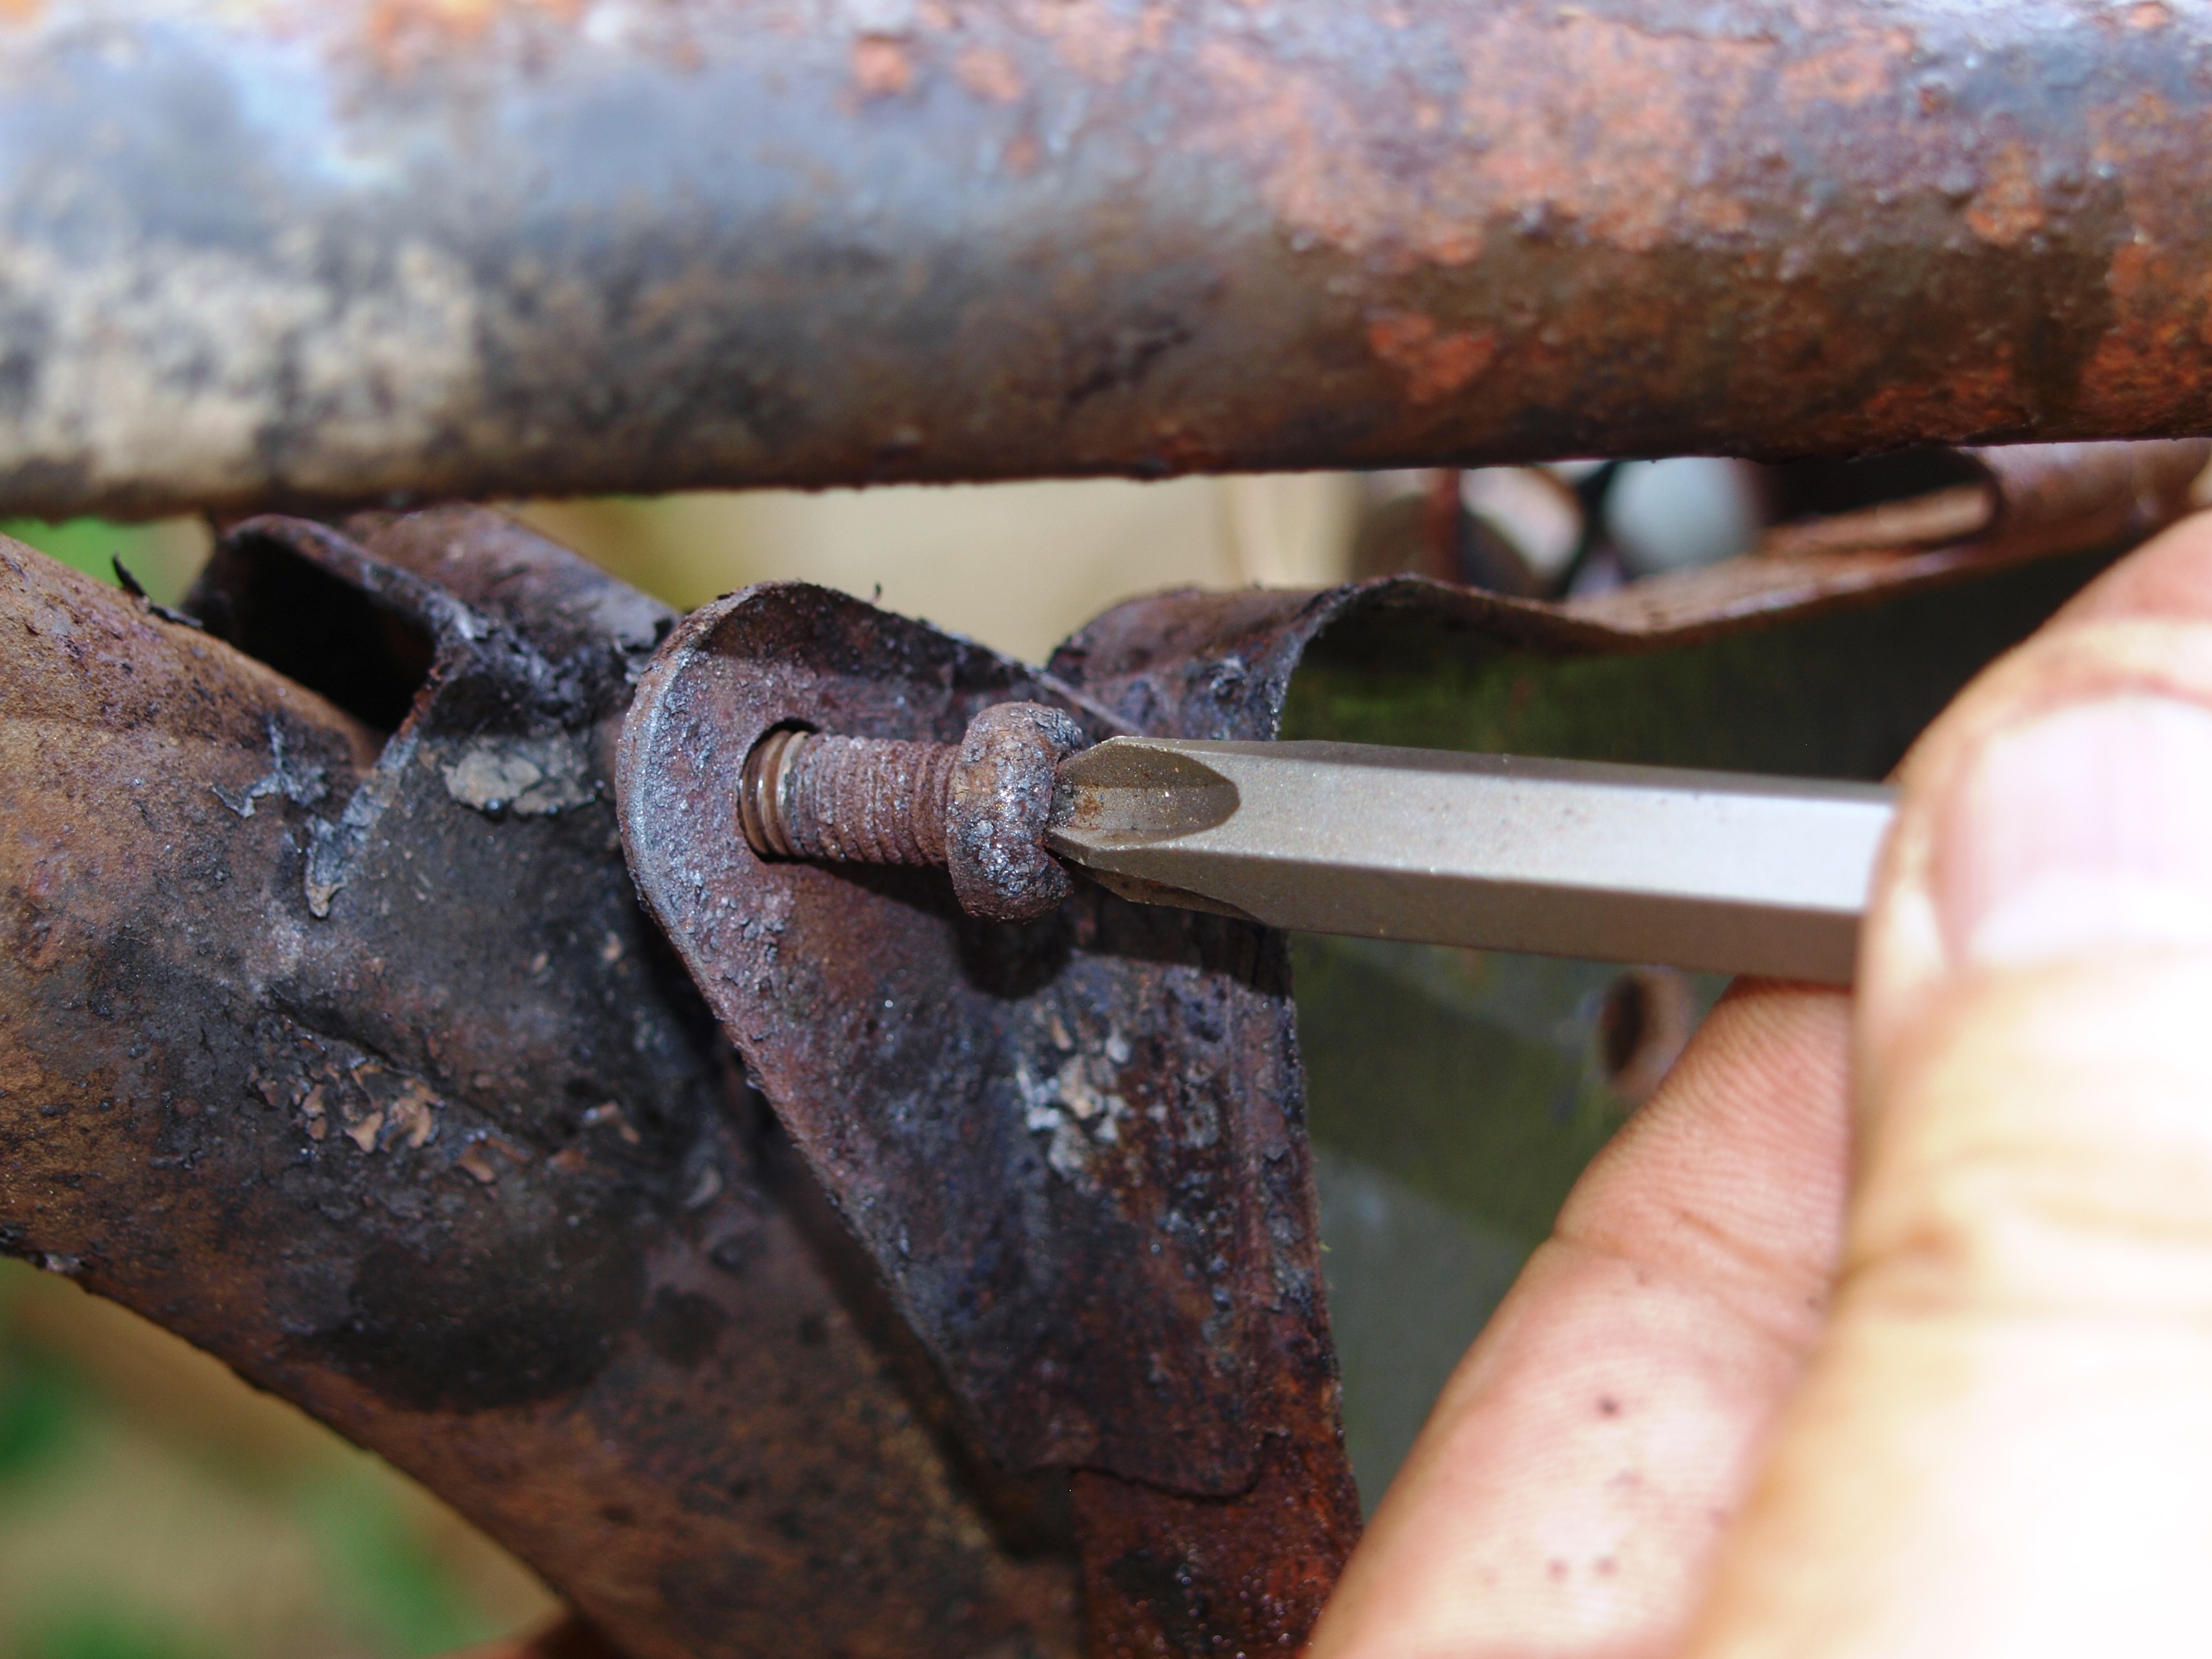
Using an impact driver with the largest crosshead bit finally frees off the screw but…
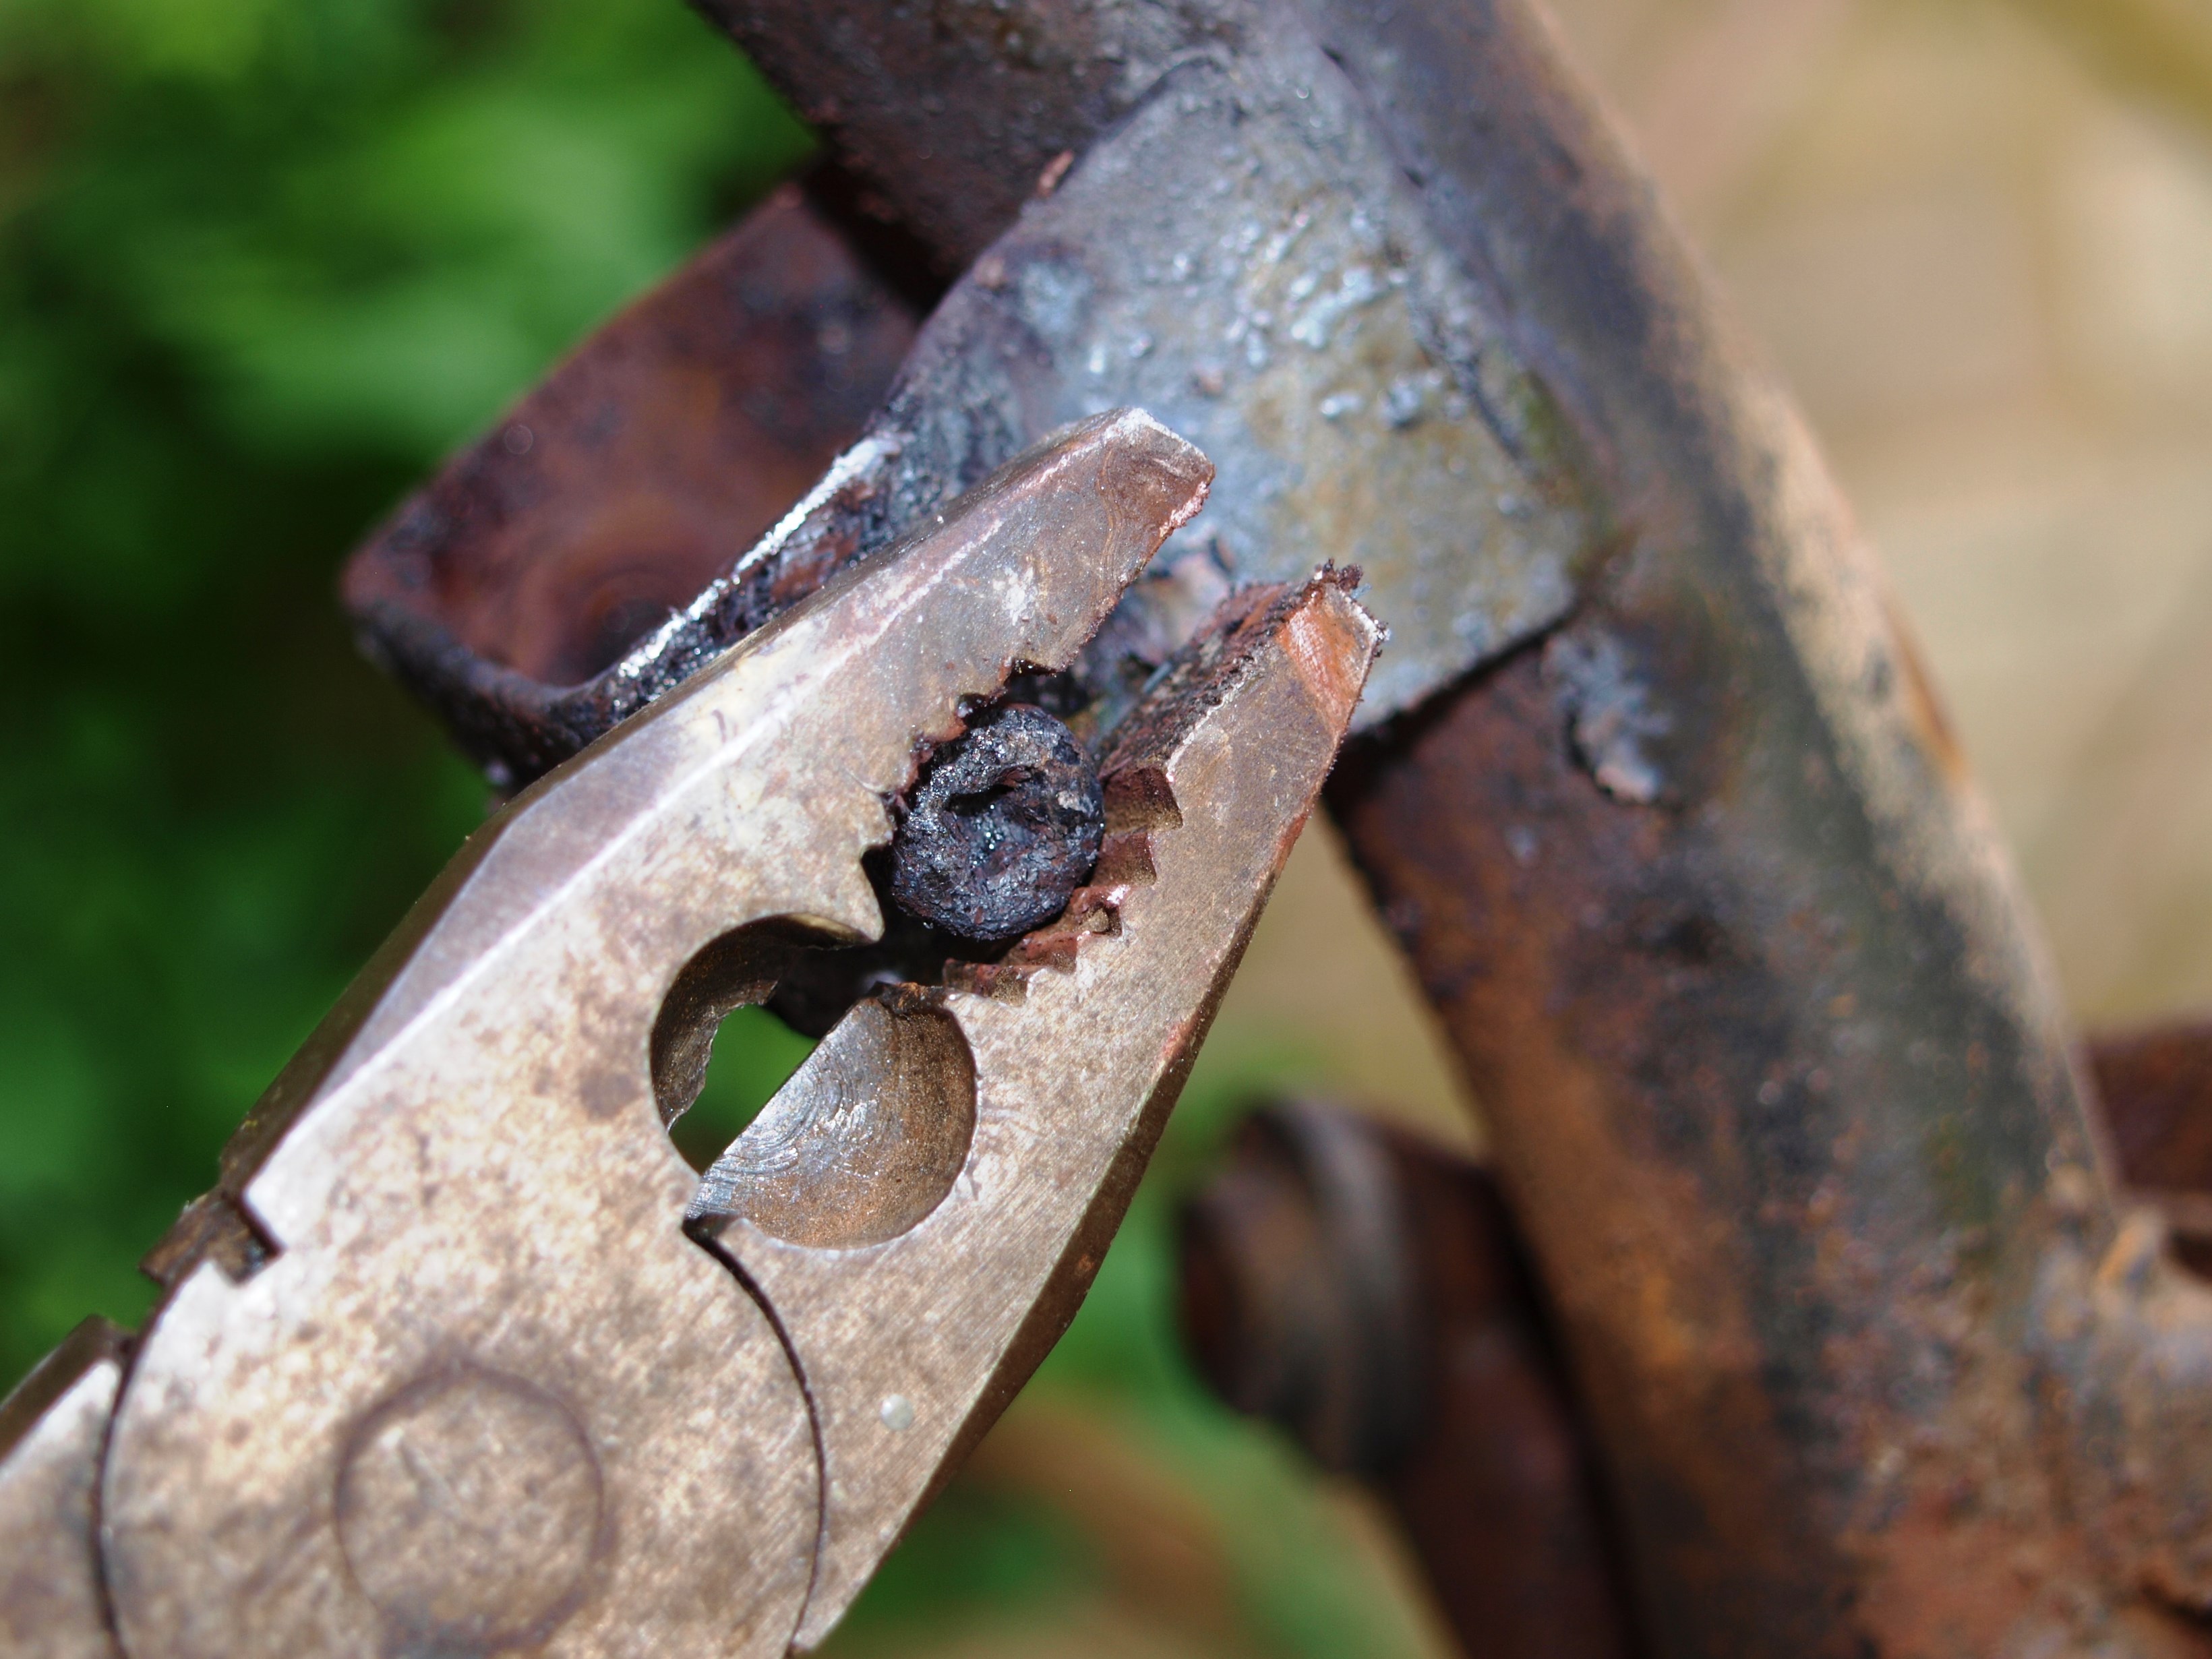
…several others won’t respond so they get the gas torch treatment followed by a session with some long-handled pliers for added leverage. Most fixings wilt and give up, literally with a shriek, so it pays to add some easing oil now to make the task easier.
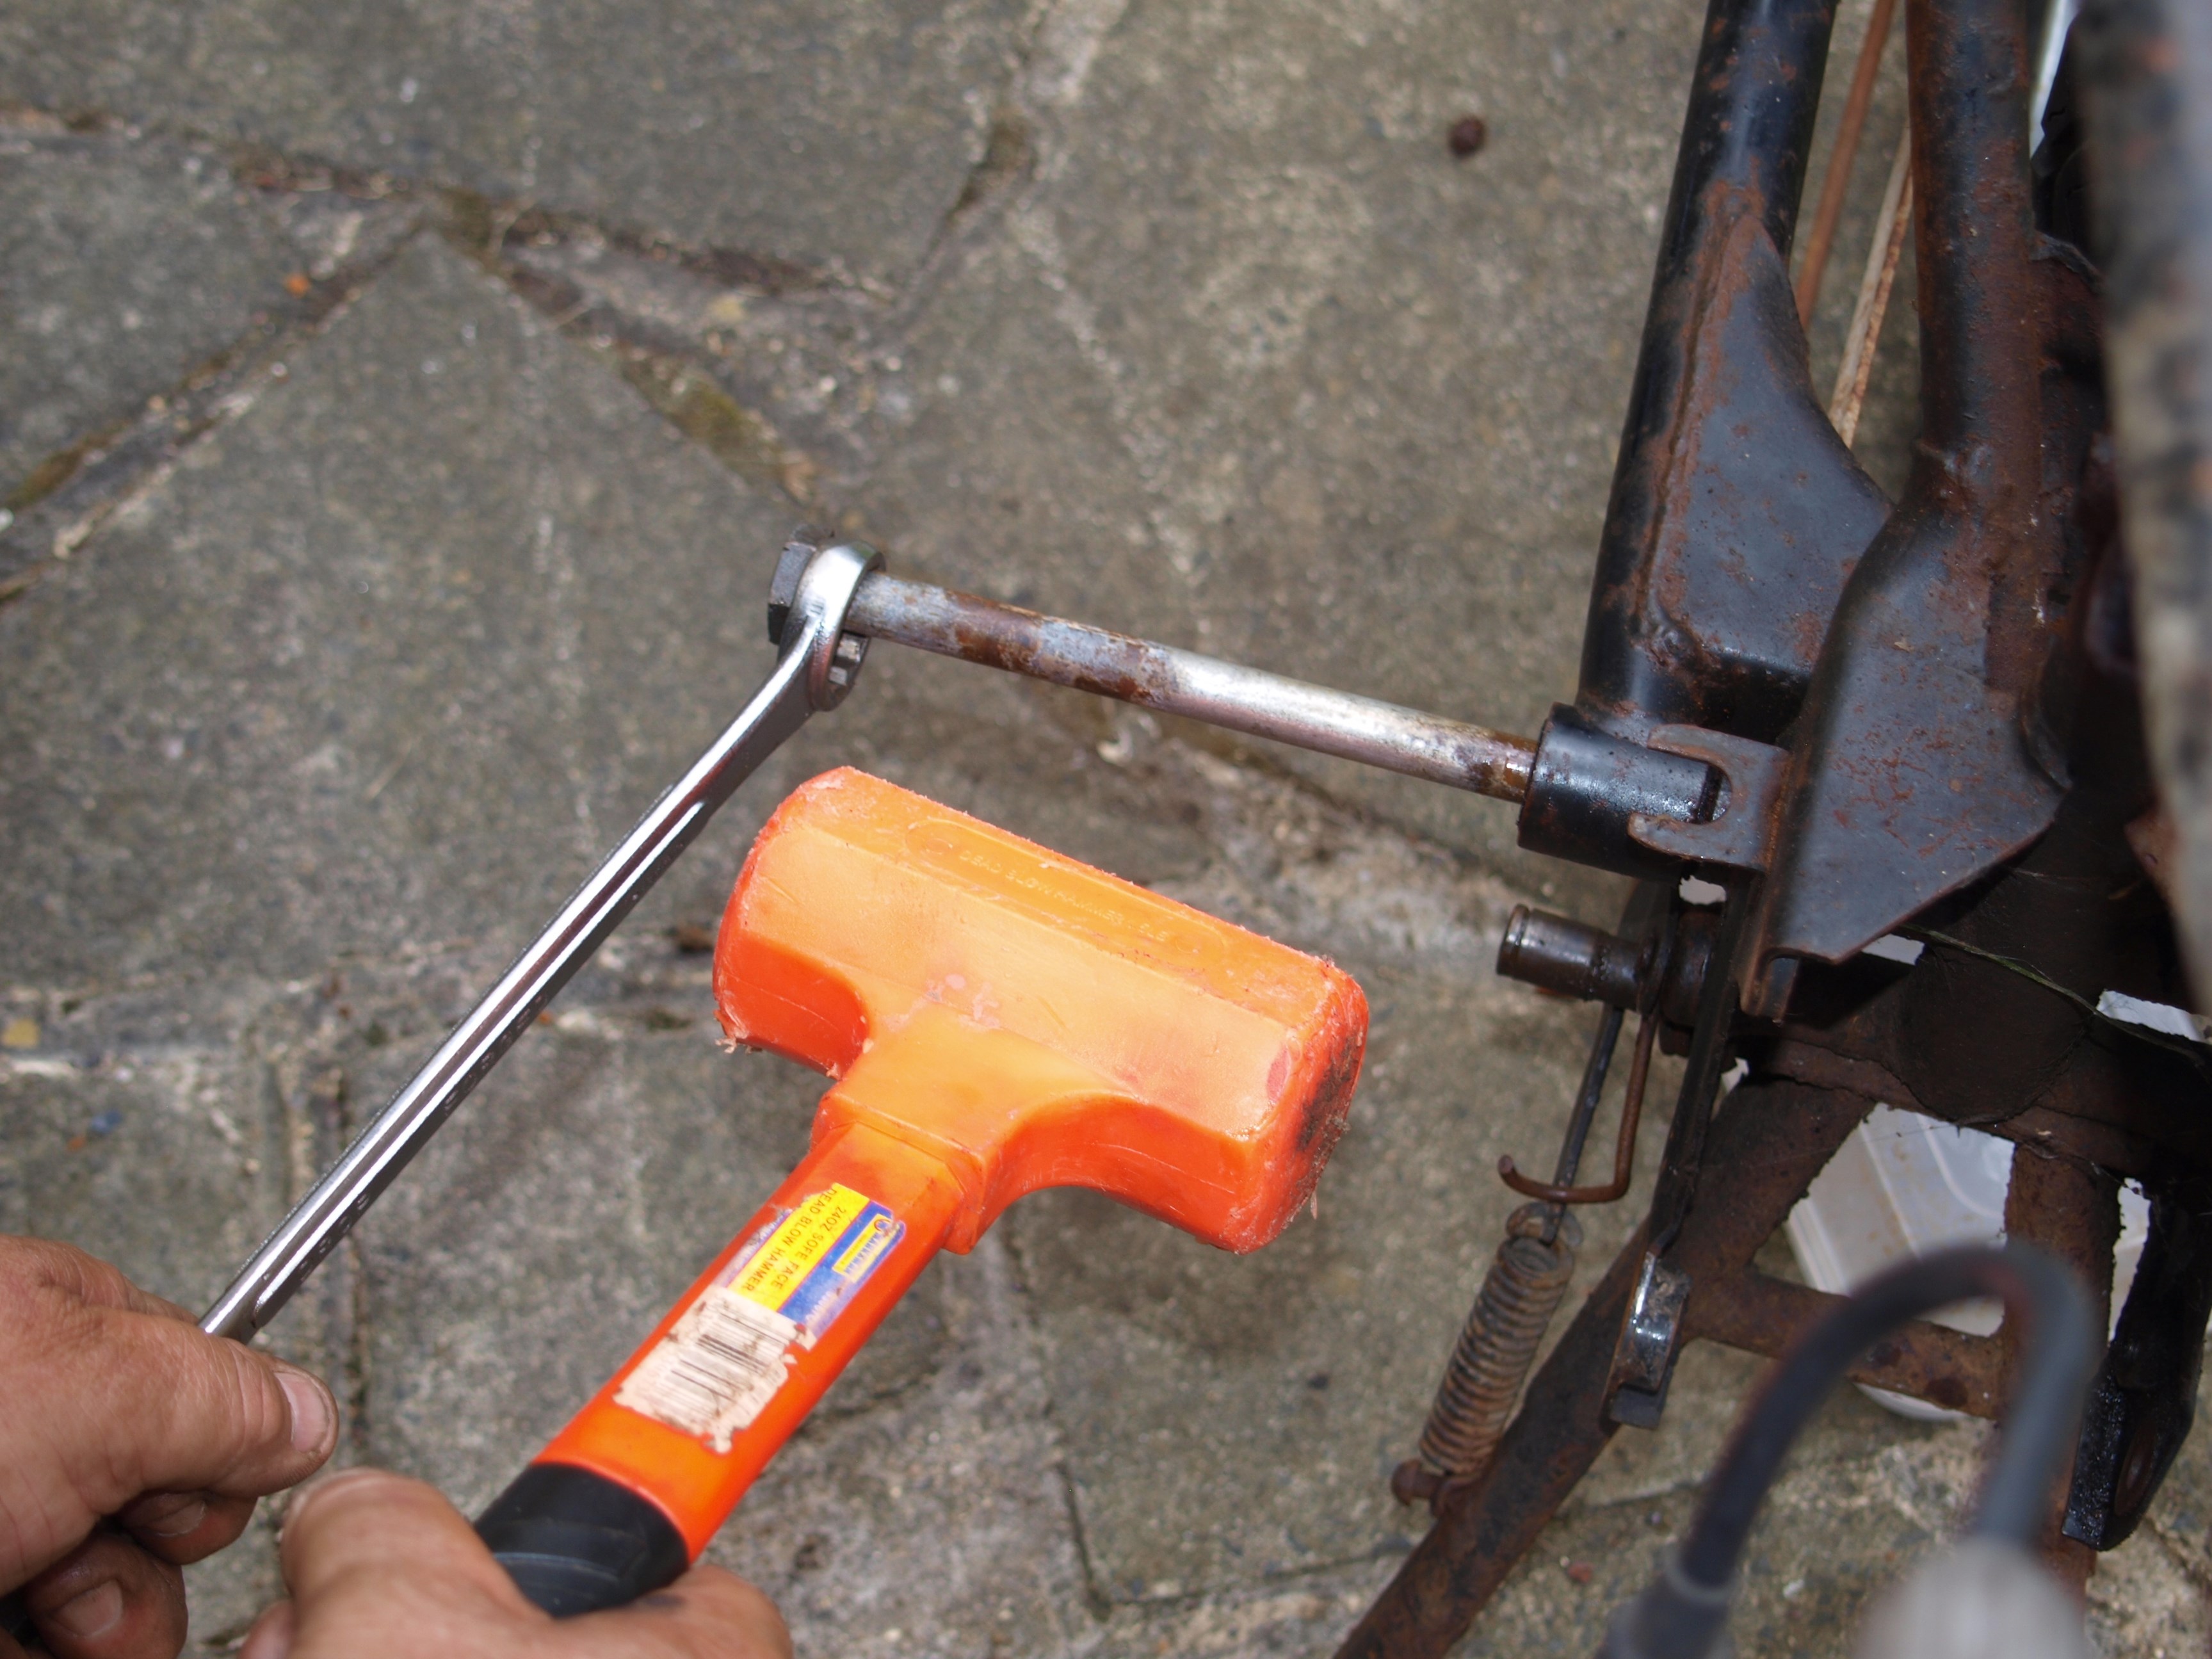
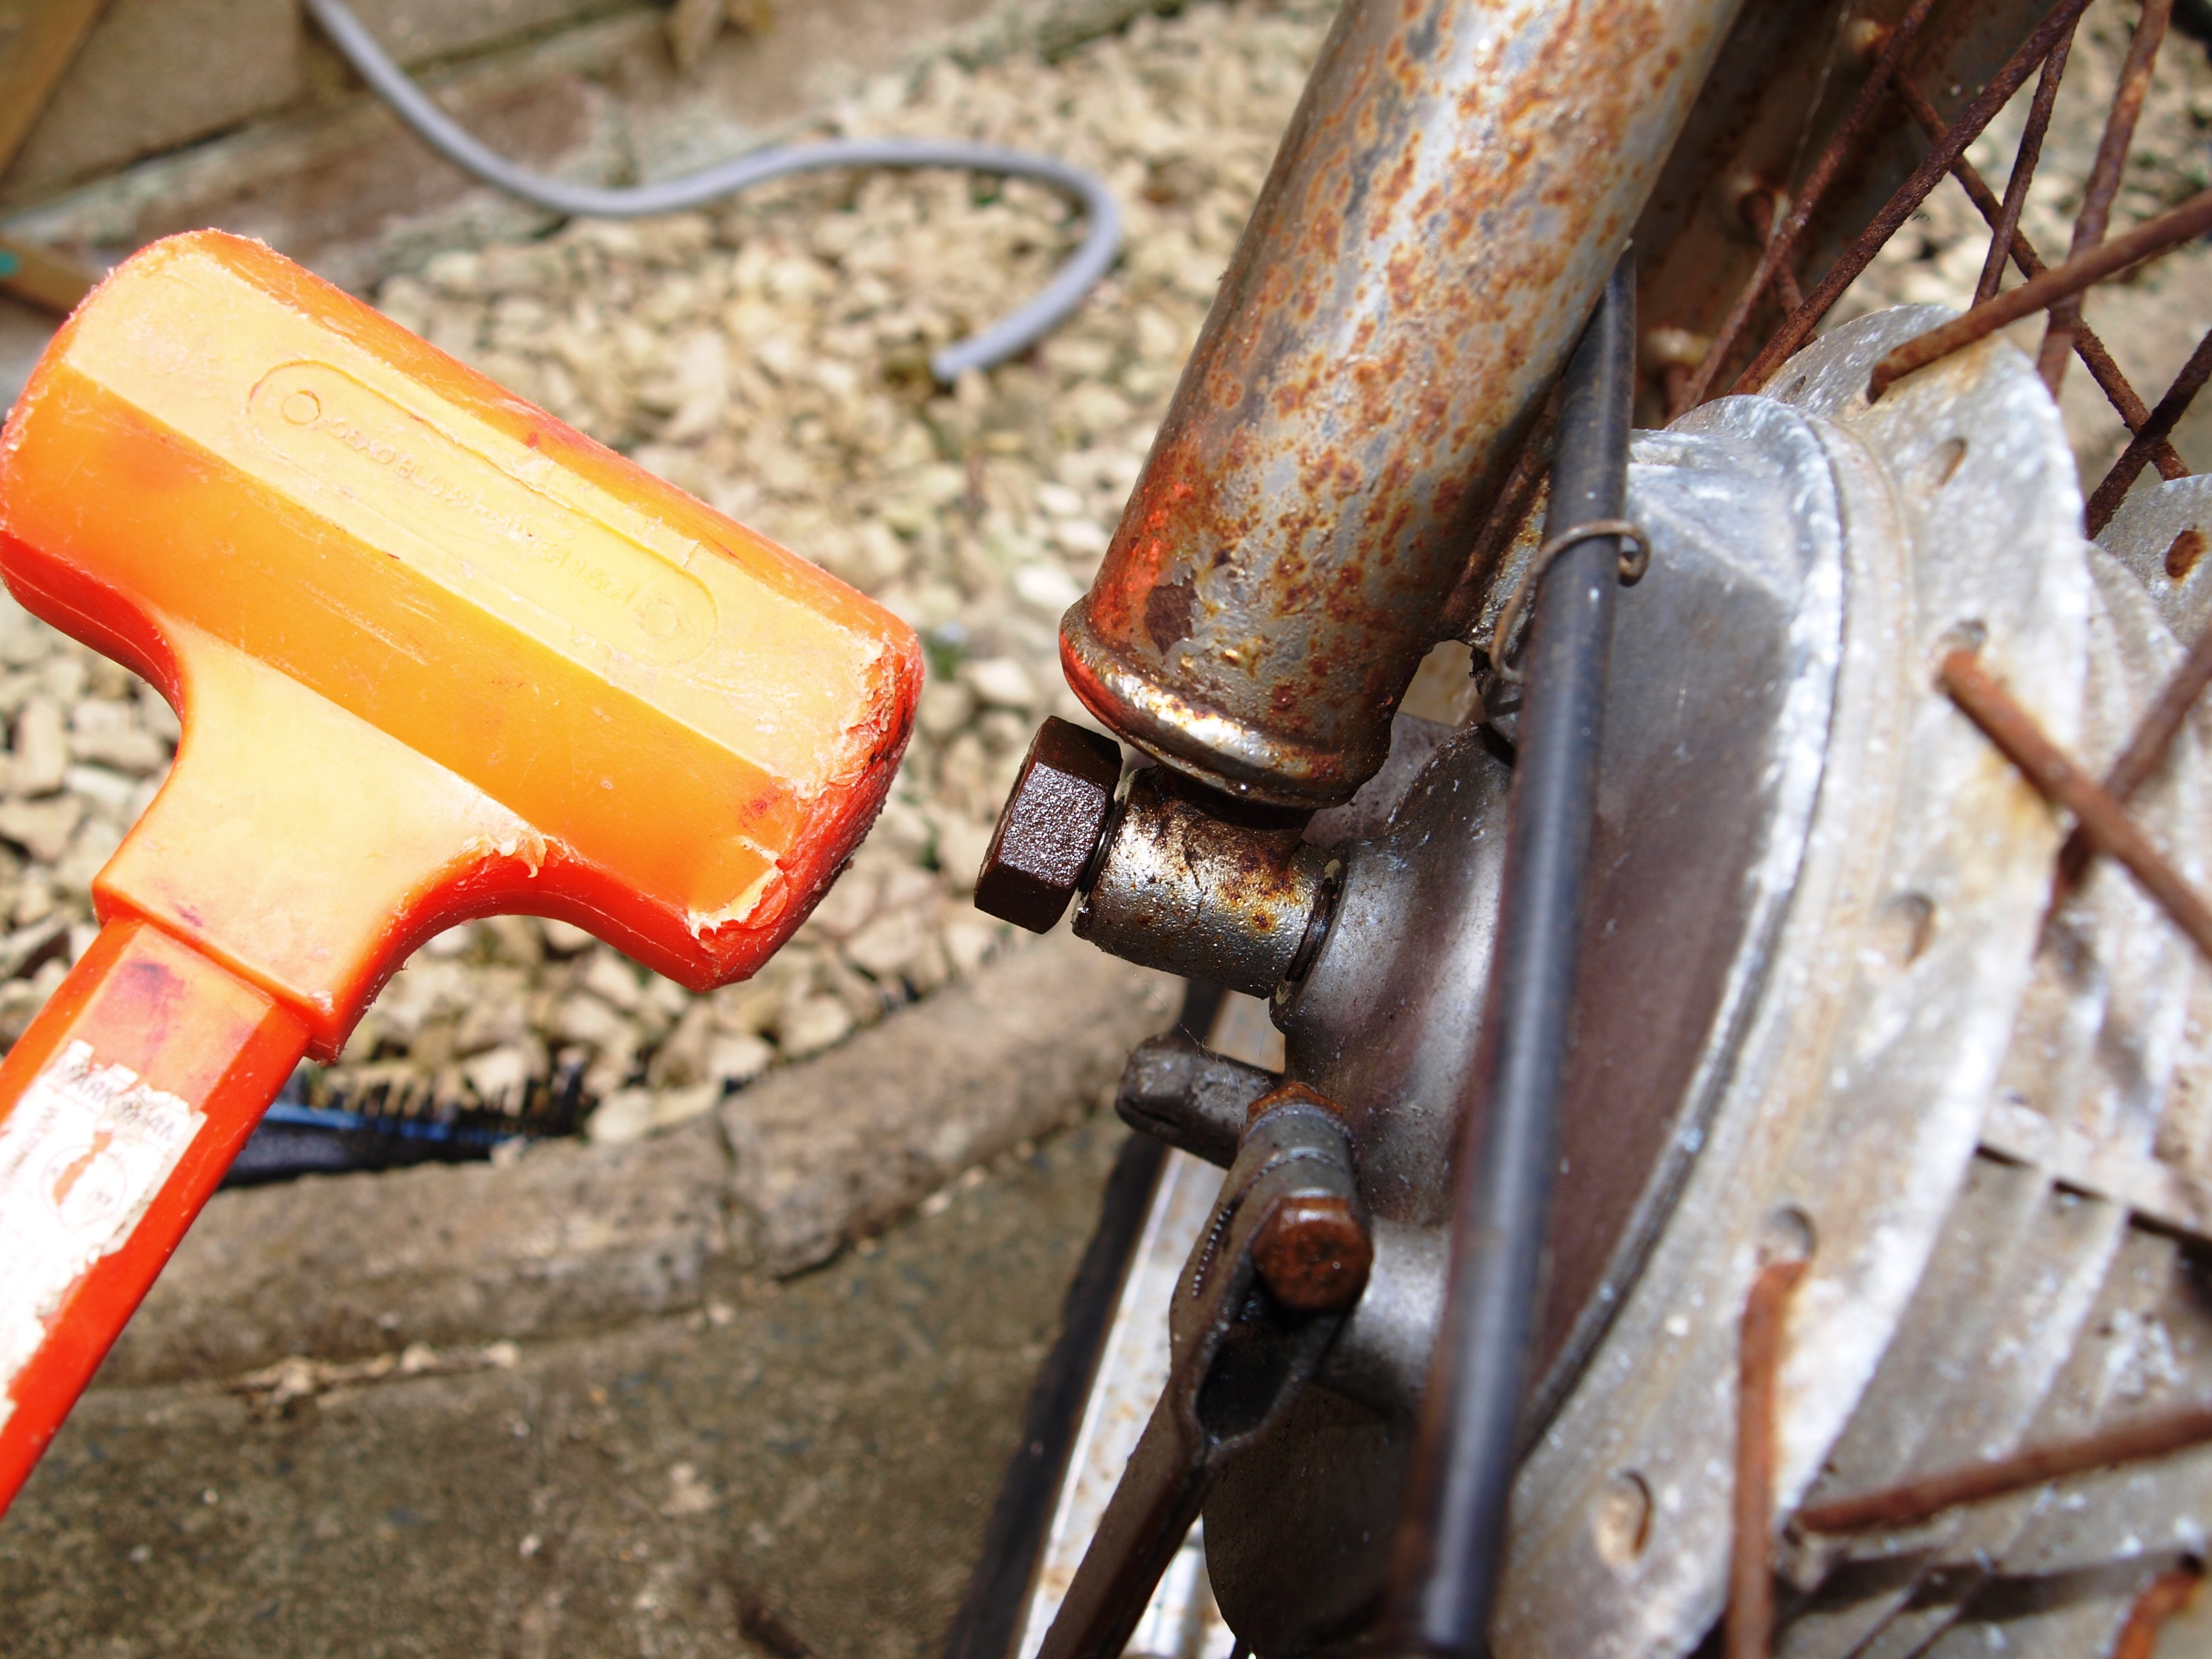
Lateral thought, a large ring spanner on the back of the hex allied to some mallet blows sees the swing arm spindle evicted with no damage to the threads on the other end and no ramming rods down long, dark, holes either.
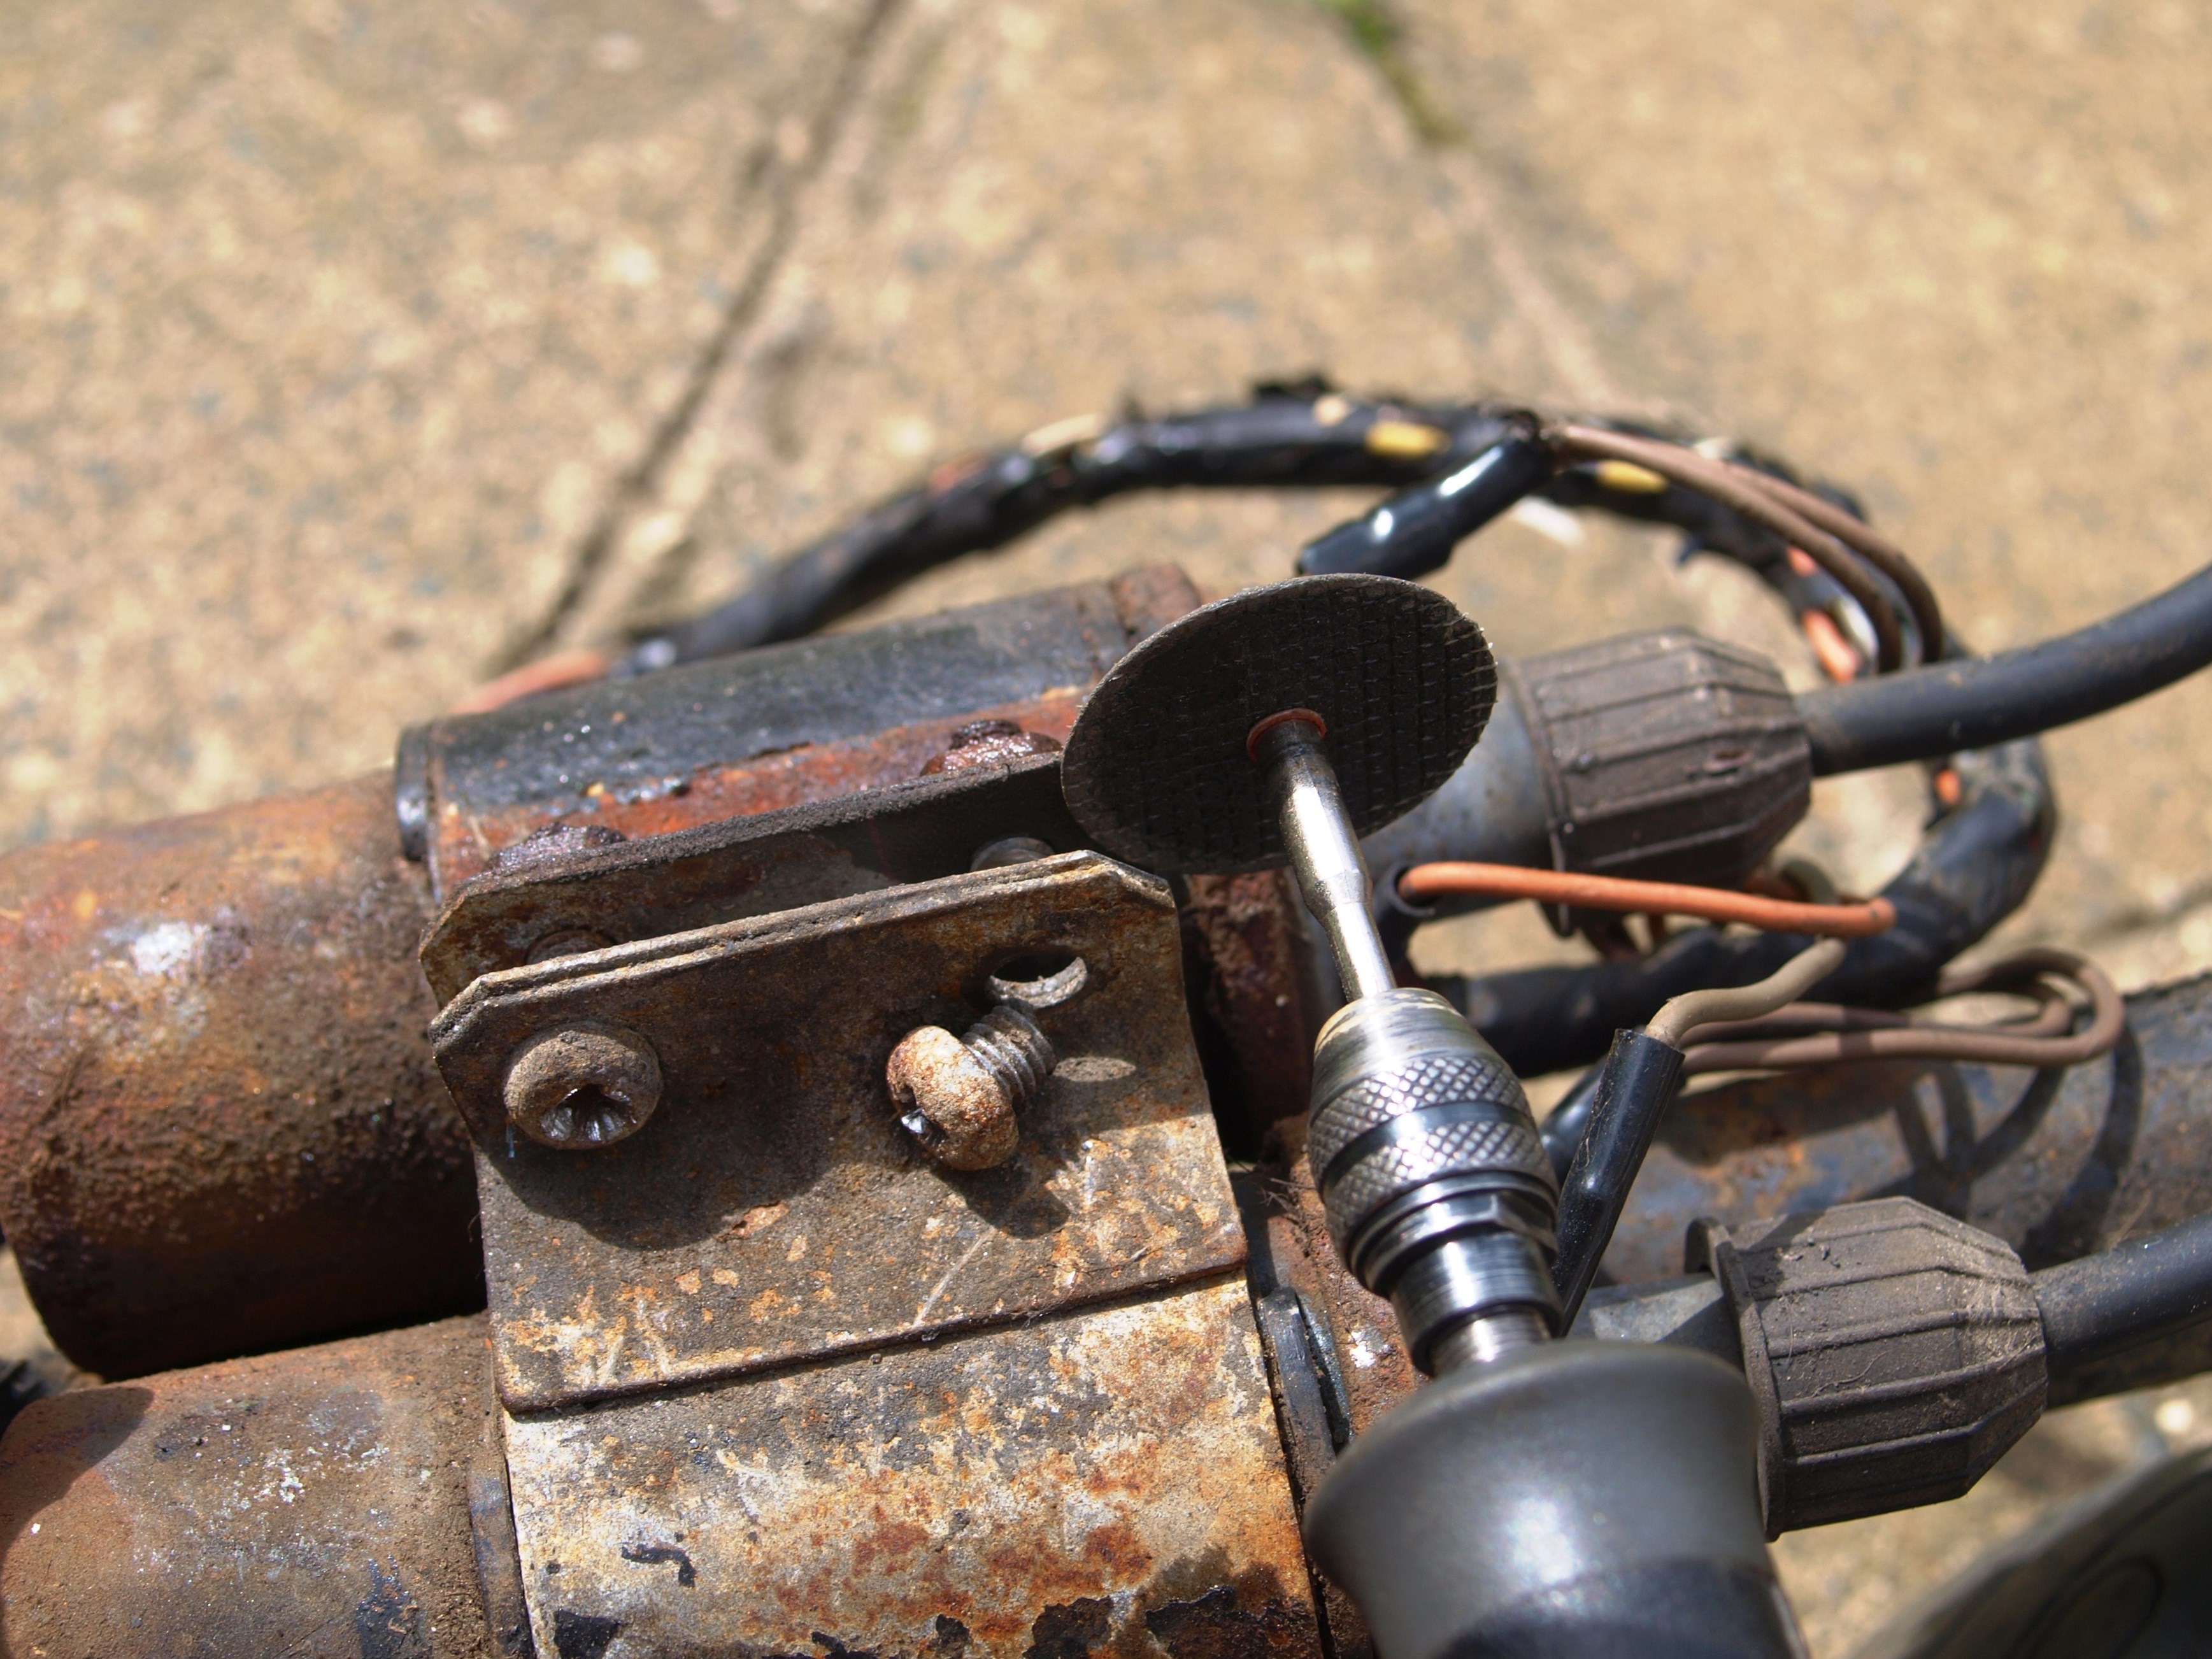
Sometimes there’s no option but to cut through a bolt to release whatever it’s holding. Dremels are so much faster and easier than old fashioned hacksaws.

The pivot bar has seized inside the tube and will only move a little; heat, a club hammer and ACF-50 can only get me this far. It’s time for the big guns.

The disc cutter has sailed through the pivot bar allowing me to free the stand. New pivot bars are less than a tenner and readily available so it was a no-brainer.
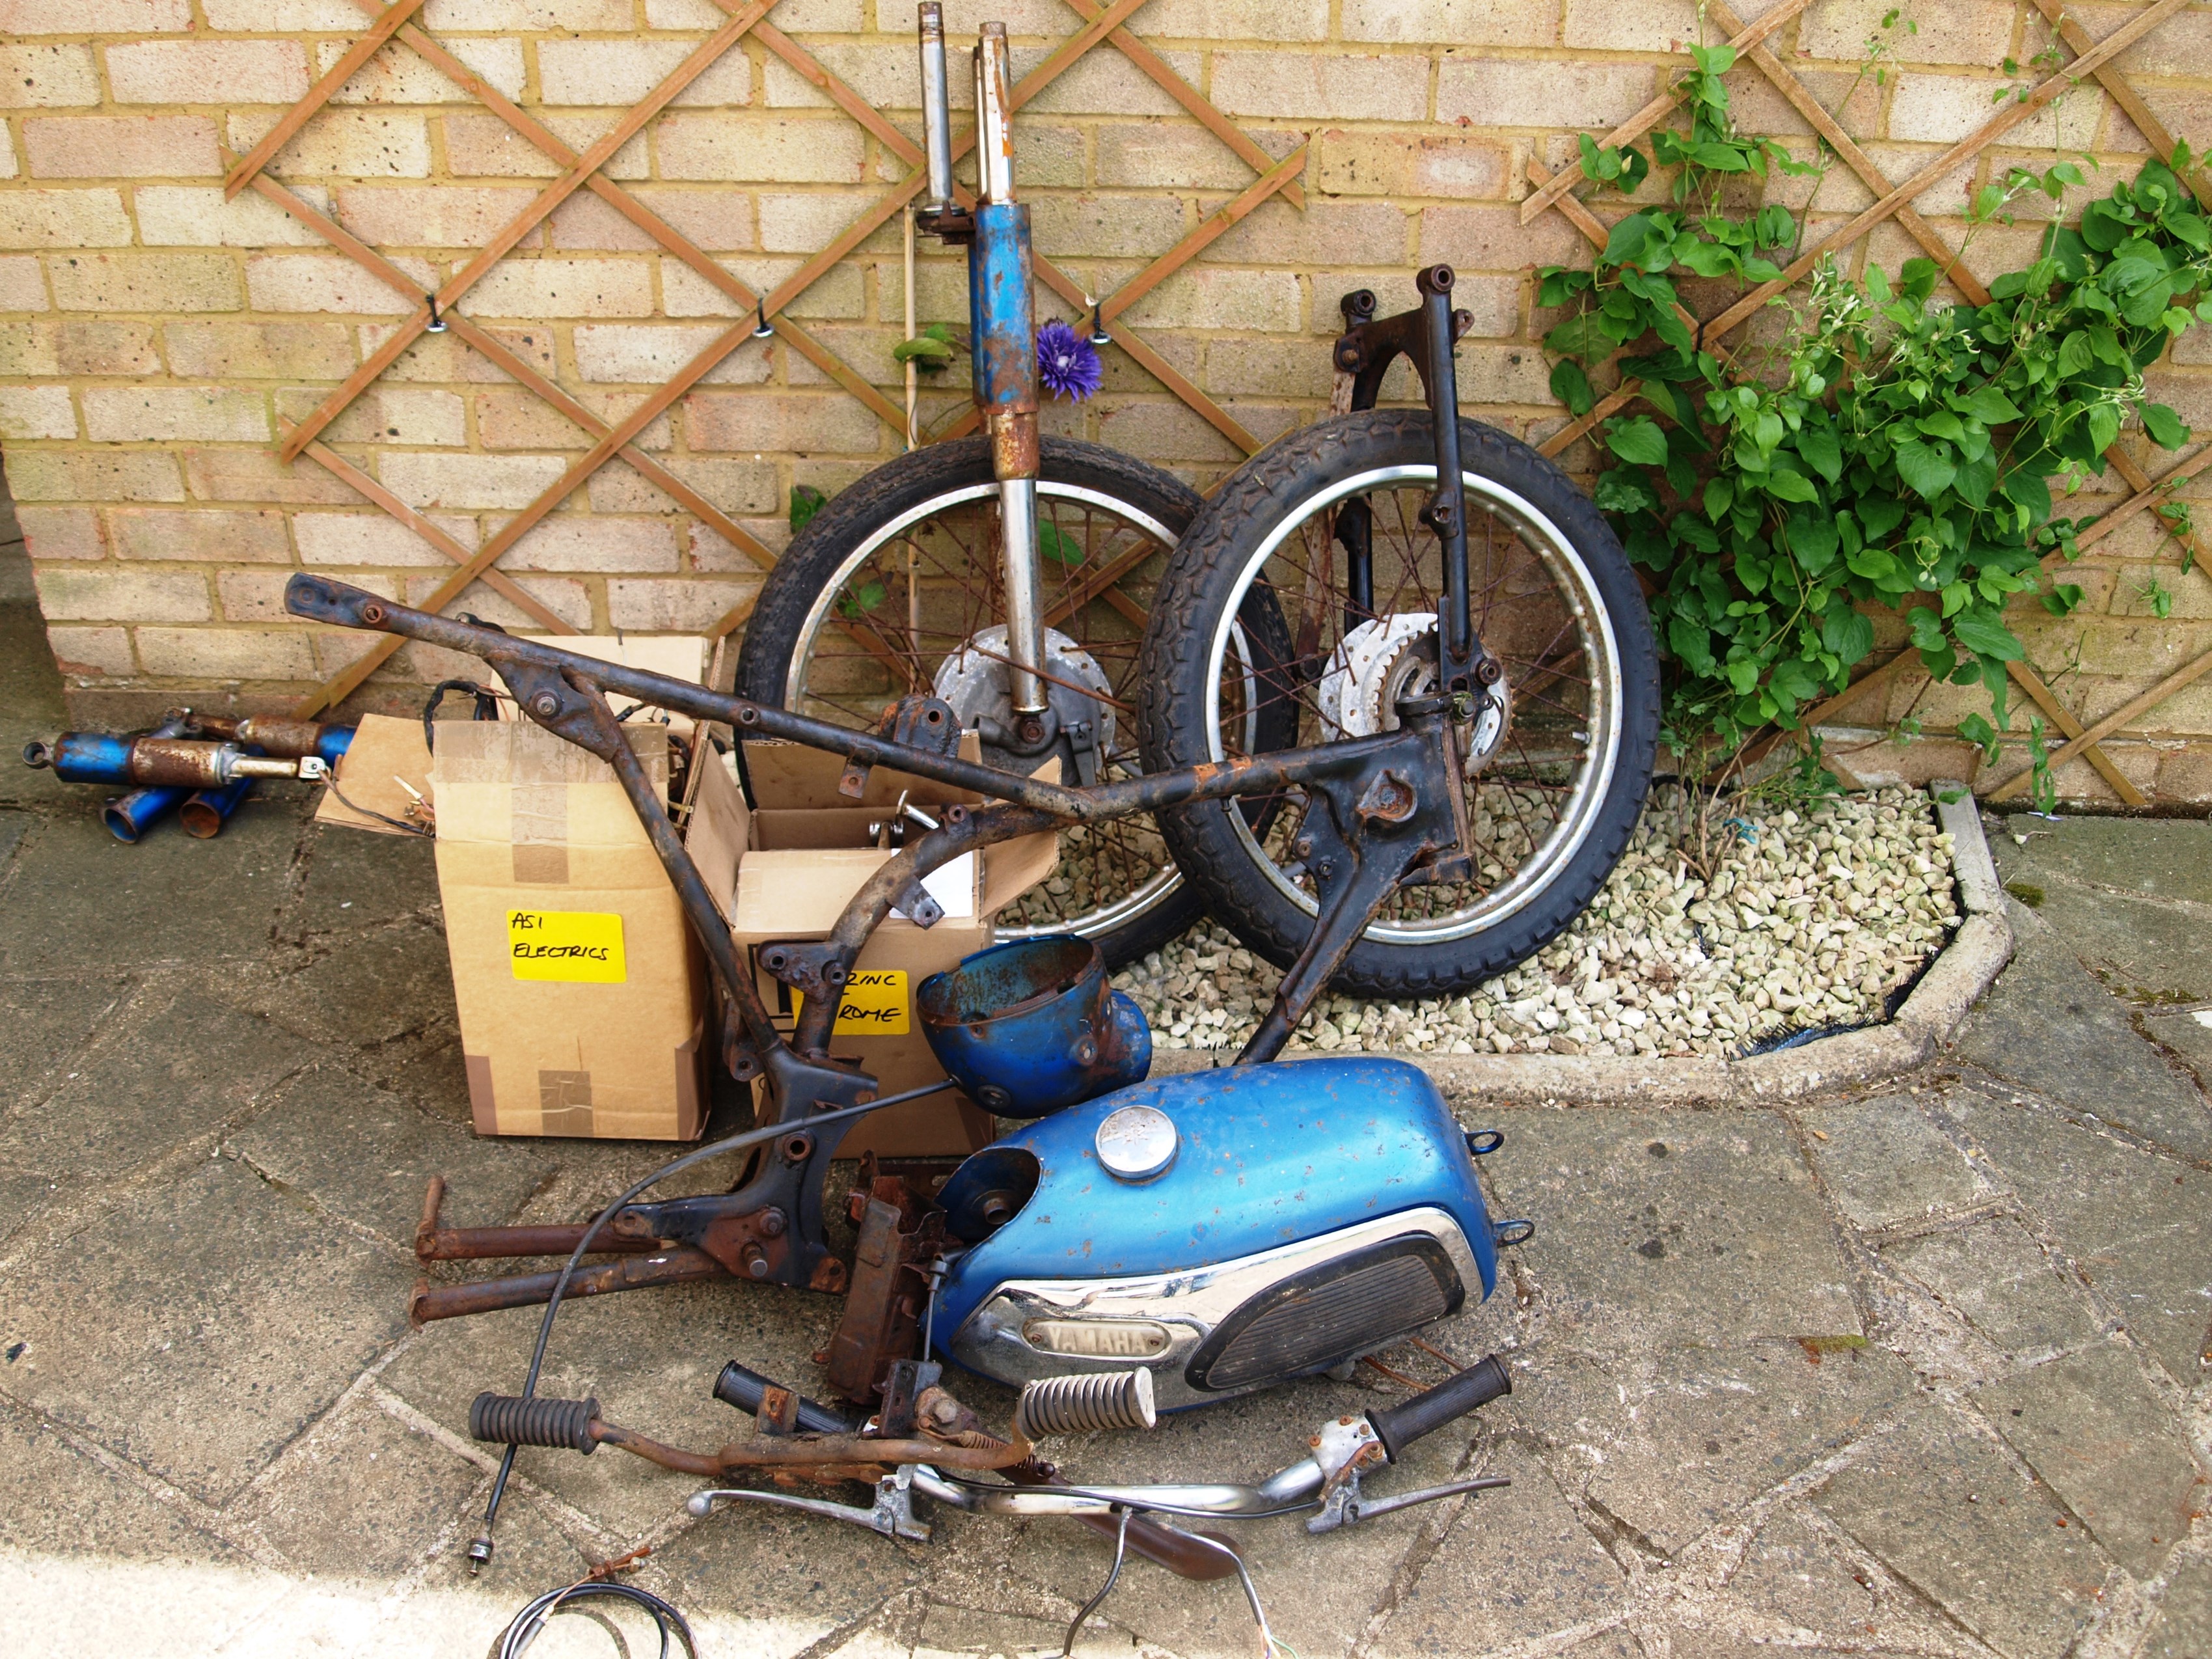
And there’s one Yamaha AS1 broken down into pieces ready to be inspected, fettled, repaired or replaced as necessary. And only one component had to be destroyed in the process which I reckon is pretty damn good!
The key to getting a rusty motorcycle apart is time allied to patience and the appropriate easing fluids. If you expect to be buying a project bike like this AS1 on a Sunday and have it in pieces come Monday the chances are you’ll be snapping bolt heads off and irreparably damaging rare components. Yes, you may well have got the bike apart, but the irony is that you’ll now squander even more valuable time and greater precious funds putting right all the damage you’ve perpetuated. Pace the work, only undo the fittings that actually want to free off and spray the rest with something like ACF-50. Trust me on this one please; I’ve snapped off more than my fair share of bolts over the last four decades and I’m not up for breaking anymore thank you!
For more technical advice, visit Motorcycle Workshop Guides: The Complete List.
To find out more about a classic bike policy from Footman James and to get an instant quote online, visit our Classic Bike Insurance page.
The information contained in this blog post is based on sources that we believe are reliable and should be understood as general information only. It is not intended to be taken as advice with respect to any specific or individual situation and cannot be relied upon as such.

COMMENT