Workshop Guide to Renovating air filters
By Steve Cooper, VJMC Editor
Air filters perform a vital task on motorcycles by preventing abrasive particulates from entering the engine. Few, if any, bikes that fit within CMM’s remit ever arrived without one. Run your bike minus its filter?
Then good luck; here’s hoping you have spare pistons, rings, and the money for that imminent rebore. Make no bones about it; that paper or foam filter is your front line between longevity and massive engine wear. Yes, a filter adds a restriction to the inlet but the various components within the carburettor(s) have been carefully chosen to work in harmony with the incoming filtered air. If you remove the filter then the engine will, de facto, run lean. Yet if the filter clogs up the engine will run rich; simple physics, etc.
The majority of classics run filters based around a pleated filter paper which generally sits in one or more pressed steel plates, or registers and sometimes an inner core. Enclosed within a metal or plastic air box, they do a sterling job until either accumulated dirt or age gets the better of them. As supplies of NOS filters diminish we classics fans are faced with stark choices. If we run without a filter the engine will run lean and potentially hole pistons. If we fit aftermarket pod filters we lose originality whilst potentially introducing running issues, or we opt for an aftermarket replacement filter. Of the three, the last is easily the best option as it retains the OEM air box and often the manufacturer or supplier may advise on whether there’s a need to change carburettor jetting.
Which is all well and good if someone makes a replacement filter for your bike, but what if they don’t? My Yamaha CS3C threw up exactly this issue in the course of its ongoing overhaul. As ever, necessity is the mother of invention and lateral thought comes into play. Surely it’s possible to install new filter material to the original end plates? A damp winter’s morning sees a gentleman of a certain age in Halfords taking apart a myriad of car air filter boxes. He holds a small steel rule and wears a puzzled expression... 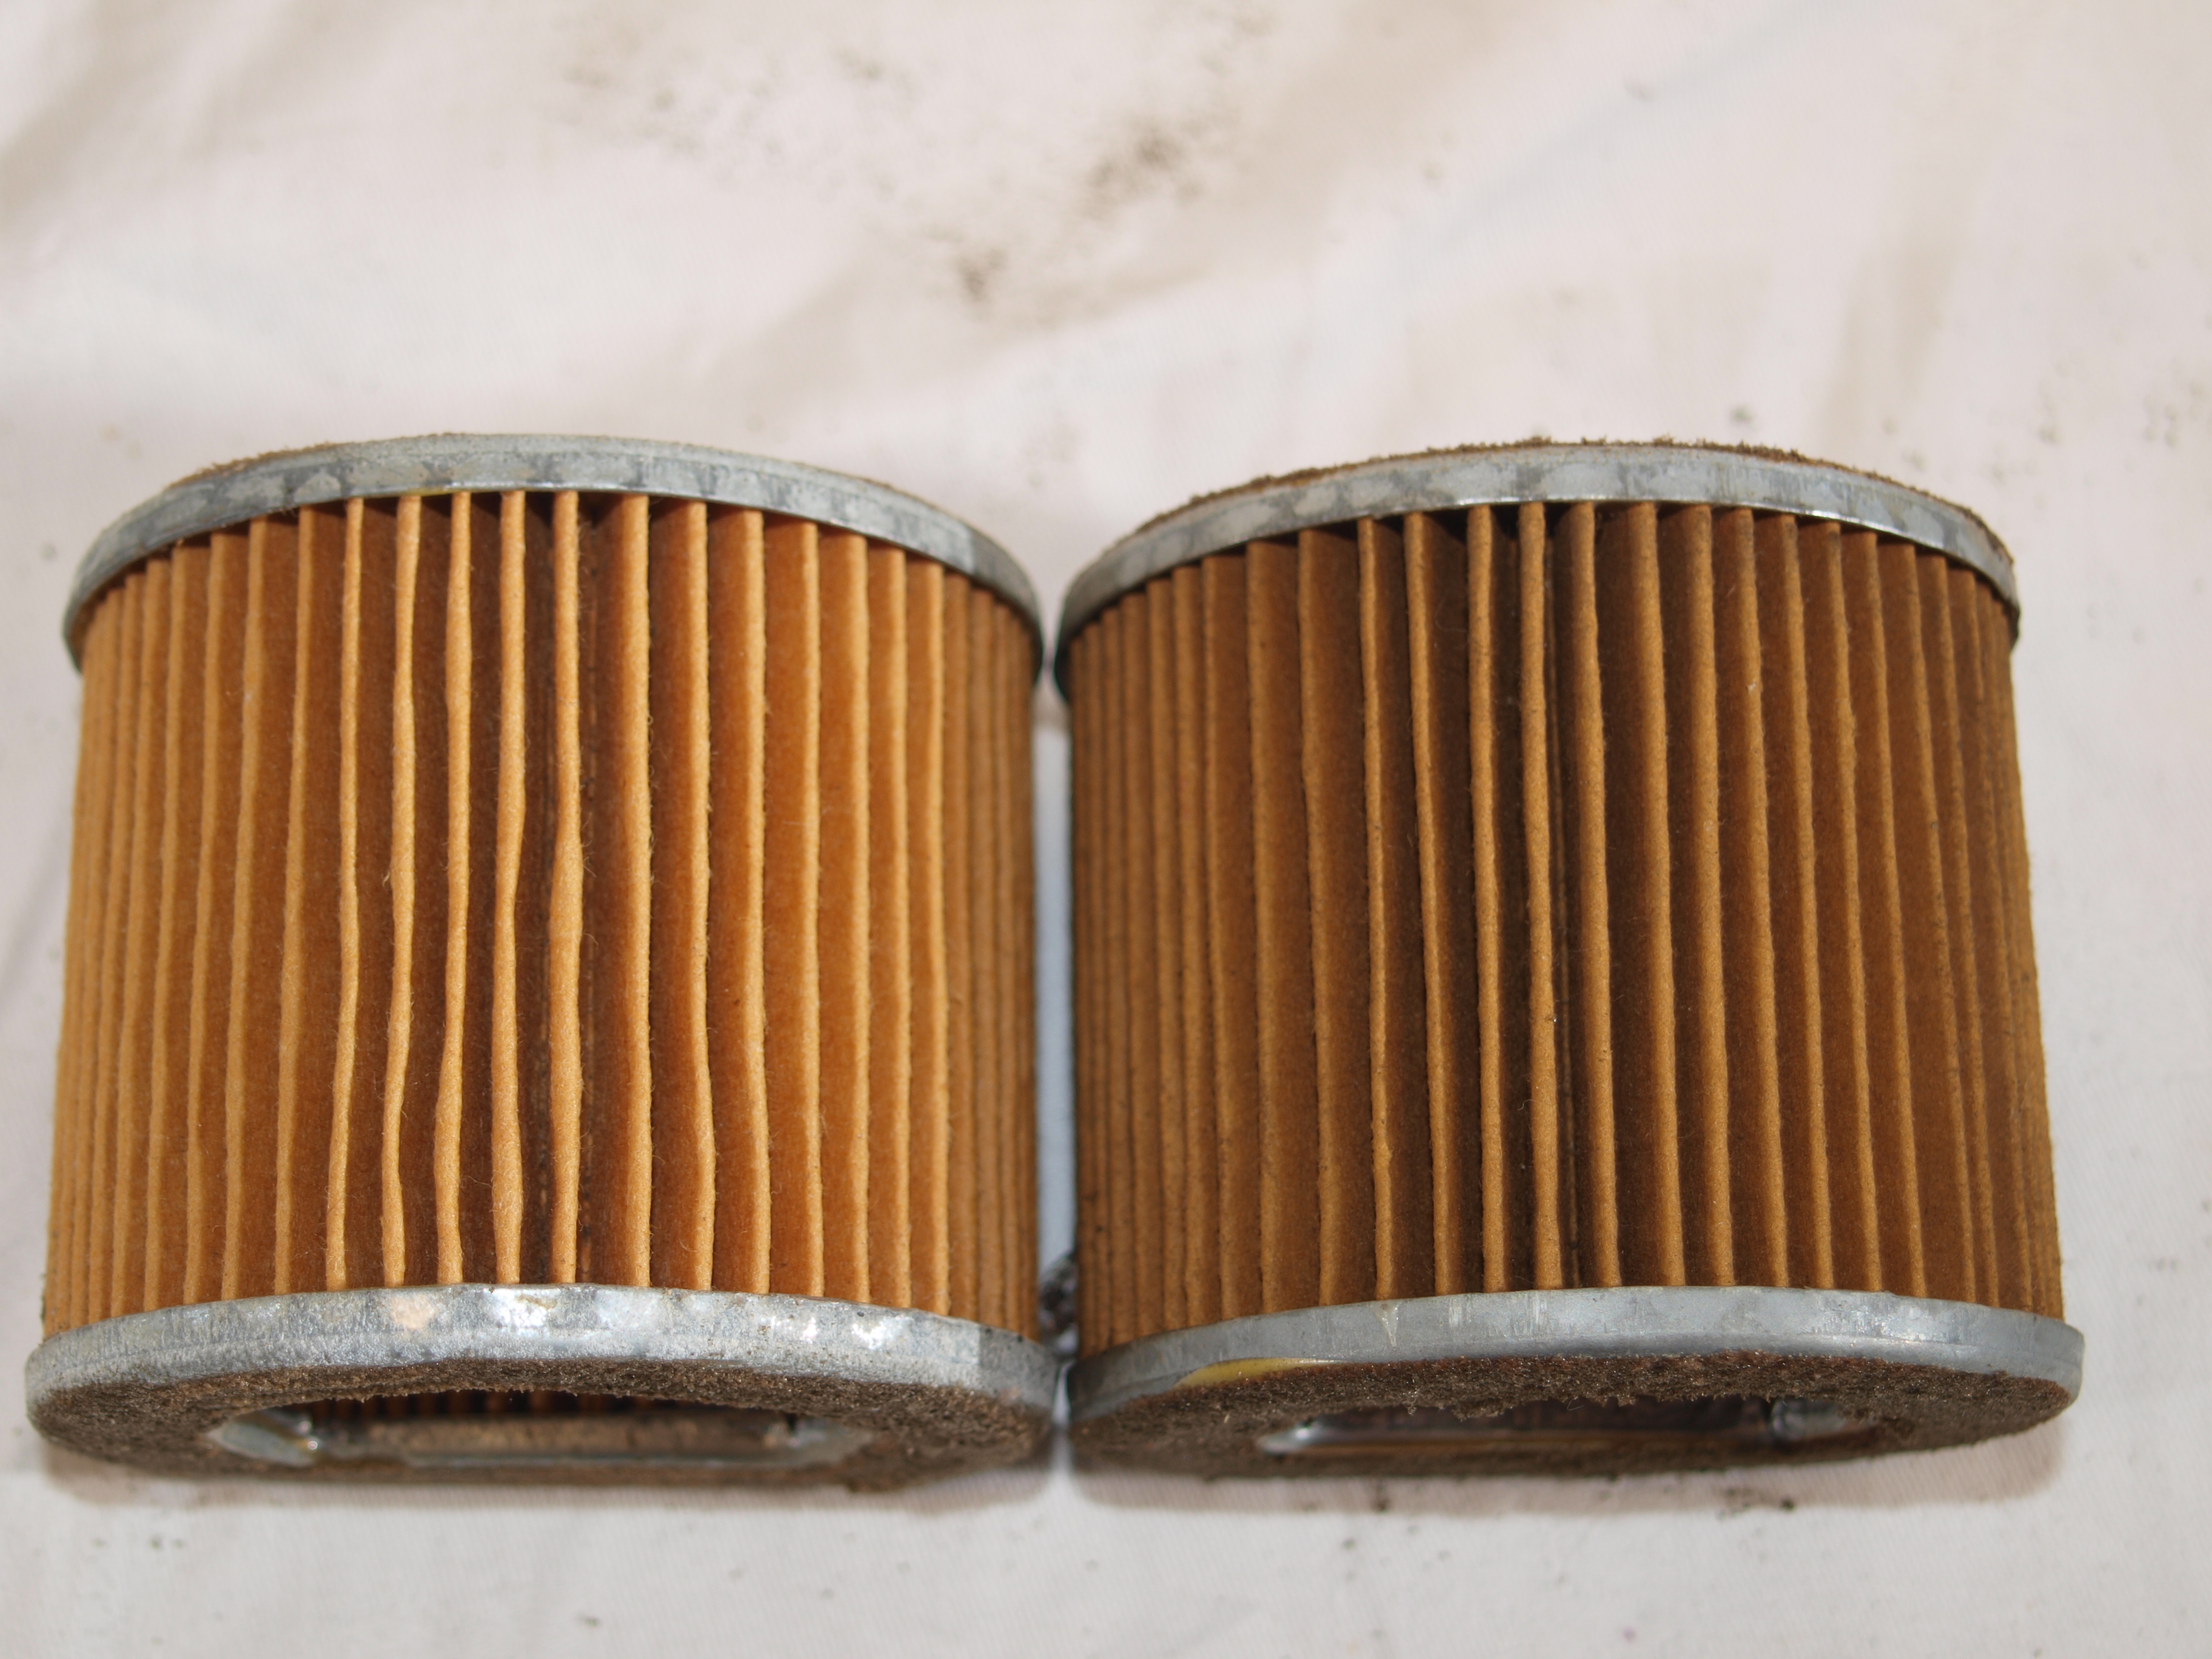
Left a NOS filter, right a dirty used one; both are actually supposed to be yellow. The NOS one is discoloured due to age, the used one is …well used. 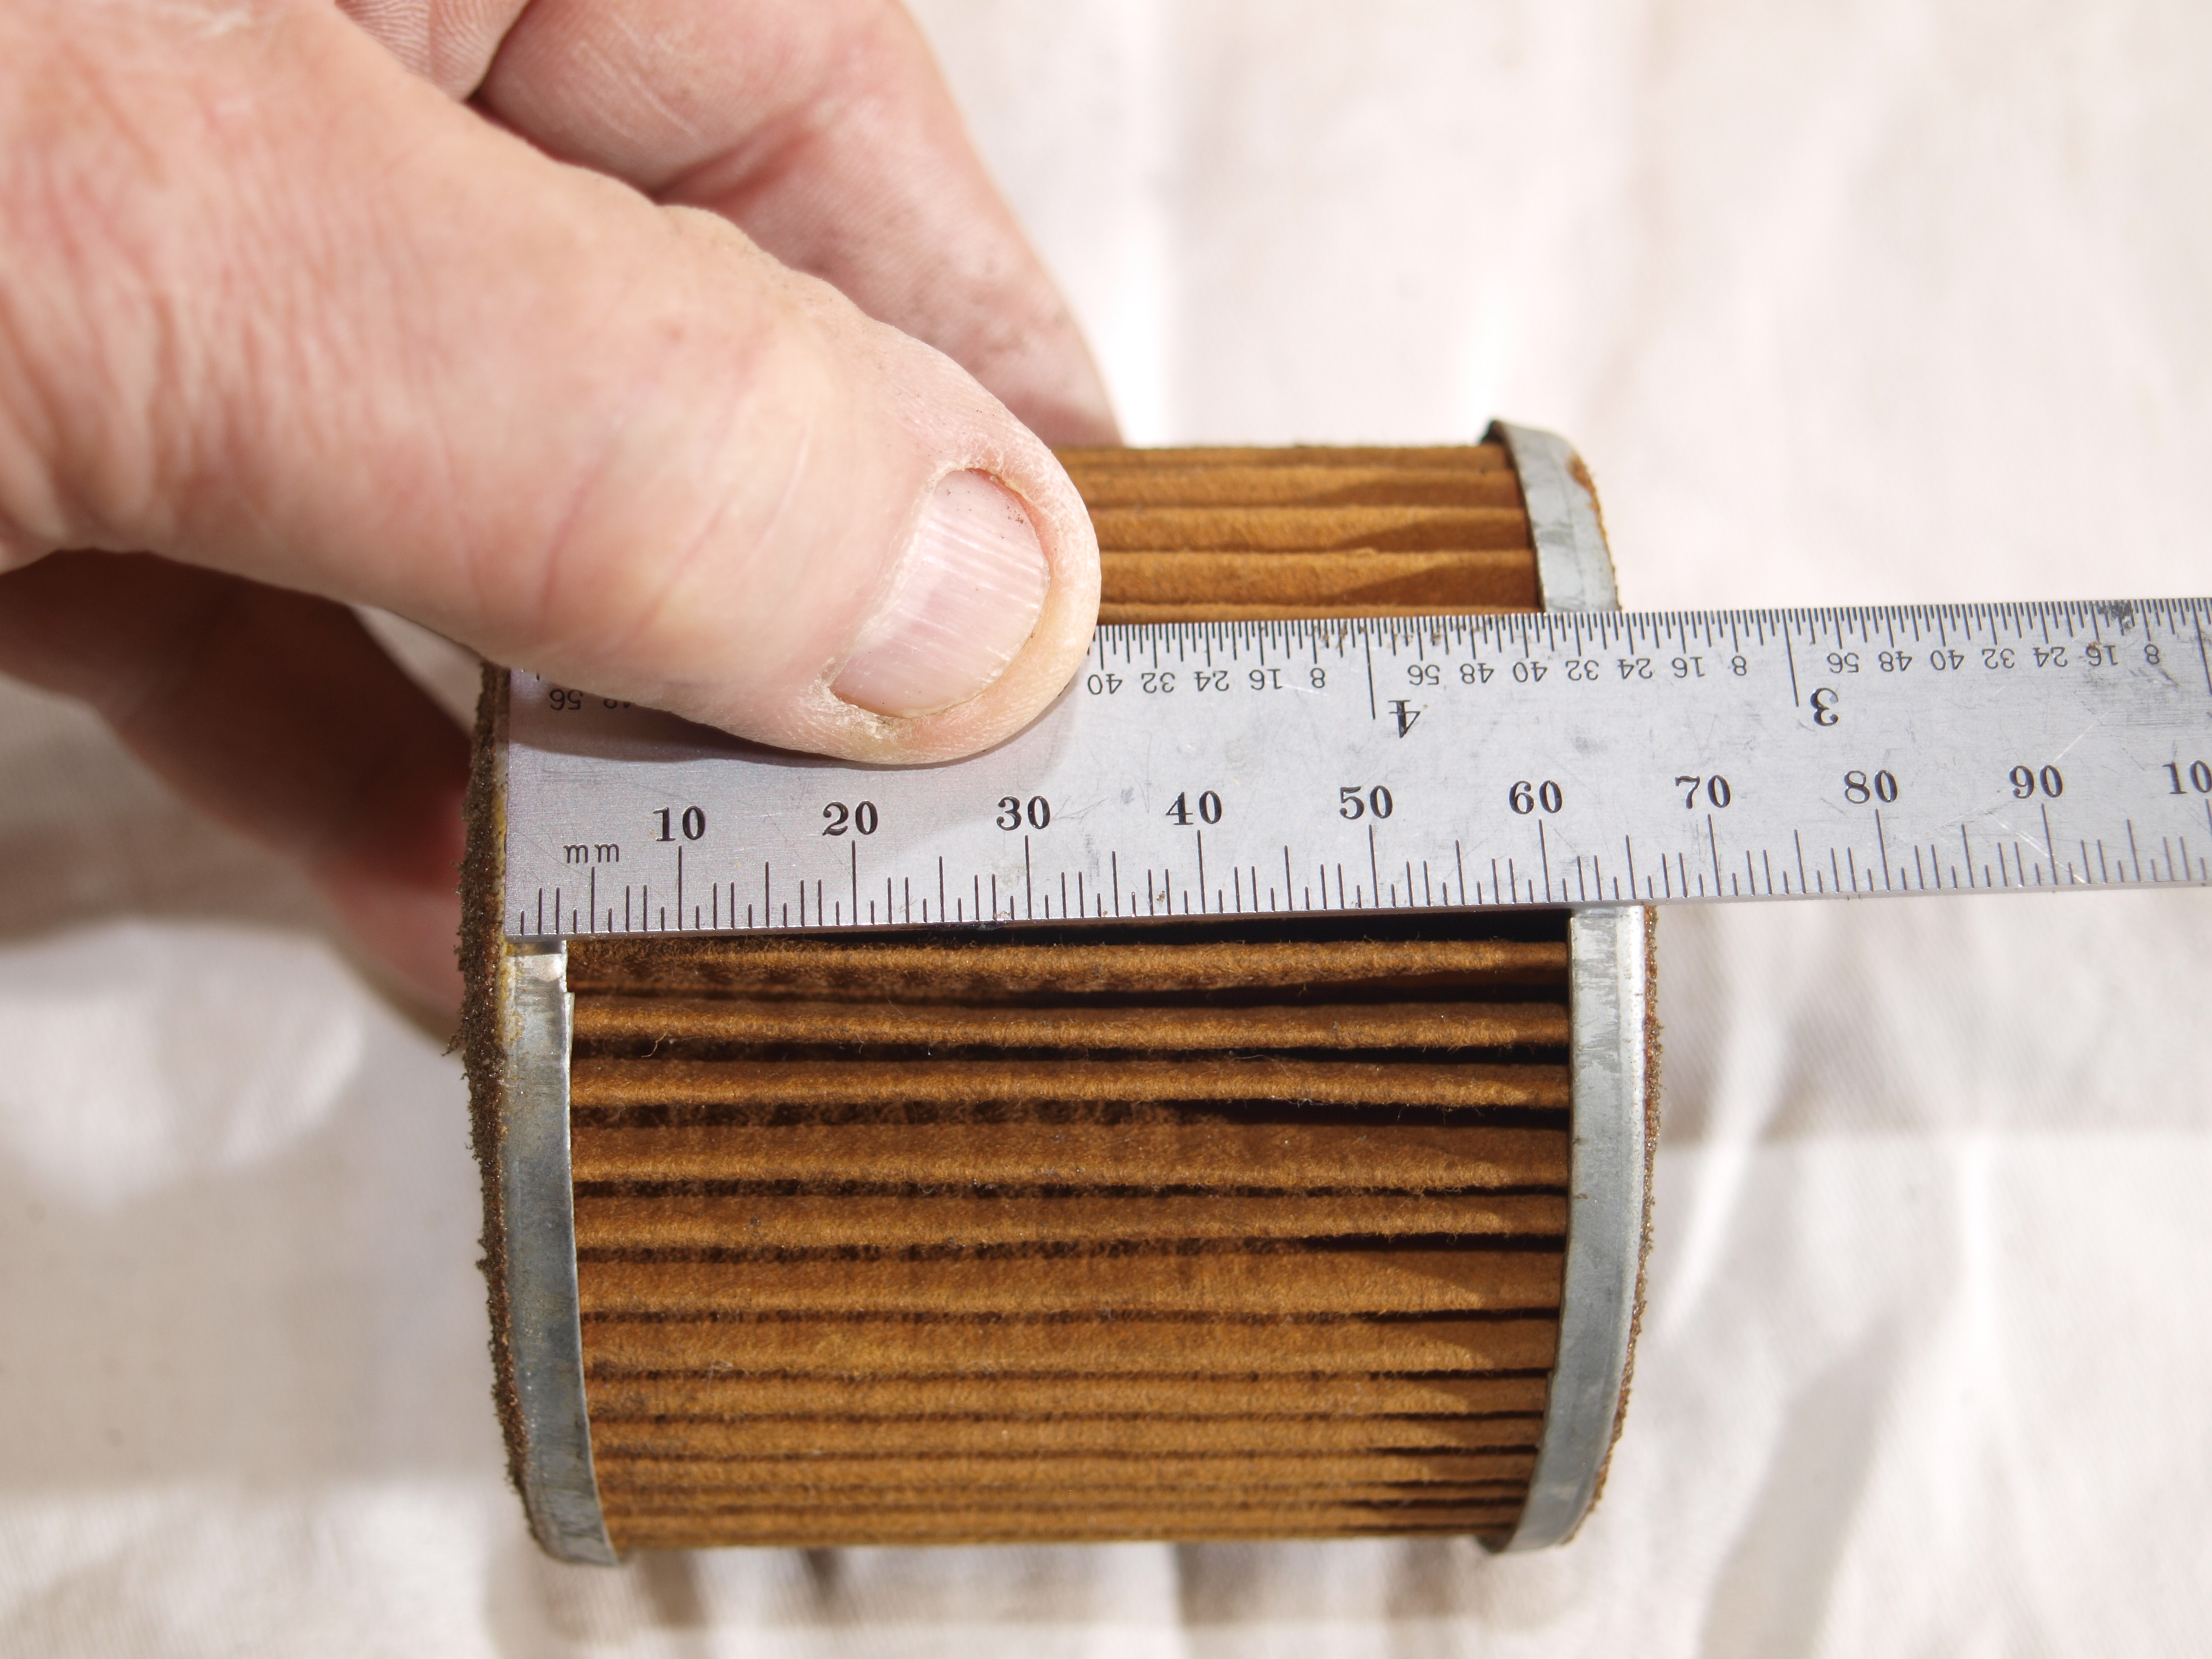
Before ripping the old filter apart we need to know the key dimensions; width and depth of pleats plus the total number of folds. This data allows us to select a likely donor candidate filter. 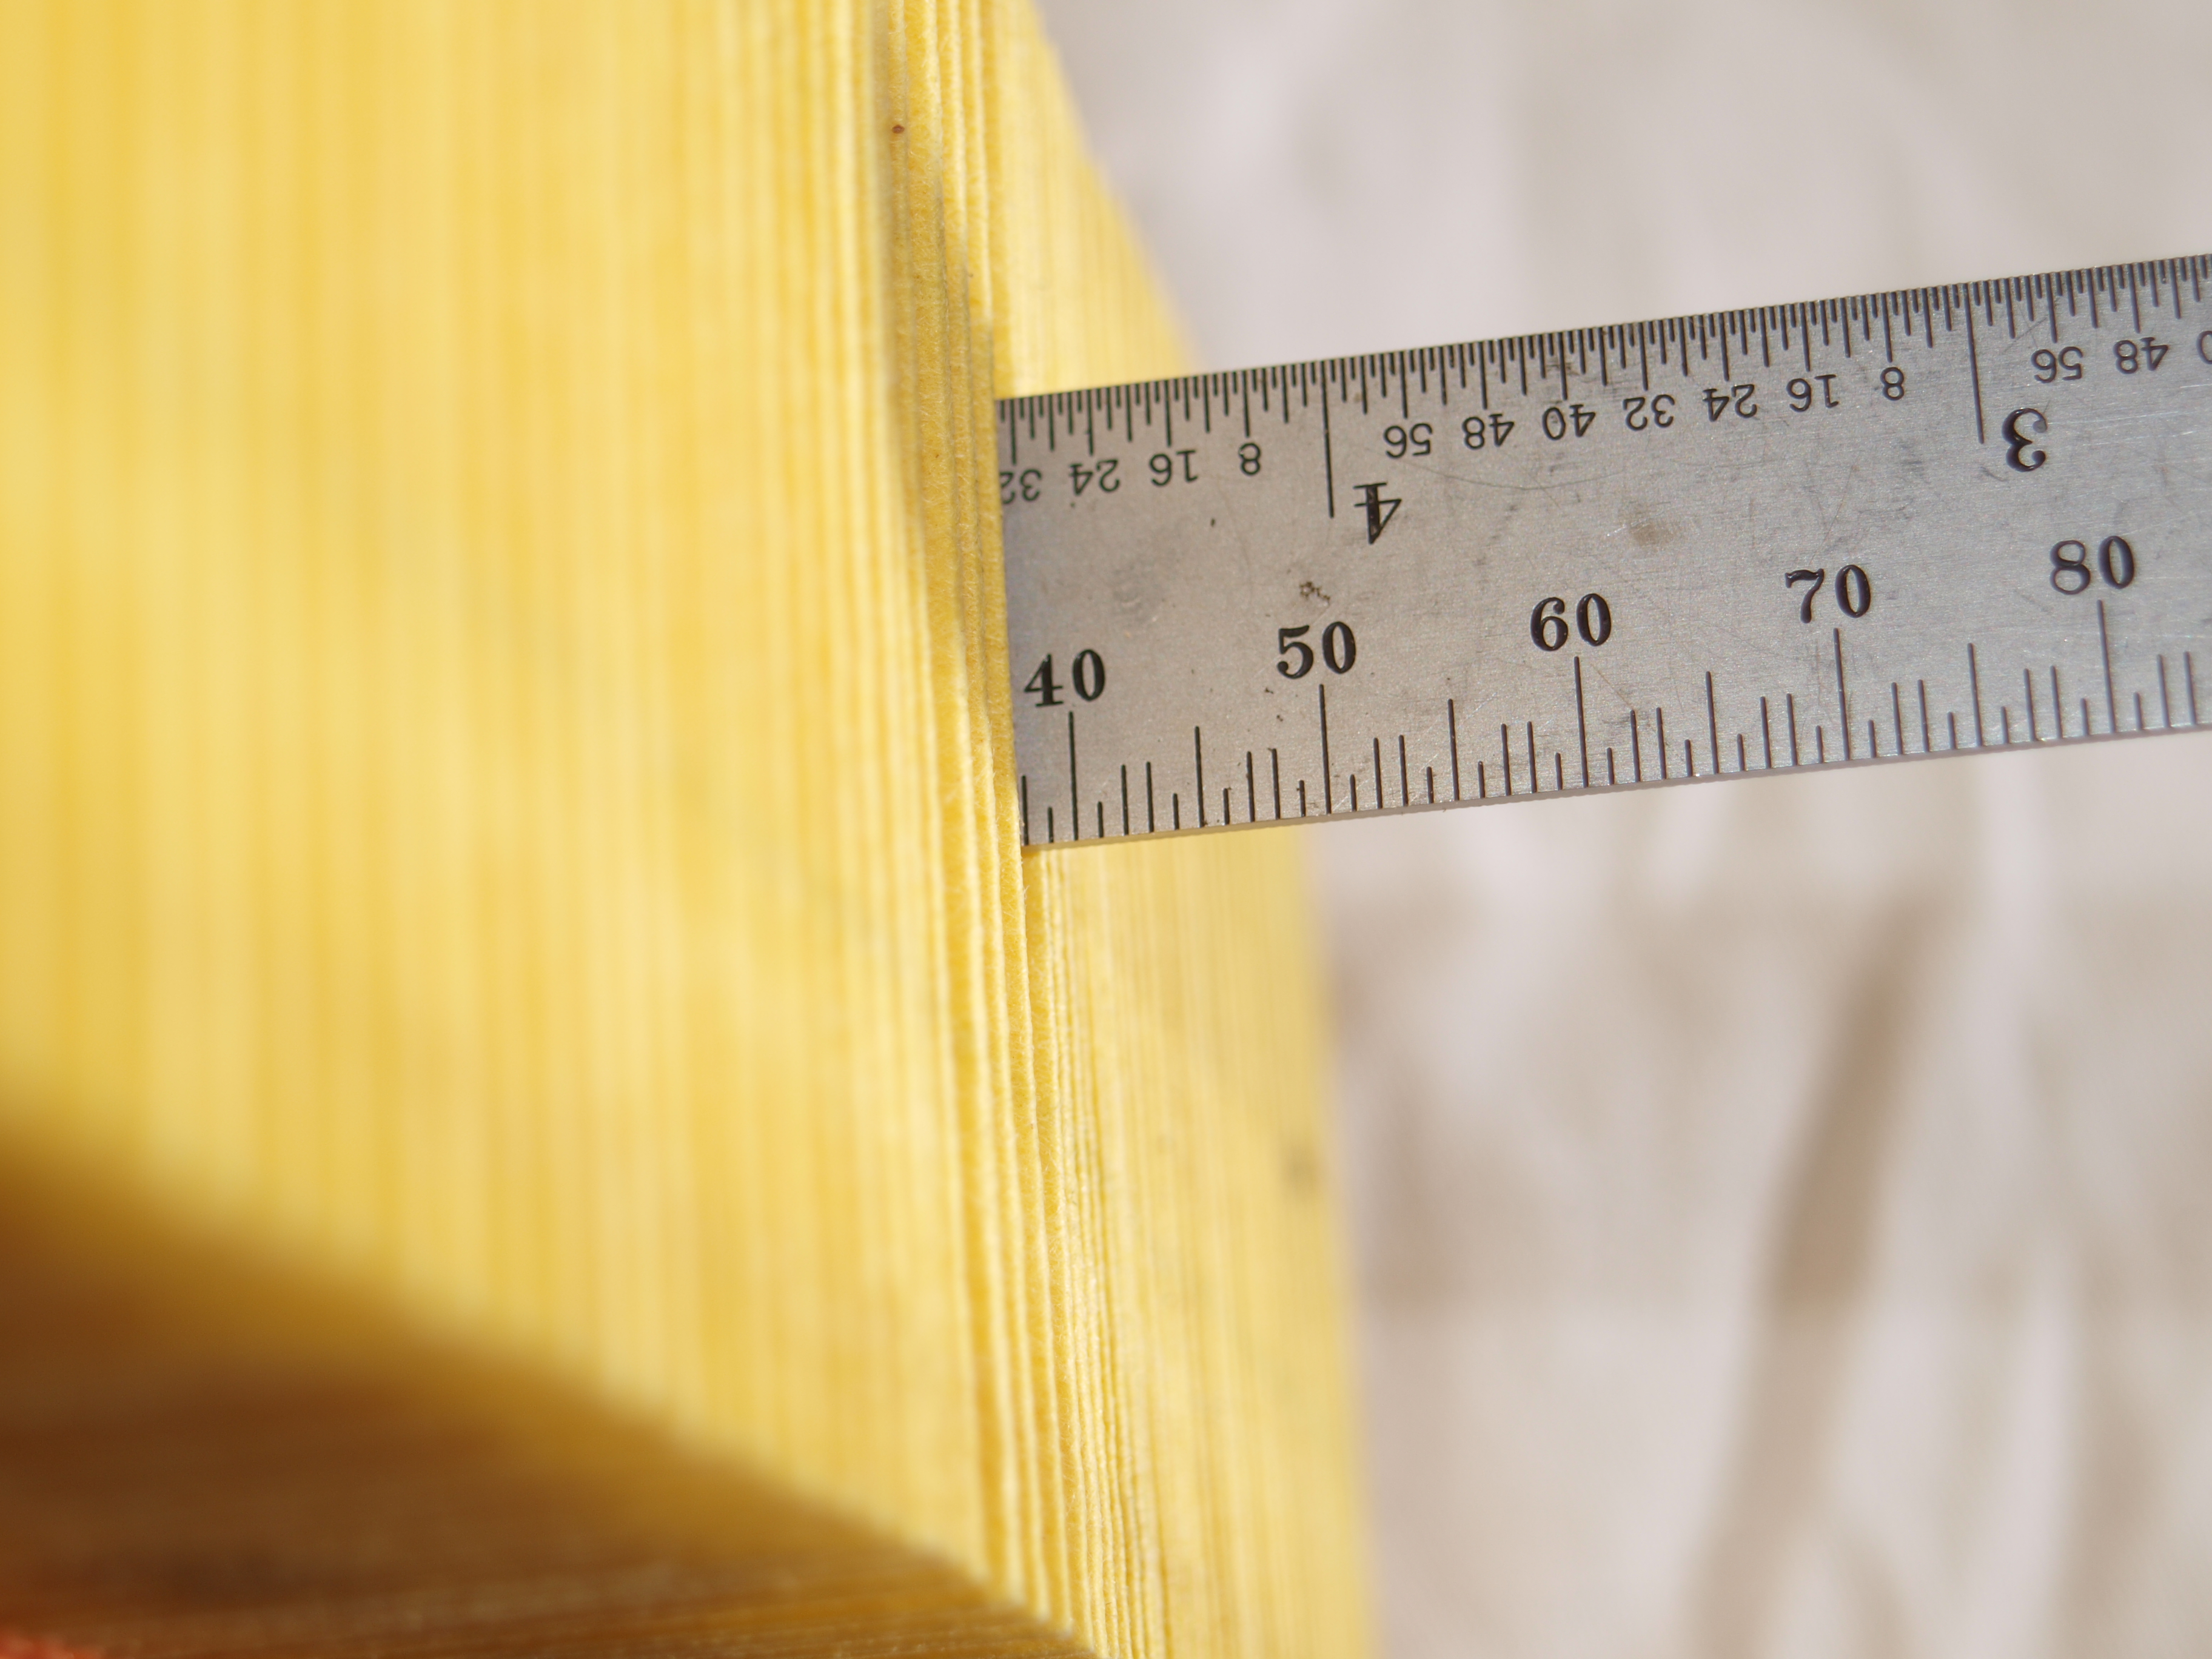
The original filter had a pleat depth of just under 9 mm; this Halfords car air filter is 38 mm deep so approximately four times the depth needed. When refolded into four, each pleat will give dimensions close enough to the old filters pleating. 
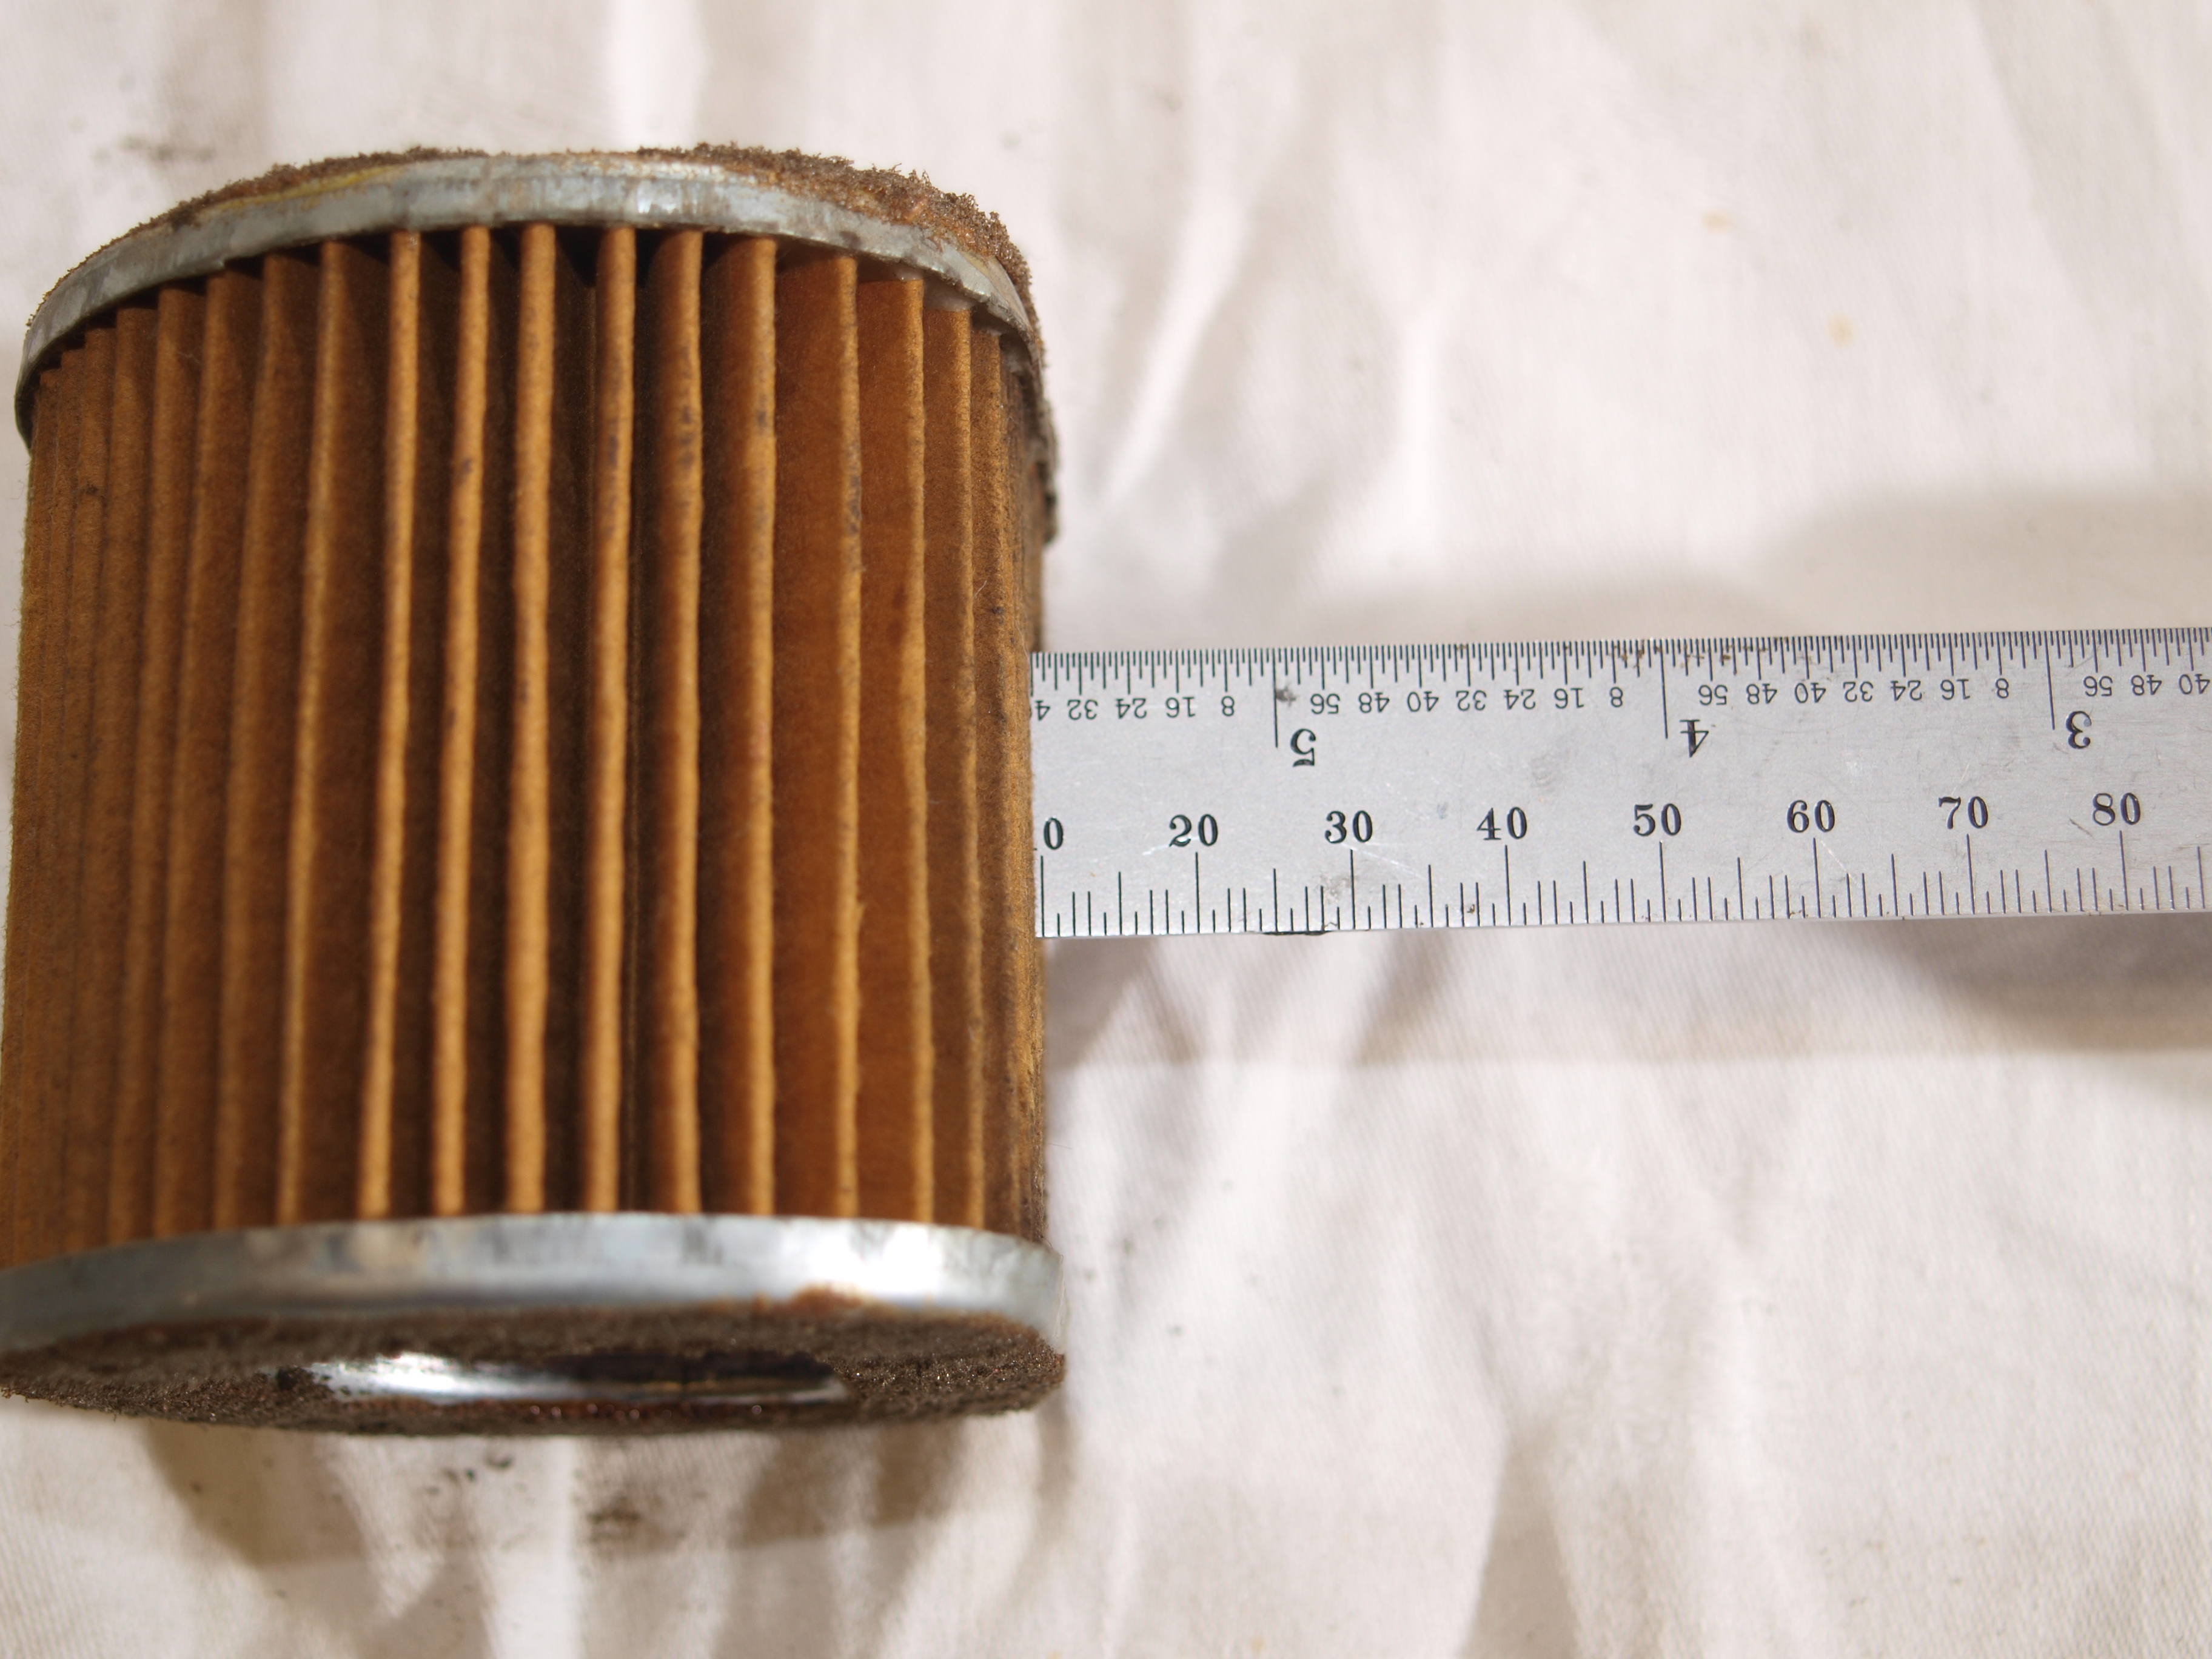
A craft knife makes short work of the old filter. Before chucking it in the bin it’s a good idea to recount the number of pleats just to be sure. 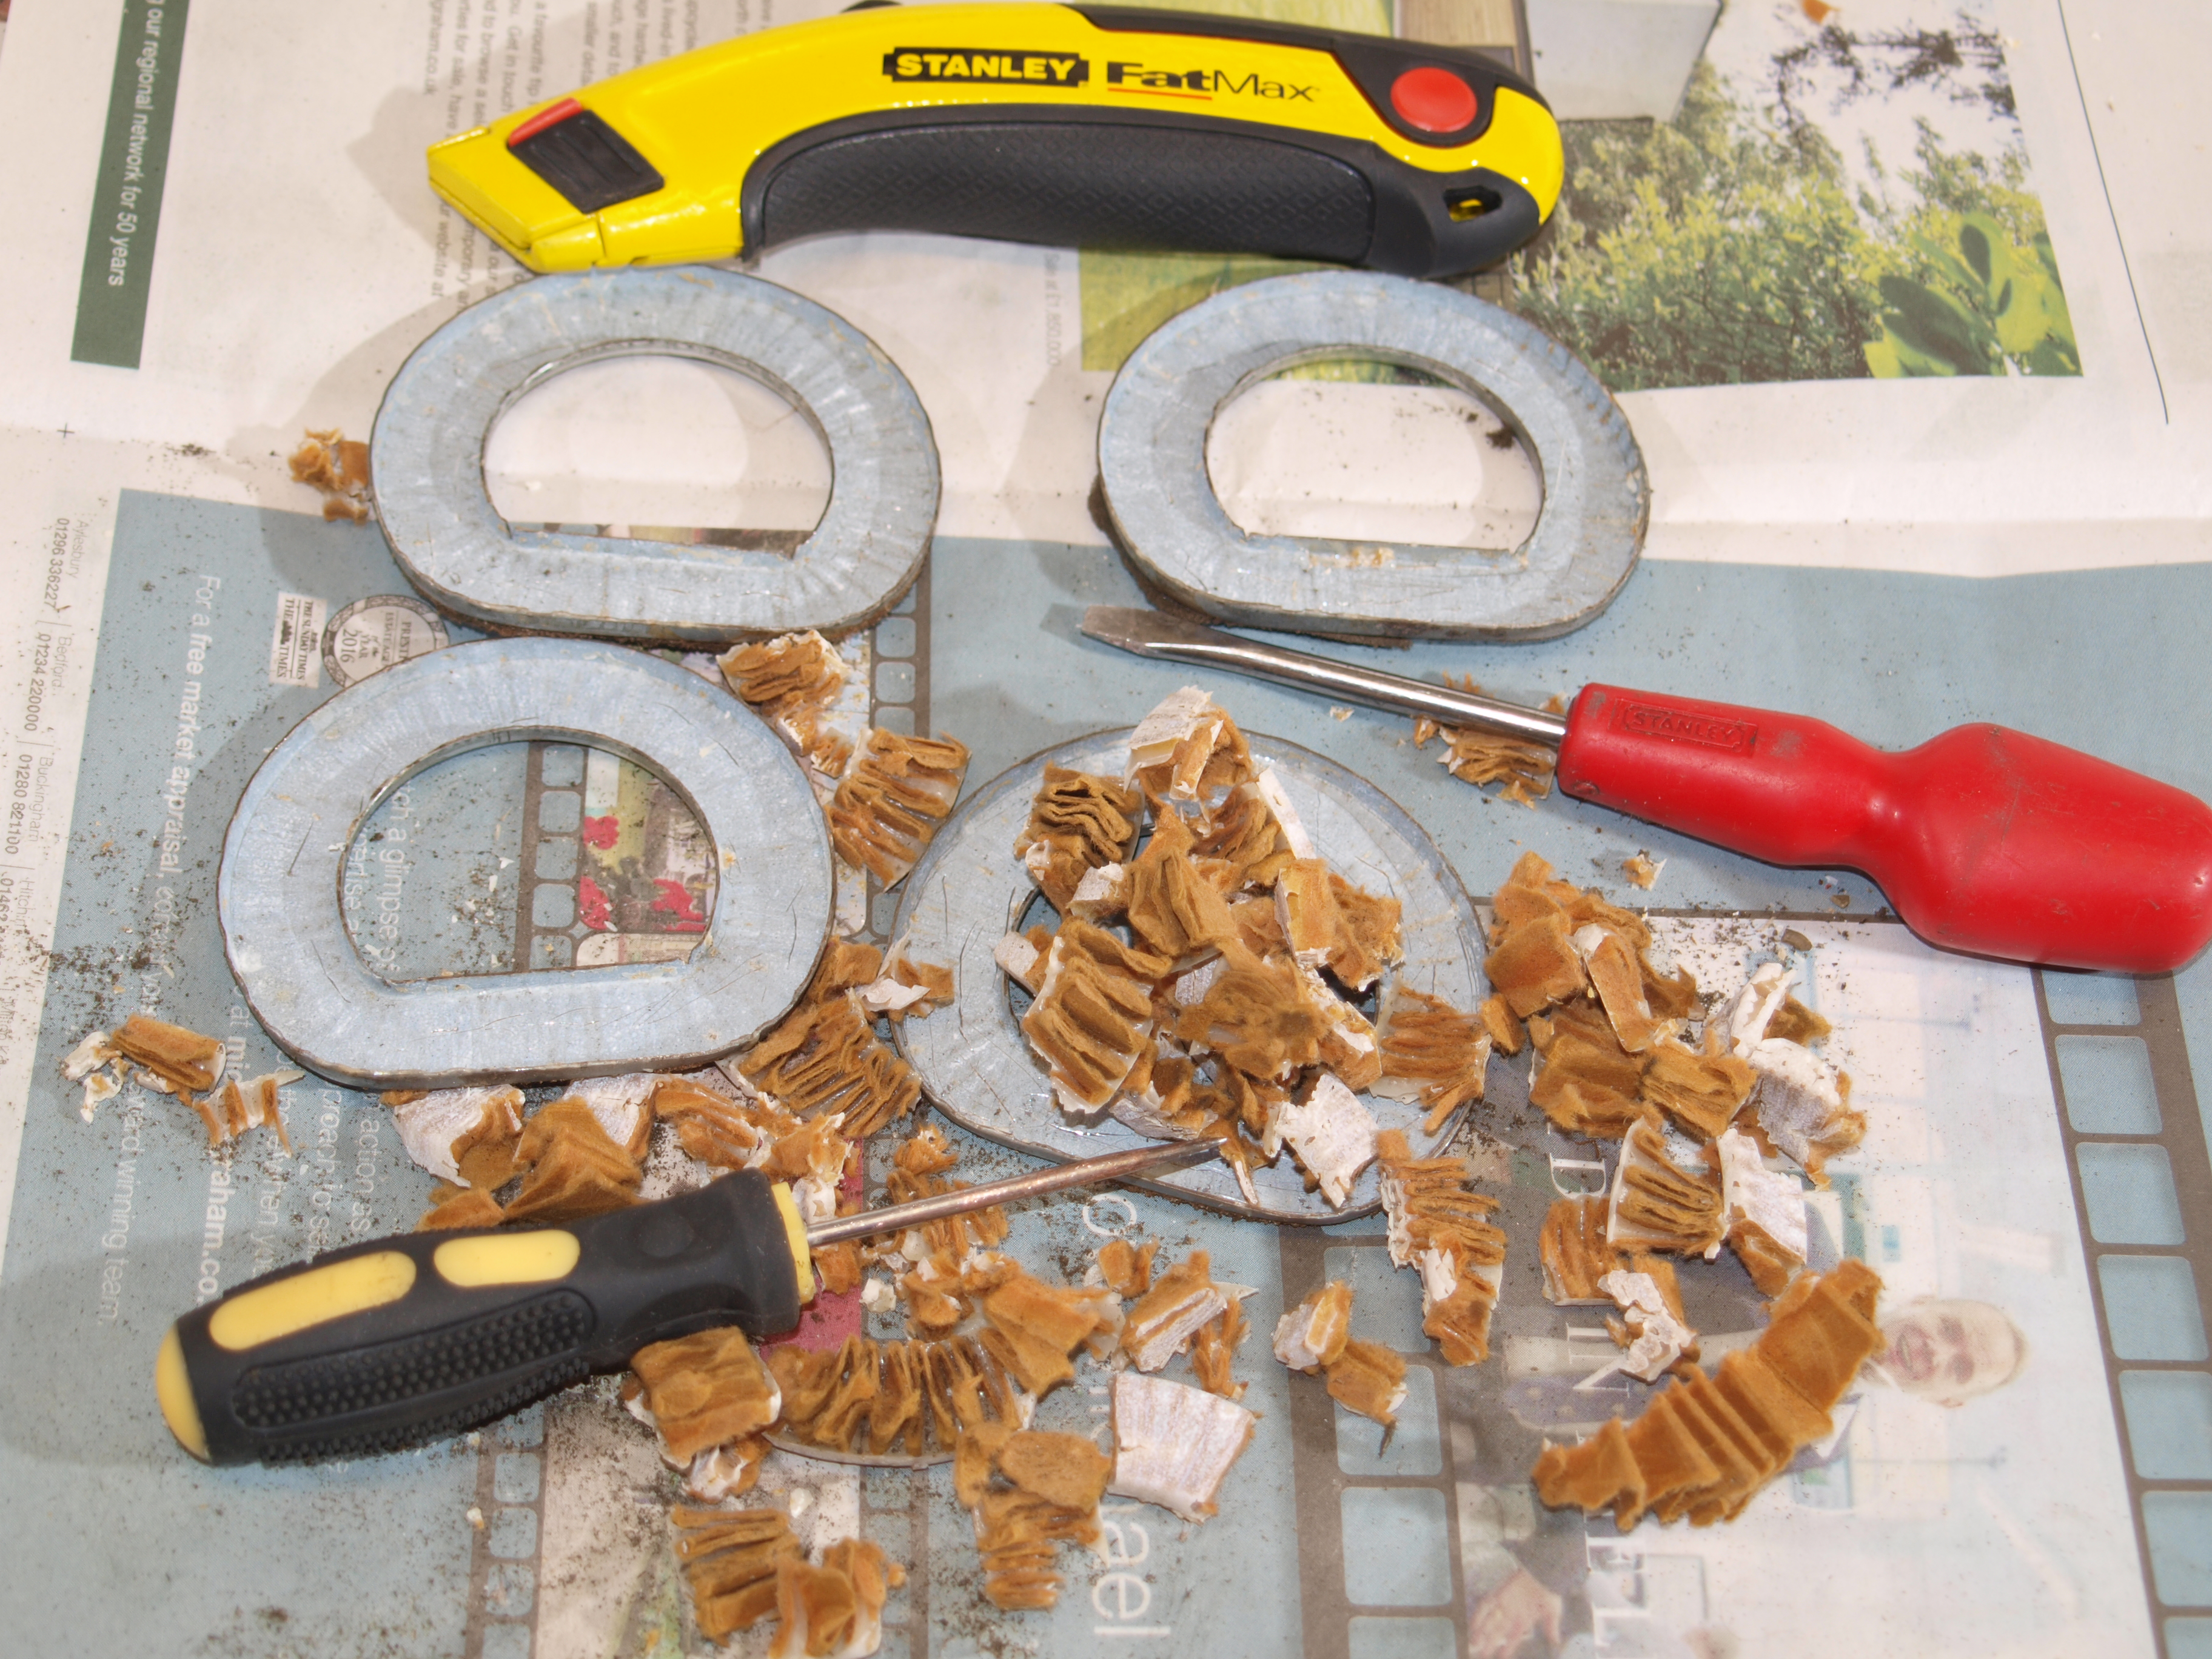
The old glue needs to be evicted from the metal filter ends. The Yamaha’s was some sort of brittle epoxy or hot melt and warranted a severe talking to. 
The donor filter can now be dissected and very carefully liberated from its silicone rubber cuff. A deep, sharp, kitchen knife proved to be ideal to cut between the glued pleats. 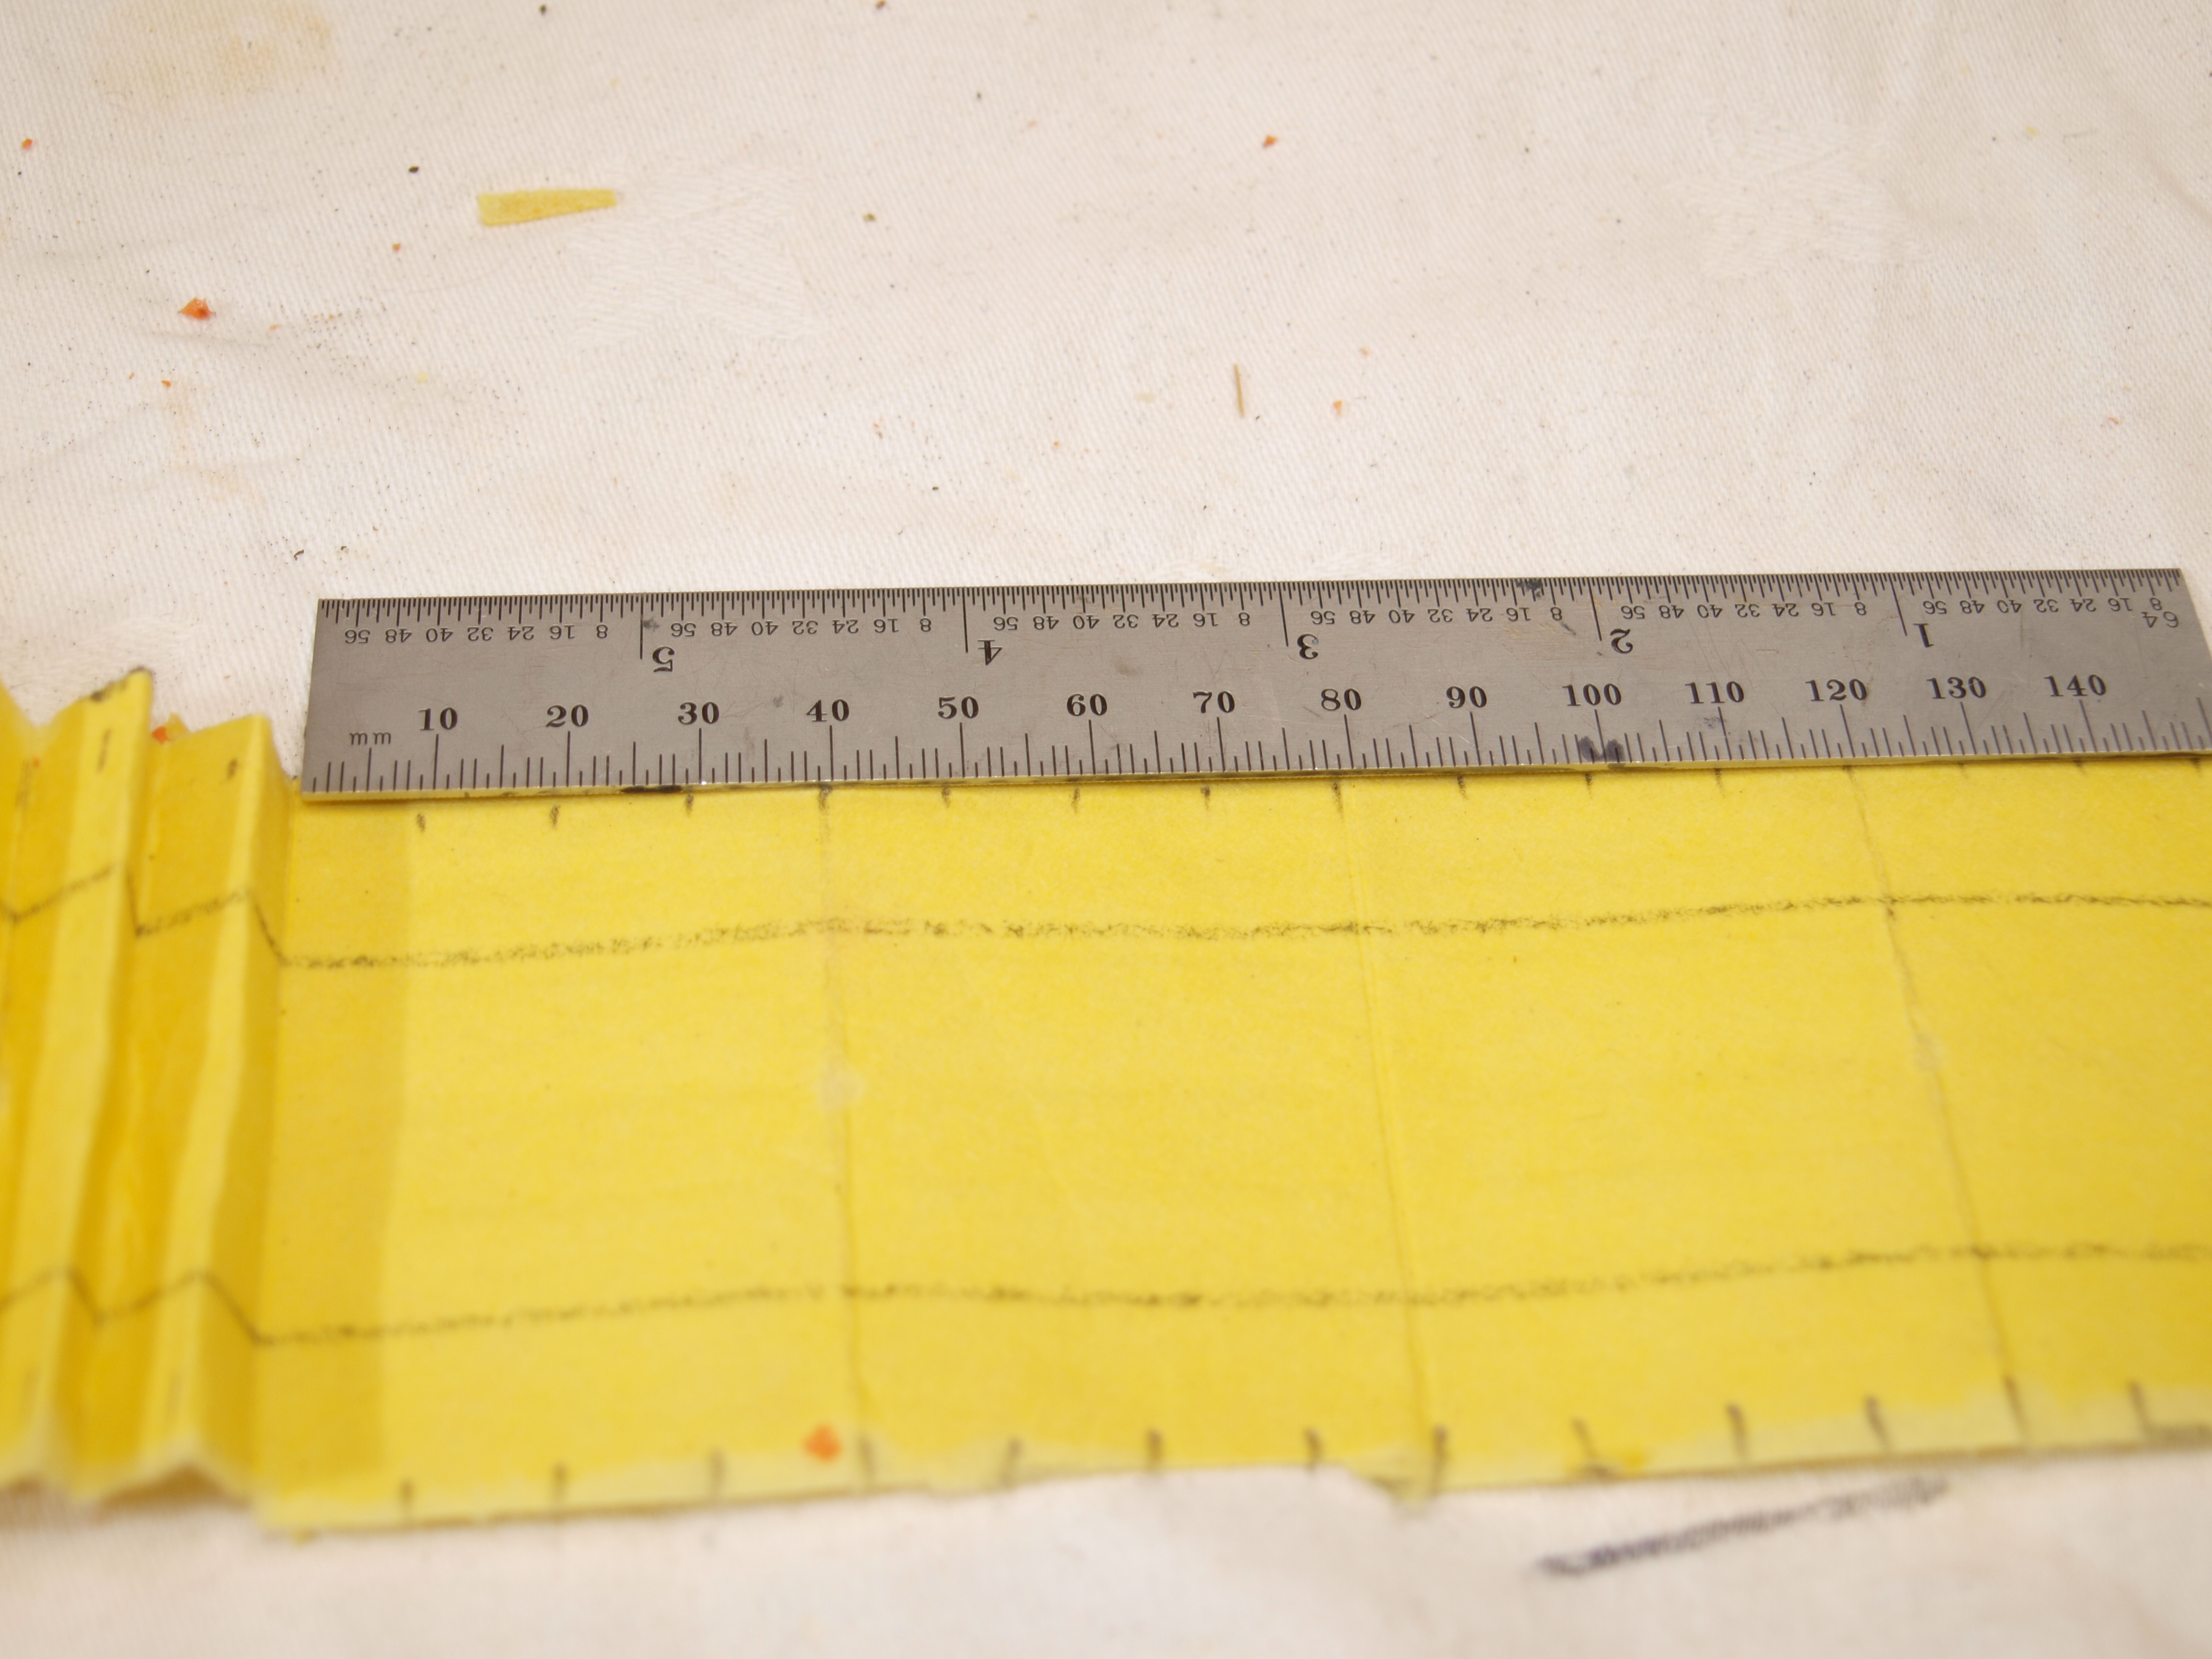
Next up the filter paper is opened out and marked to the required size. I found it best to fold the paper over a straight edge such as a ruler. After this, it’s back to primary school folding and glueing. 
The rather floppy concertina of filter paper is now compressed between two clean wooden blocks. This unifies the folds ready for the next stage. 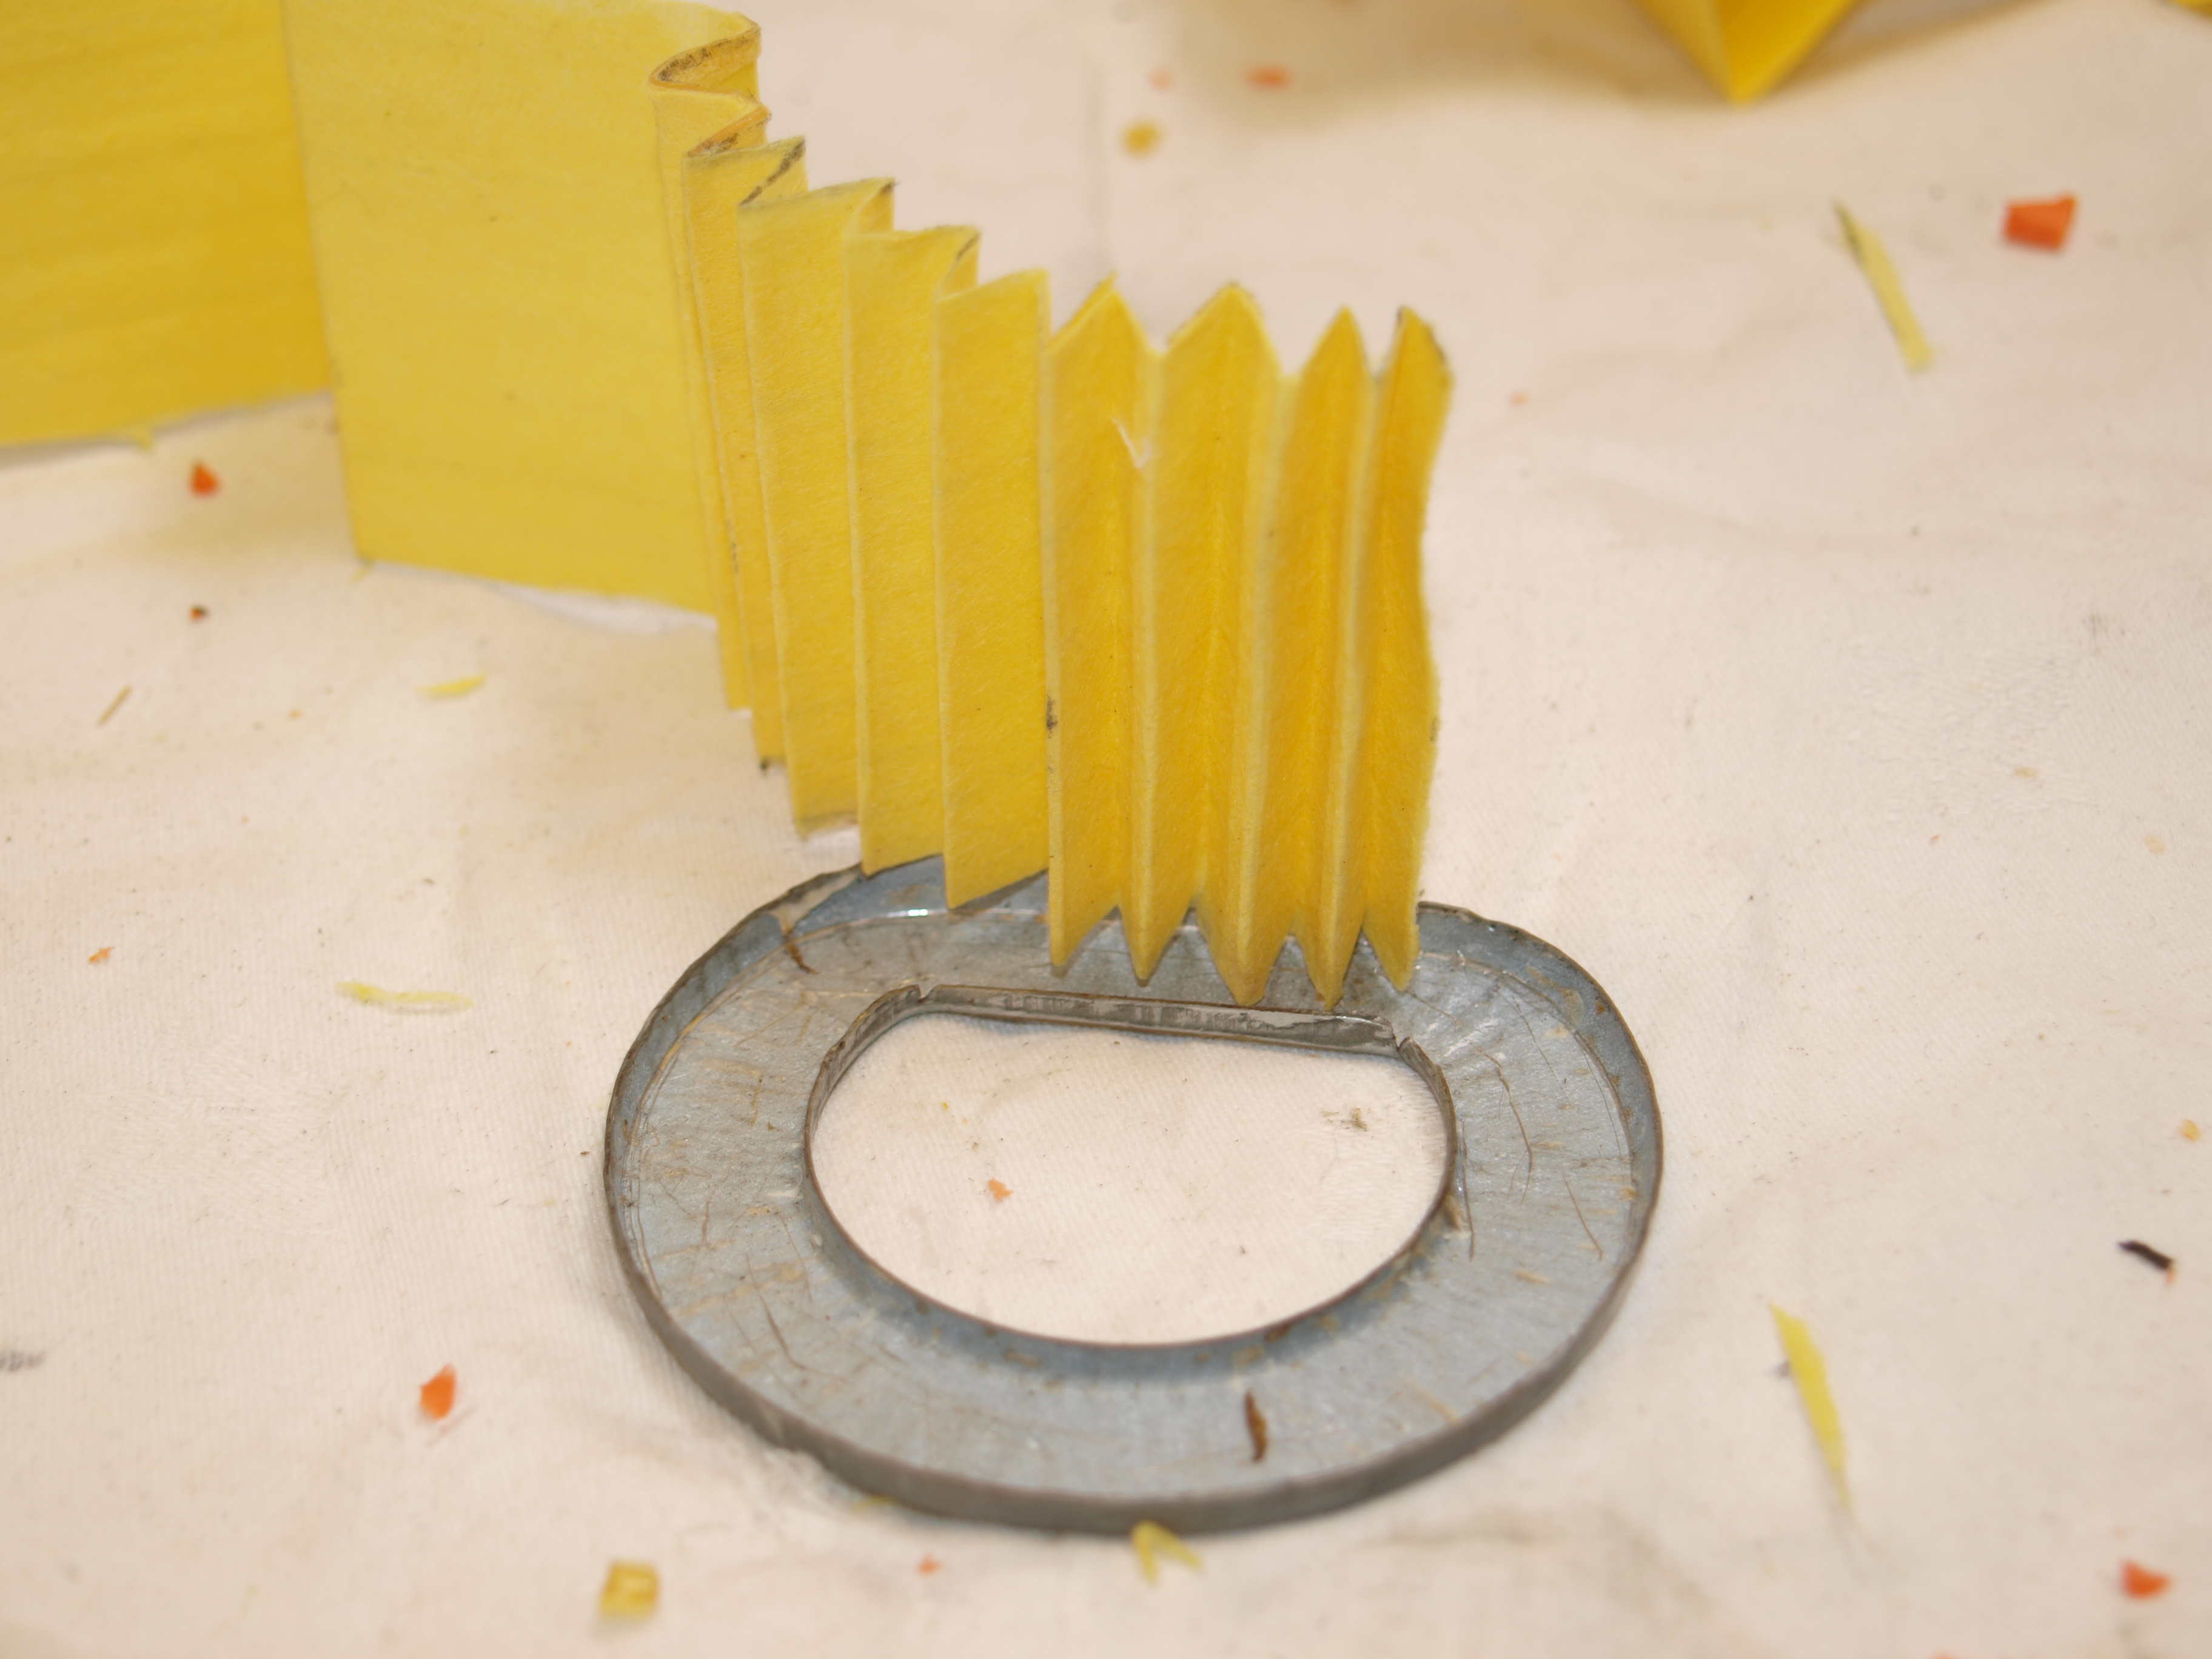
Before getting messy with the glue it’s a good idea to double-check the pleats fit into the end plates of the old filters. 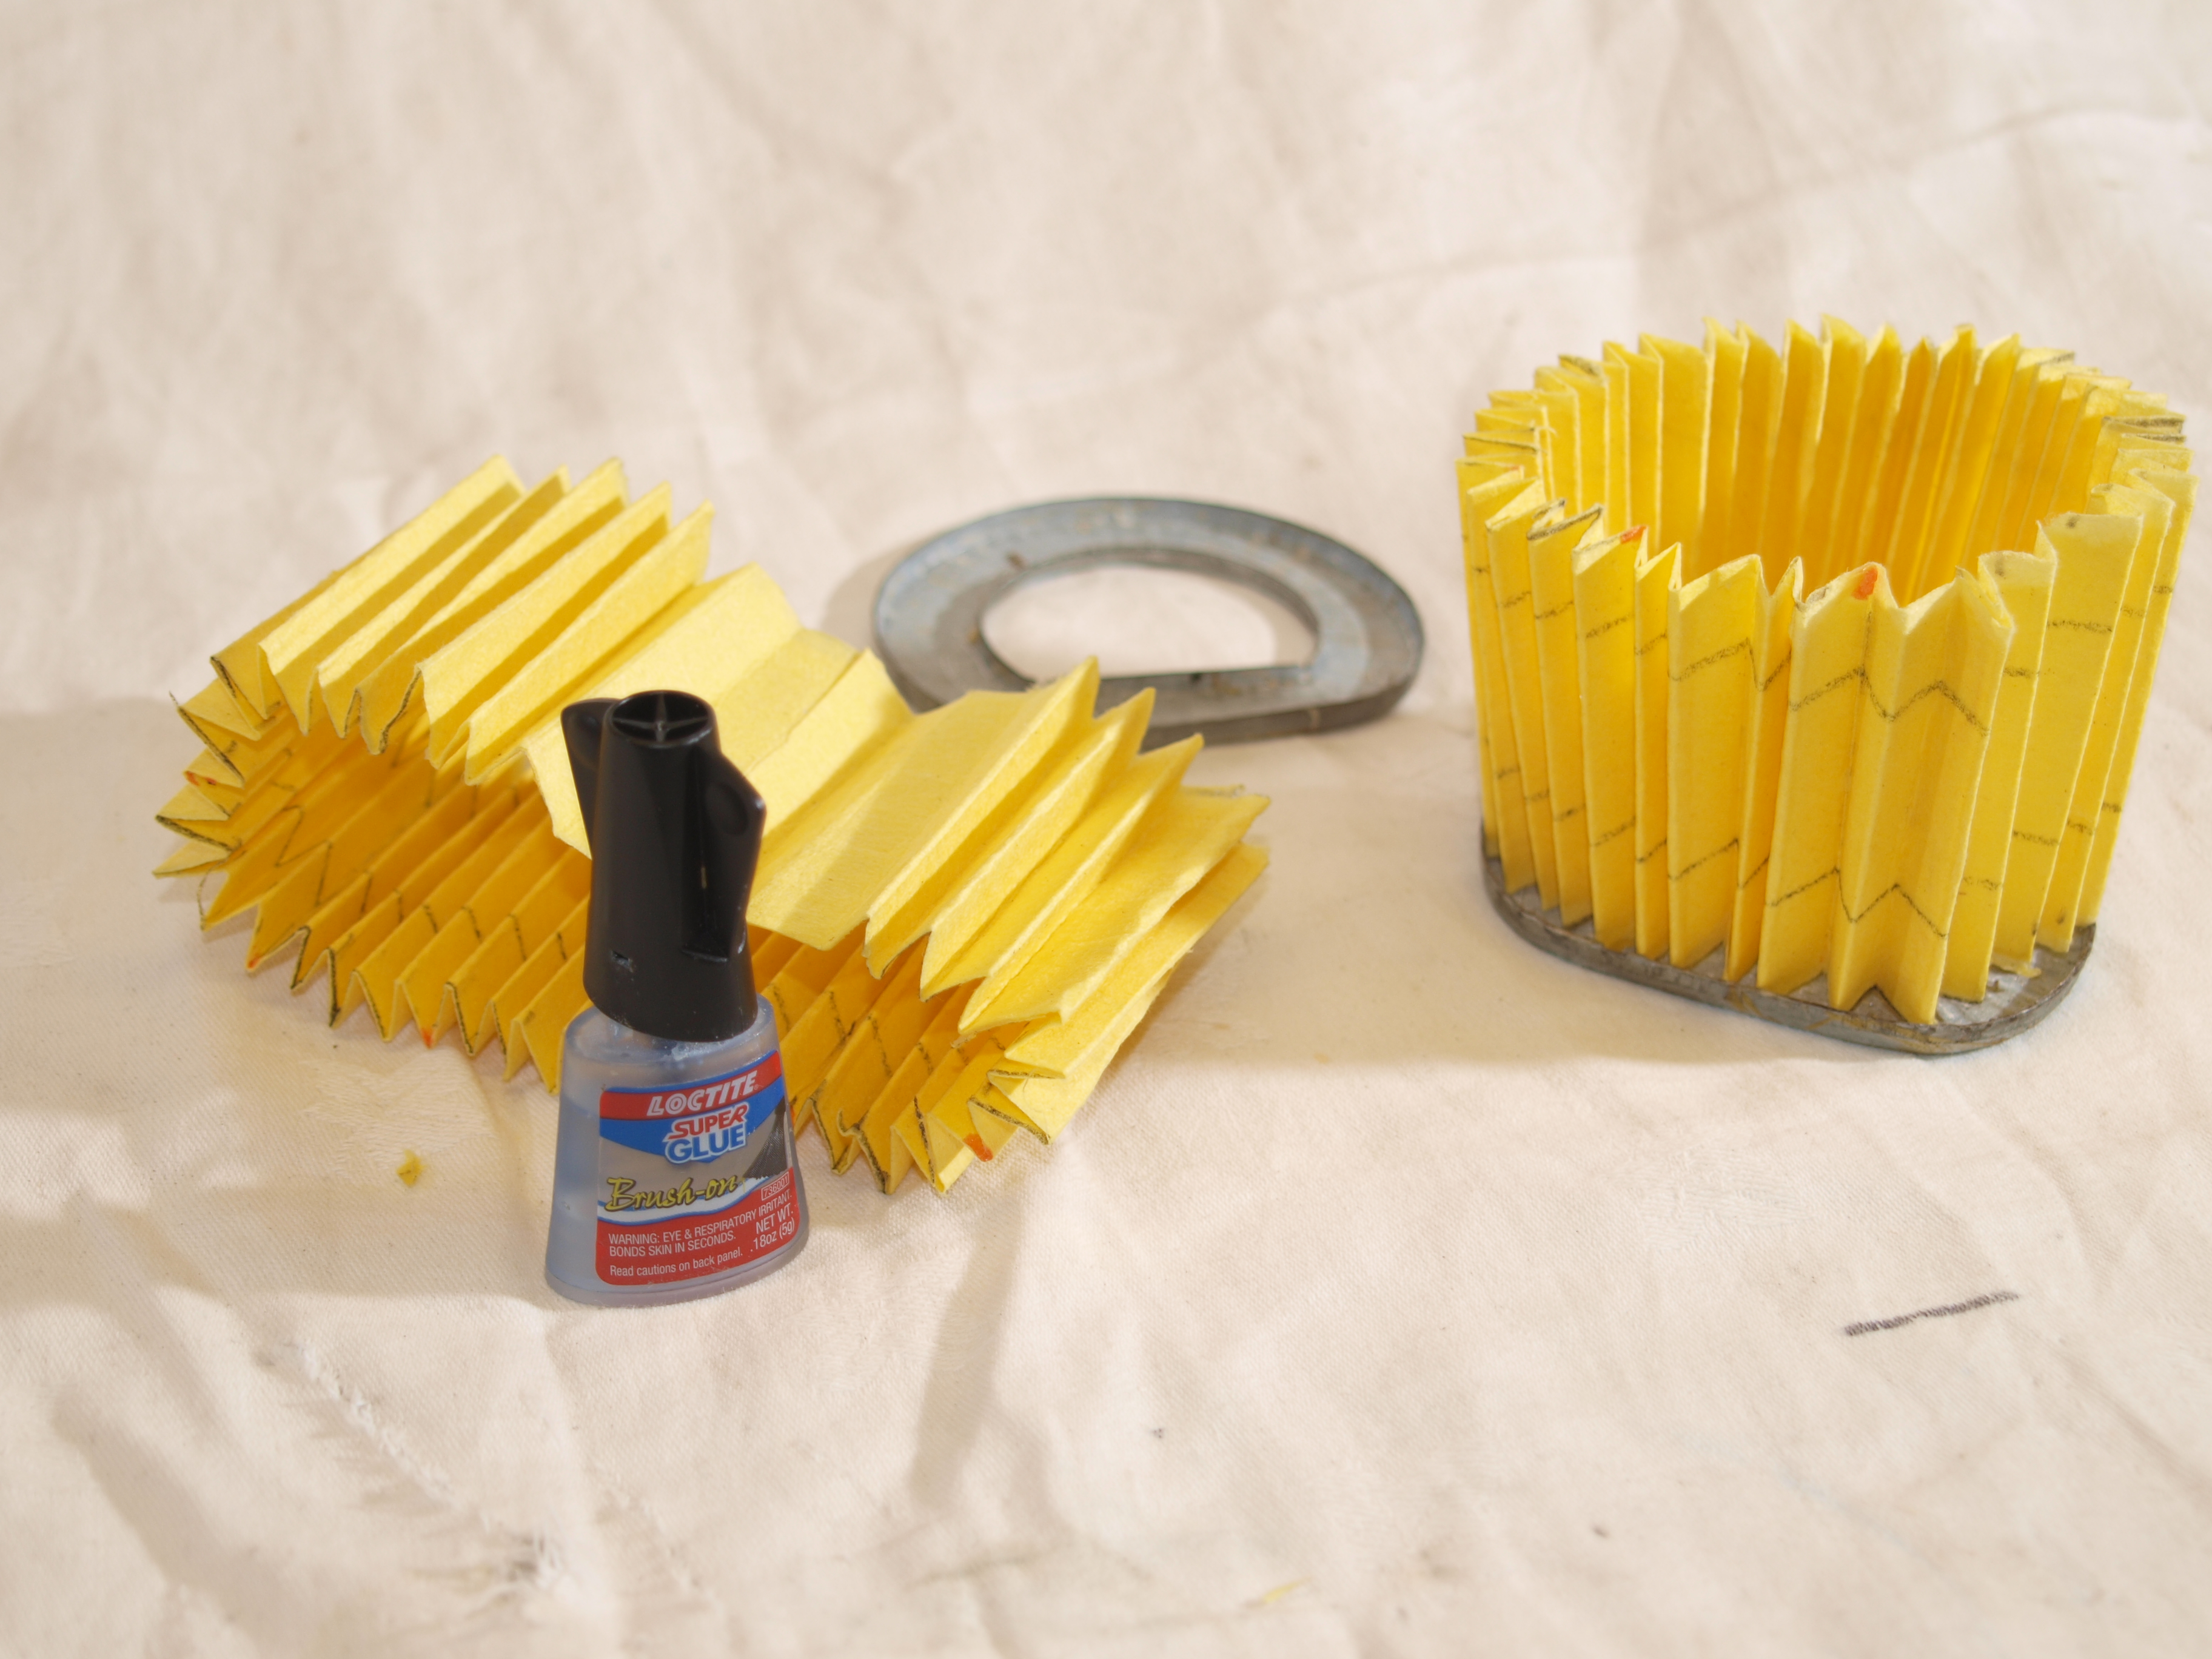
When happy everything fits, the concertina is glued together with some brushable super glue. This seems to give maximum stick with minimal mess and impact on the filter paper. 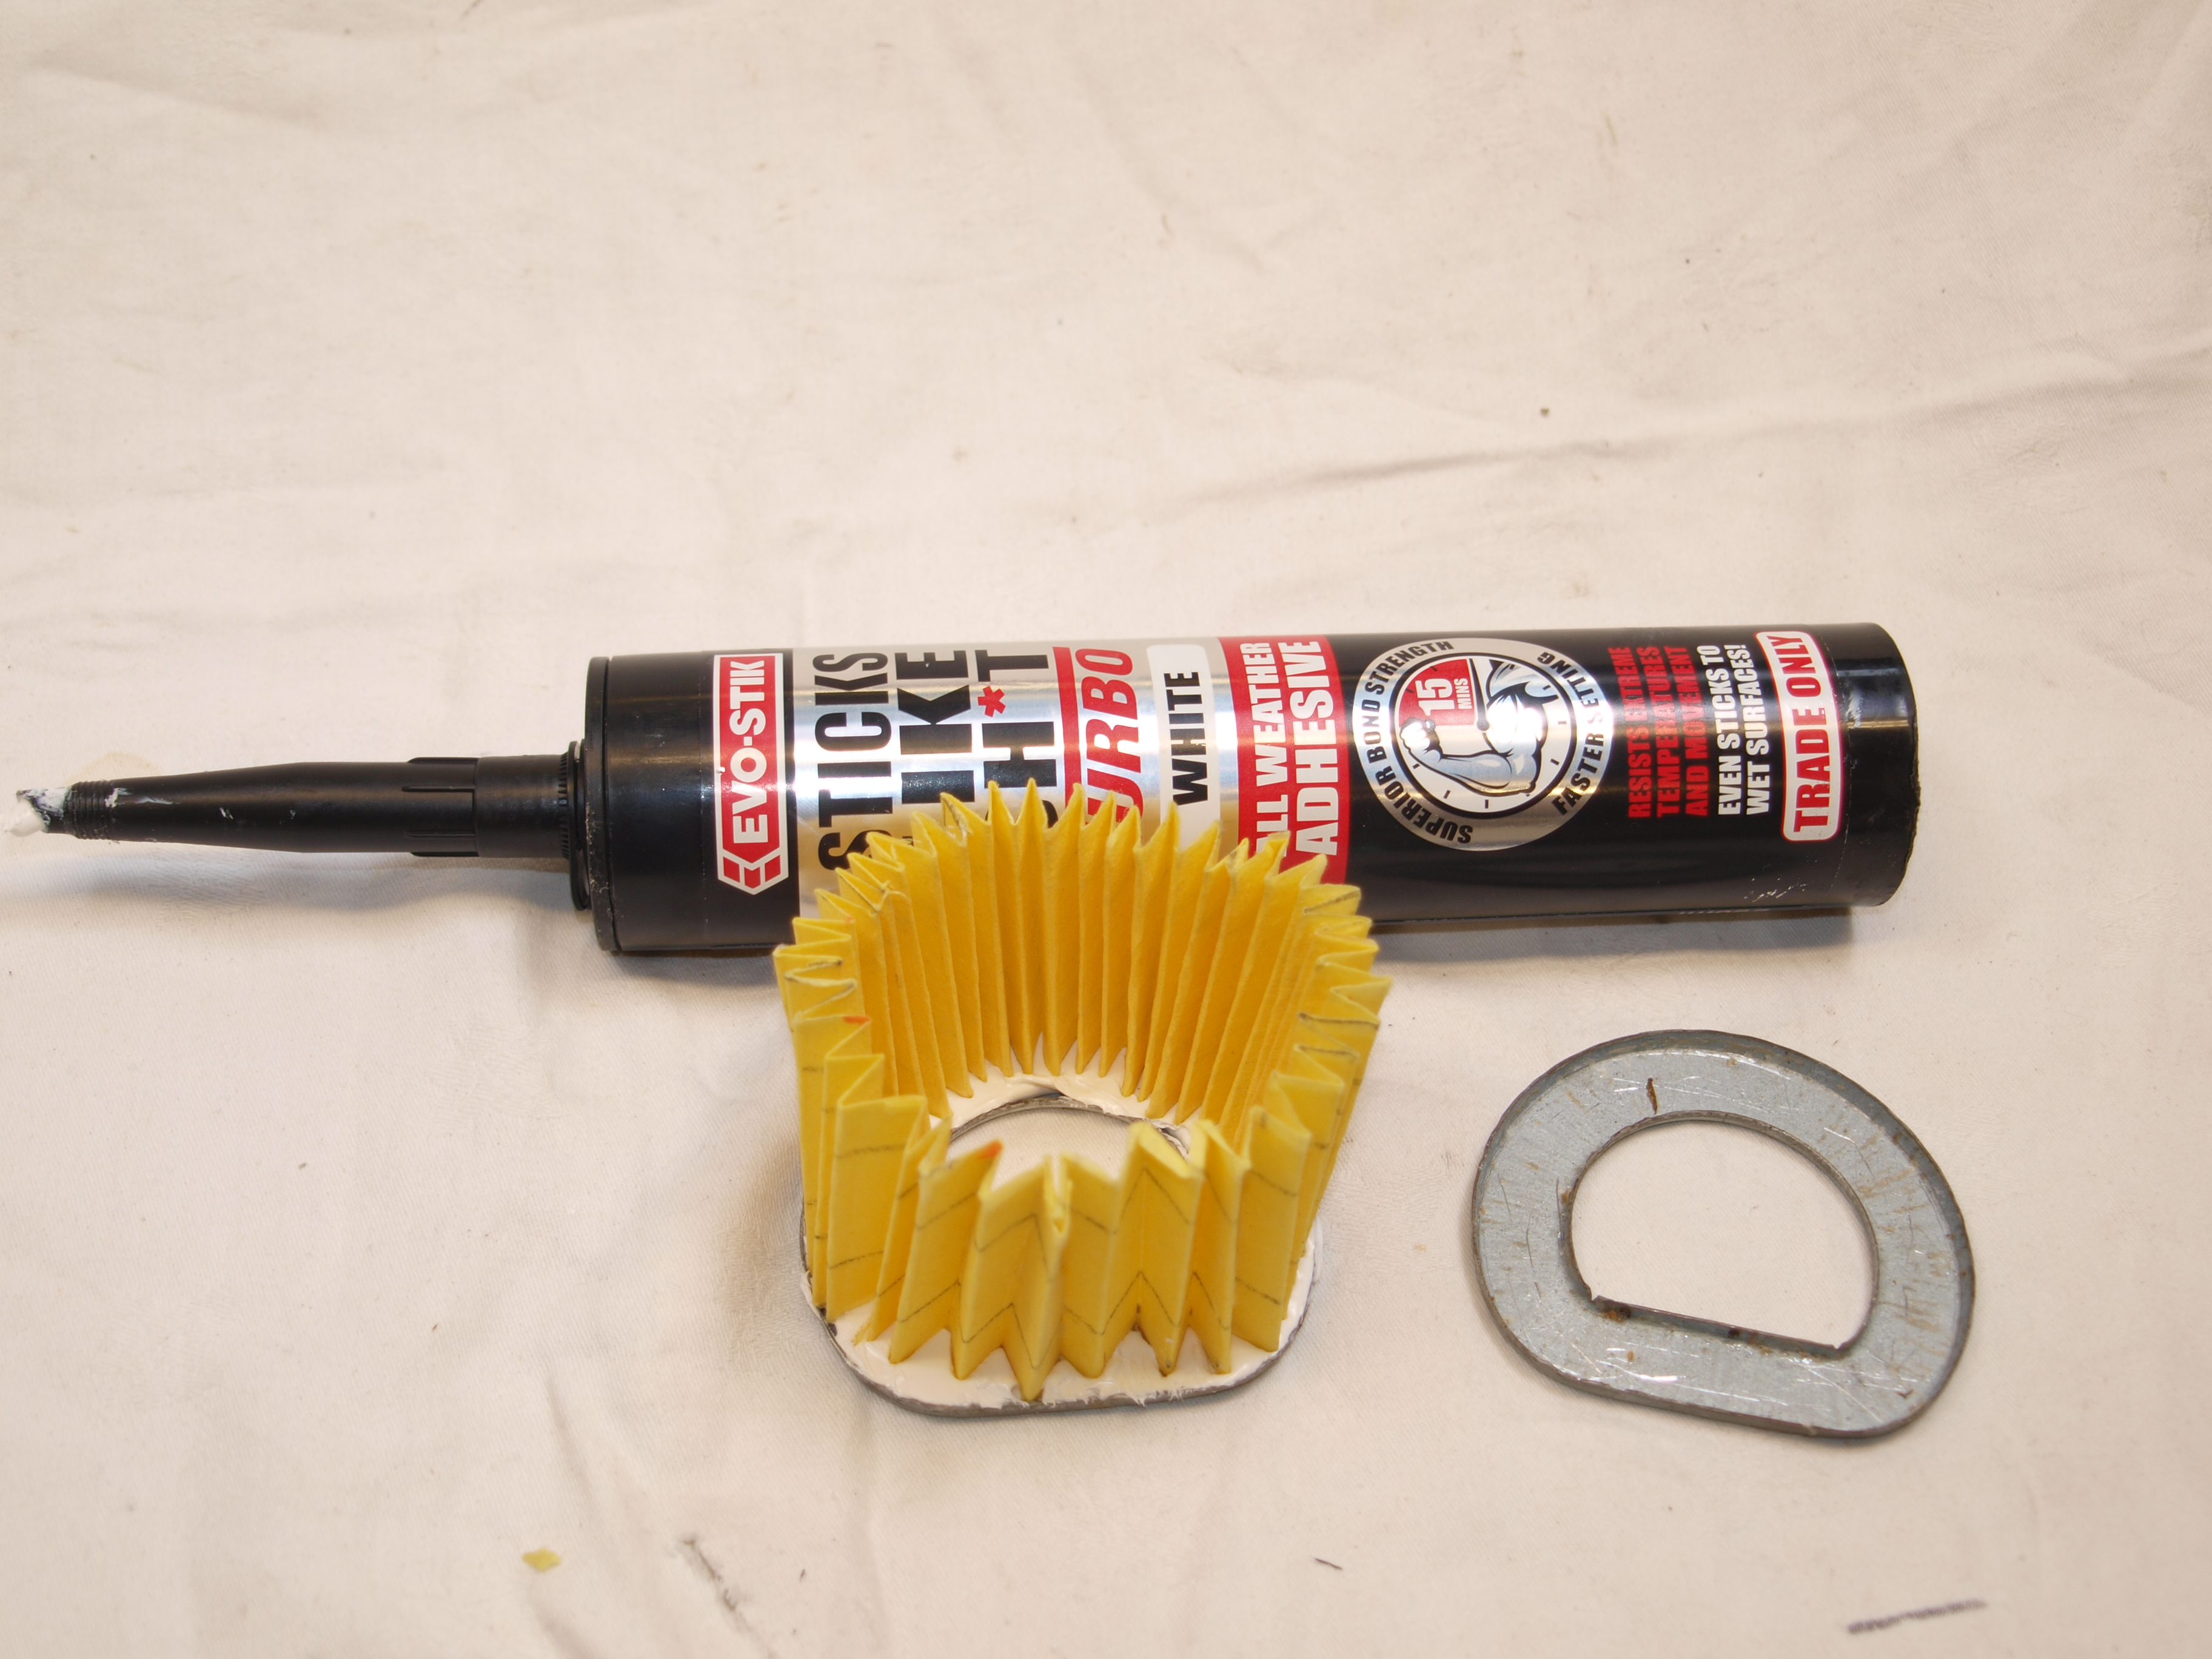
I opted for one of the modern high-strength adhesives that will work in adverse conditions. It’s gunned into the end plate and carefully levelled just below its edge. The concertina is then gently pushed into place. 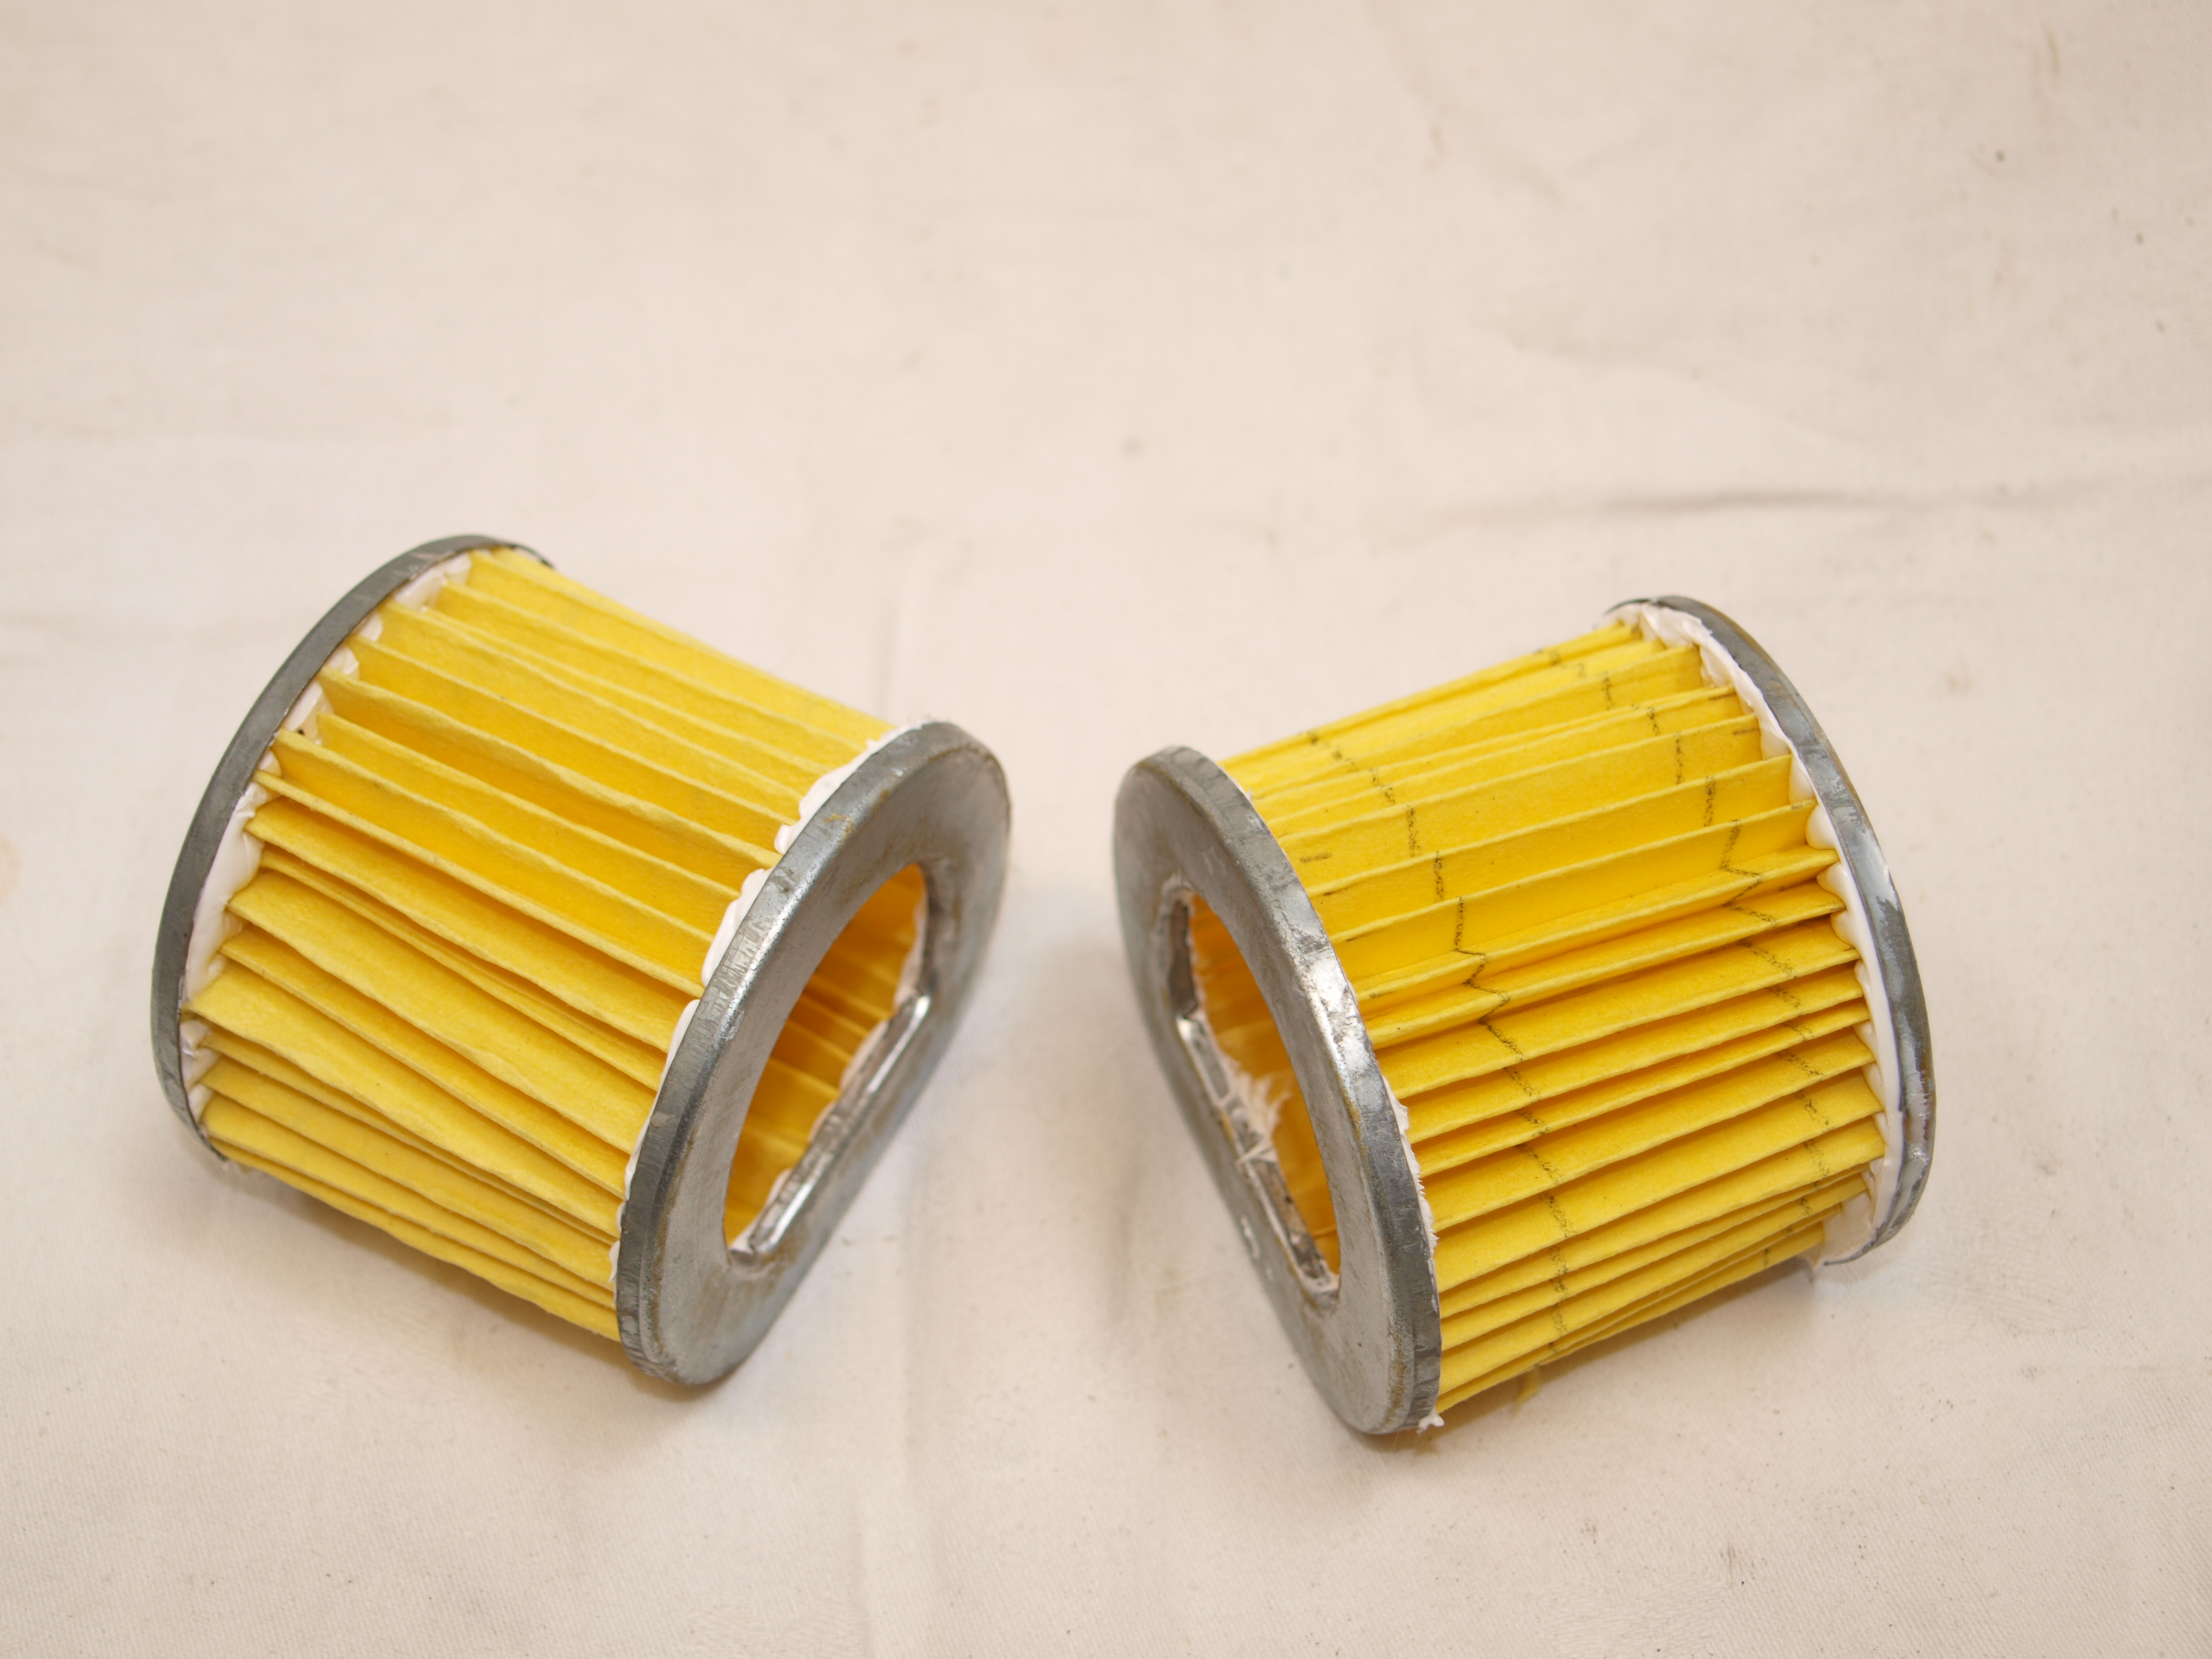
Once the glue has started to set the other end plate can be glued on in the same manner. Here’s the pair after the second set of plates had been bonded in place. 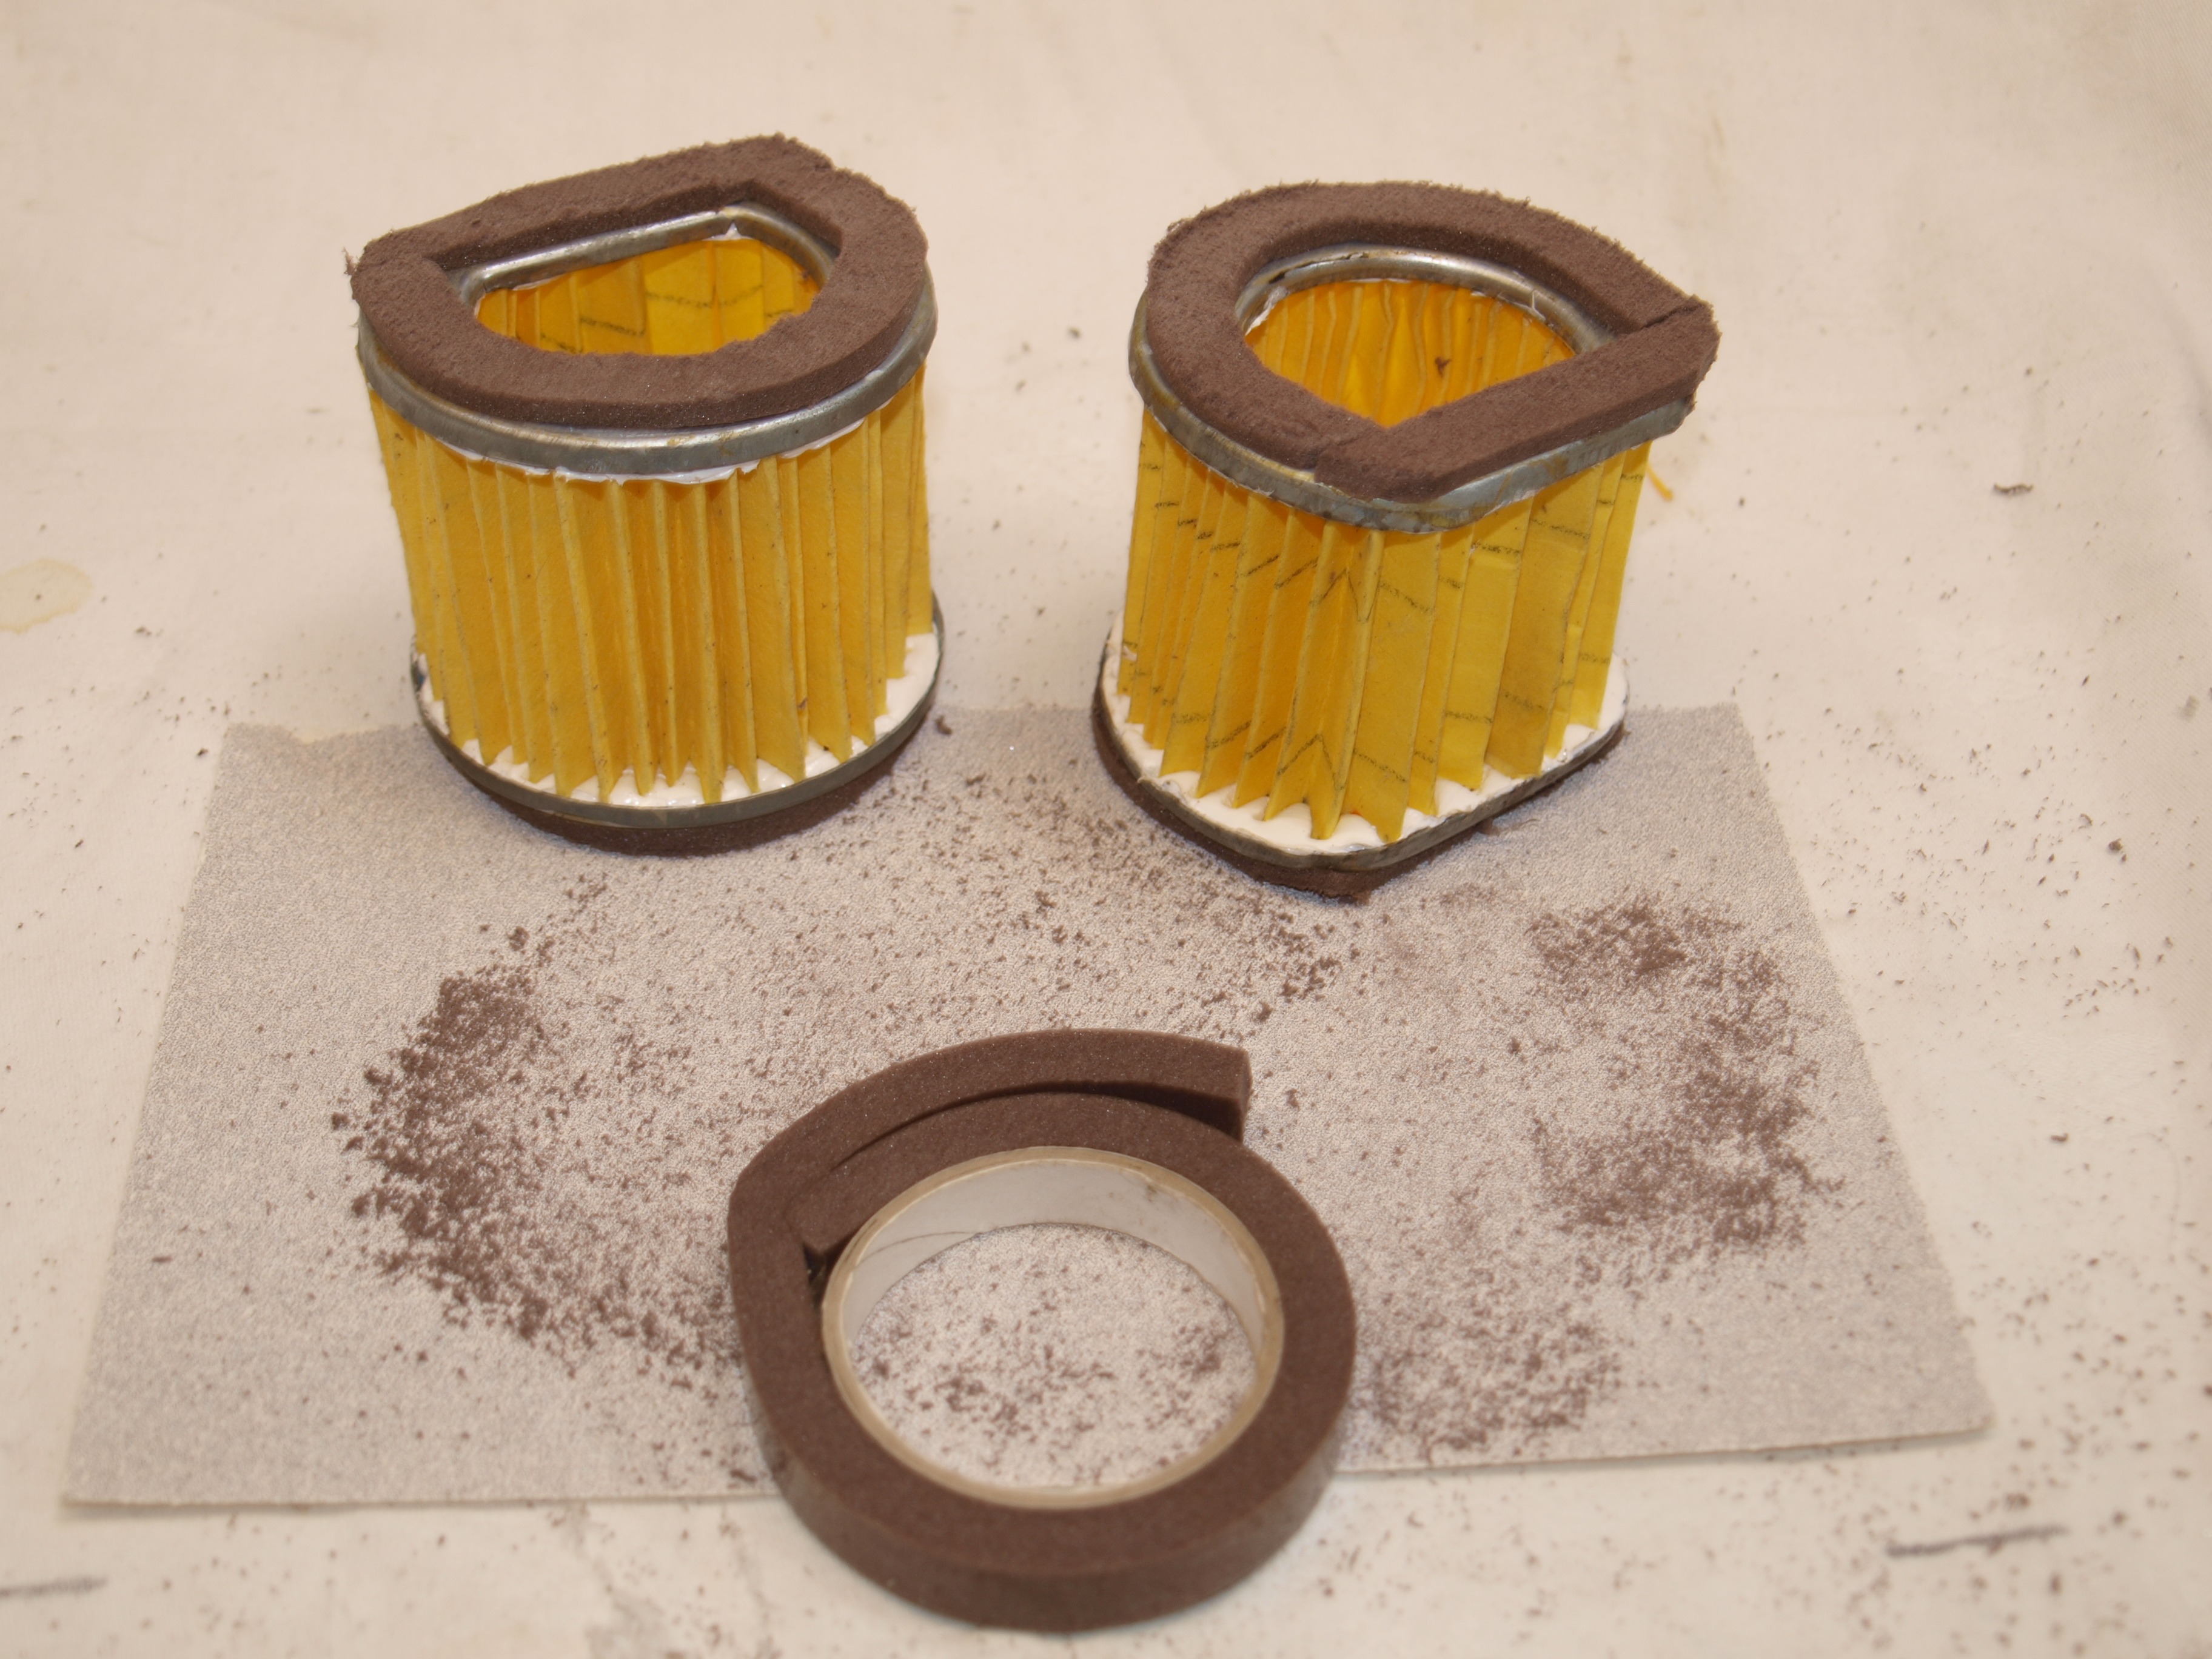
The sealing cuff is made from some self-adhesive draught excluder which is then cut approximately to size and then finally finished off on some coarse sandpaper using a rotary motion. 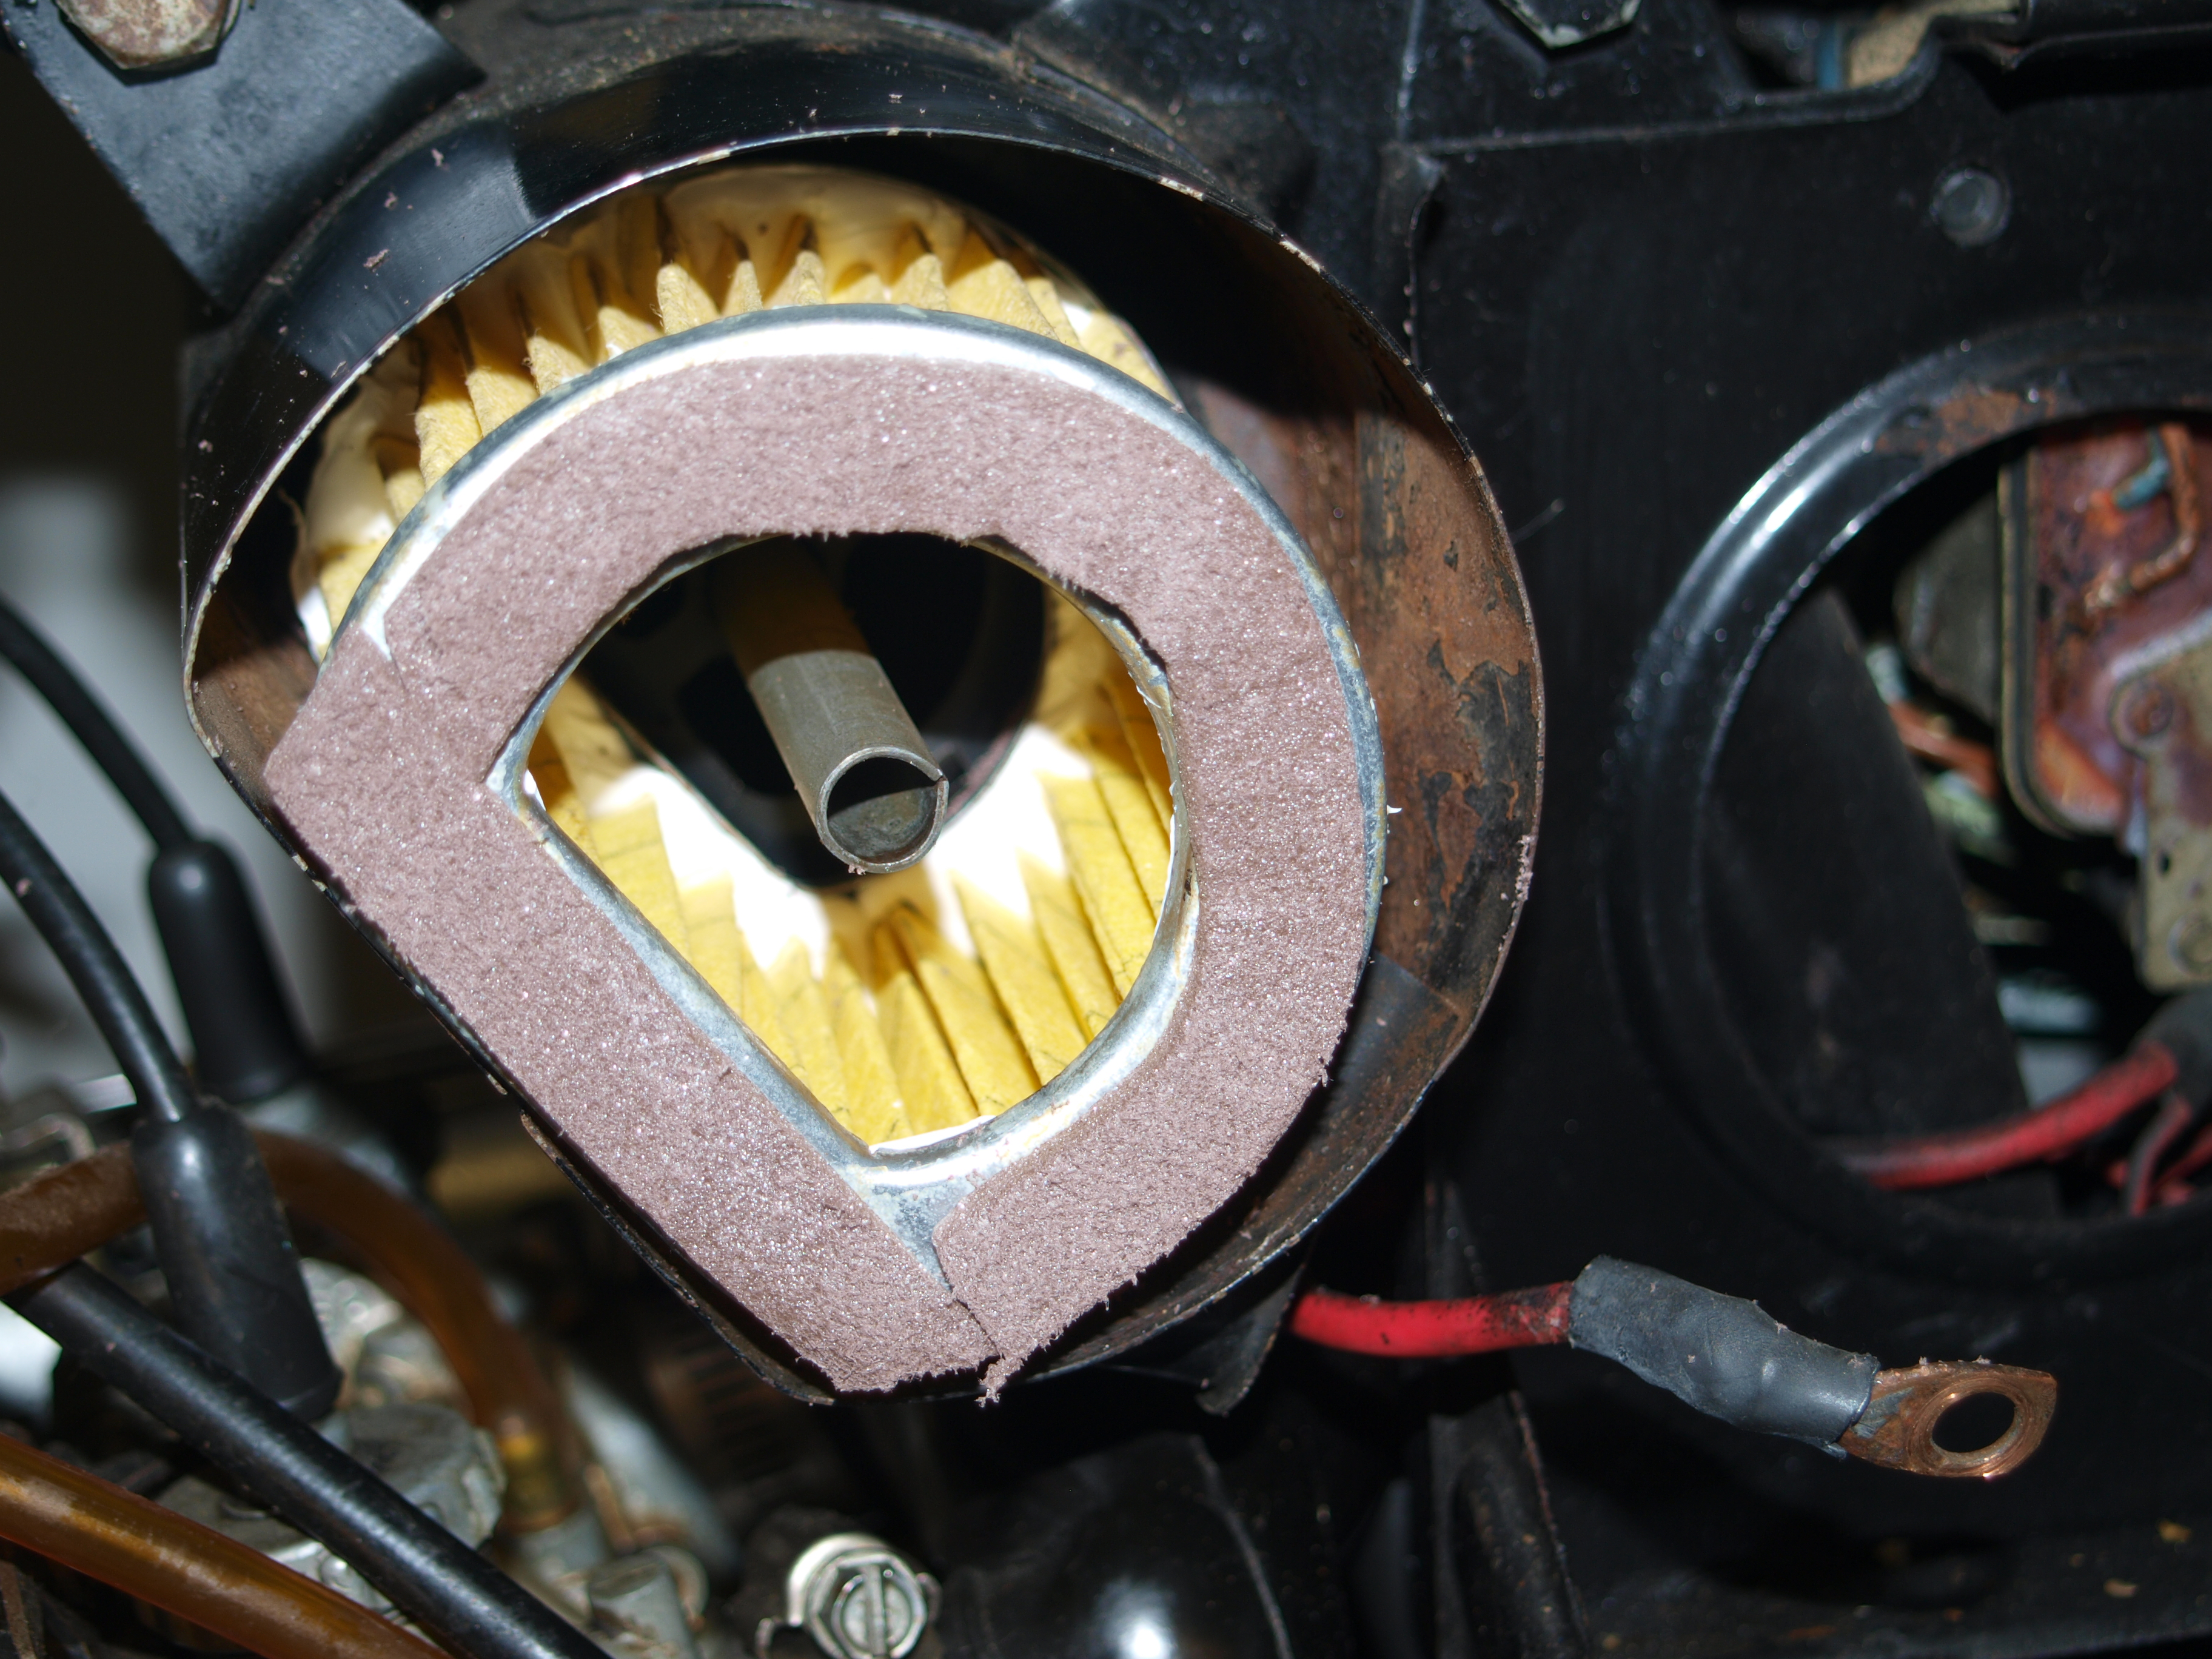
Checked for size and fit then trimmed accordingly the foam is sealed with a coat of PVA glue…job is done.
When NOS filters are fetching silly money and their viability is questionable due to their age, refurbishing what you have makes both mechanical and economic sense. With just one or two exceptions it should be possible to re-engineer a pleated paper air filter for almost any classic motorcycle.
For more technical advice, visit Motorcycle Workshop Guides: The Complete List.
To find out more about a classic bike policy from Footman James and to get an instant quote online, visit our Classic Bike Insurance page.
The information contained in this blog post is based on sources that we believe are reliable and should be understood as general information only. It is not intended to be taken as advice with respect to any specific or individual situation and cannot be relied upon as such.

COMMENT