Workshop Guide to an Alternator Health Check
by Steve Cooper, VJMC Editor
Do you wither at the whisper of wiring and cringe at the sight of connectors? Welcome to my world; I get by when it comes to vehicle electrics, but I can’t say it’s a favourite topic for me. My Suzuki Stinger is a case in point. I’ve known from day one that it would need attention in all areas but to be honest, until recently it was such a shed that the sparks side of things was the least of her worries. With the tinware now finally on track, I need to up my game and look at what’s missing, knackered or in need of serious TLC. Therefore I’ve had to bite the bullet (3.9mm push fitting type) and work out what I can salvage, what needs work and what I need to track down.
Egged on by a clever mate who has previously sussed out the electrics on several bikes for me, I’ve decided to have a crack myself. As the man himself sagely observed when he first saw the Suzuki T125, “well short of setting fire to it you couldn’t have picked a worse example!”. With that in mind, I’ve resolved to deal with the various components on an individual basis, working in bite-sized chunks. Perhaps a little naively, I’m going to start with the heart of the beast where the electricity is created. I’m going in chaps, I’m taking on the alternator, wish me luck and say hello to dear old Blighty for me.
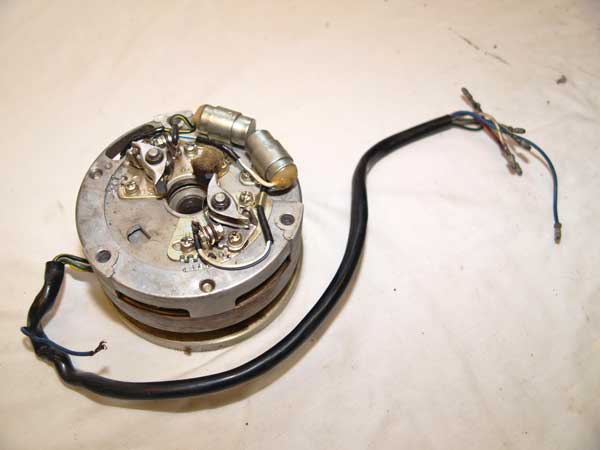
Just as I remember it when it came off the engine; the rotor has lived inside it during storage to minimise any loss of magnetism.
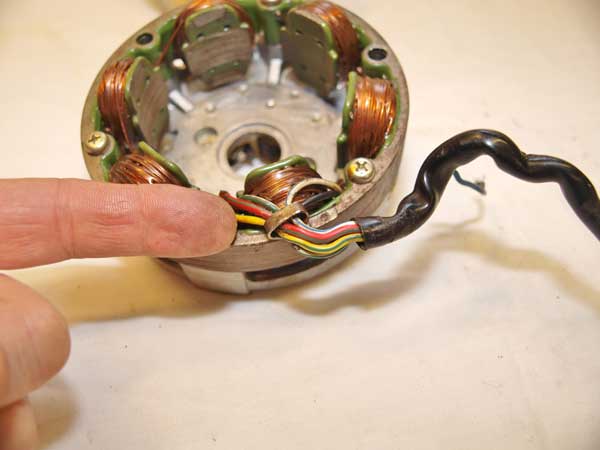
I’m no expert but even I can work out that the sleeving should be protecting the individual wires around the metal clamp, so some remedial work is called for.
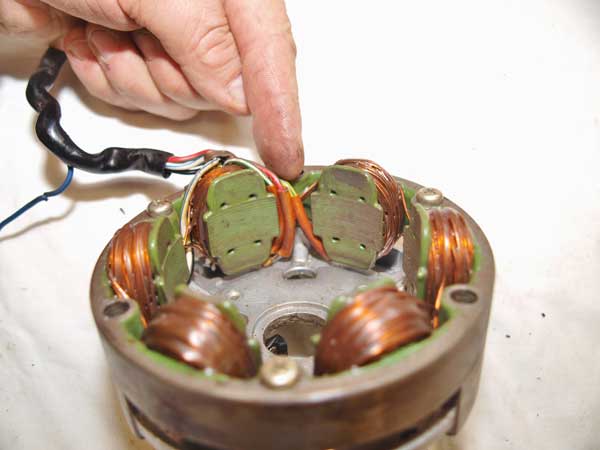
A visual check of the wires and various stator coils determines if it’s total junk or worth pursuing. In this case, even I’m reasonably confident it’s viable as there’s no obvious damage.
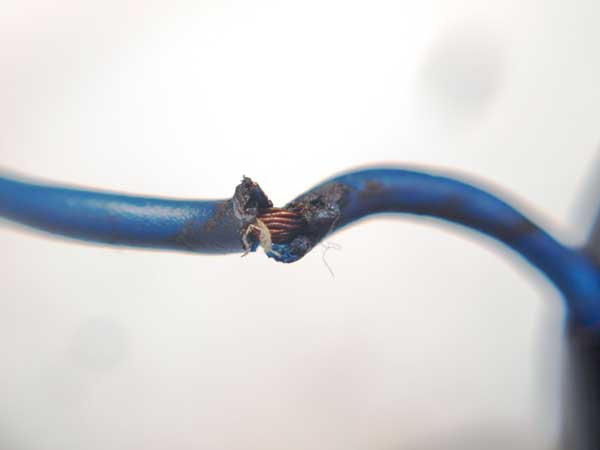
It was obvious back from the start that a blue wire had been cut short long ago and there was damage to its covering. Up close it looks very fragile, so it’ll have to be replaced.
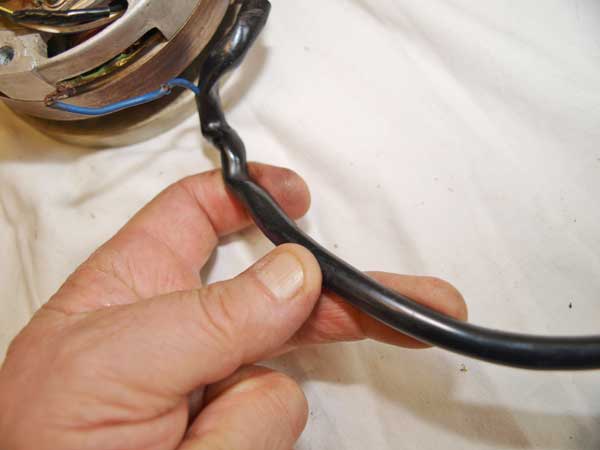
There’s no way the sleeving will pull back down to the clamp. It’s shrunk and hardened to the point where I can’t bend it between my fingers. It unquestionably needs replacement.
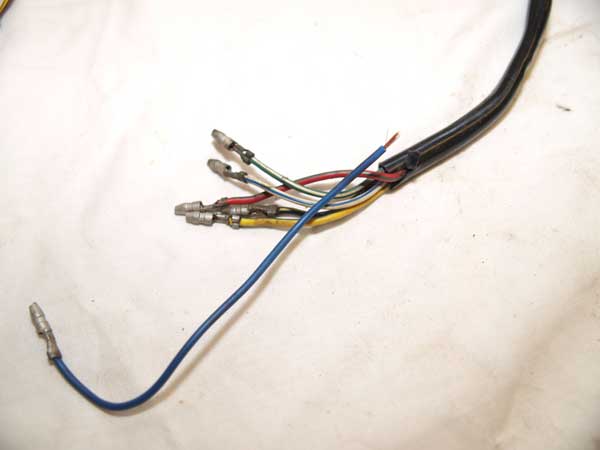
As I’ve just learnt you can’t simply pull the wires apart and hope the sleeving will rip. A less ham-fisted approach is definitely required.
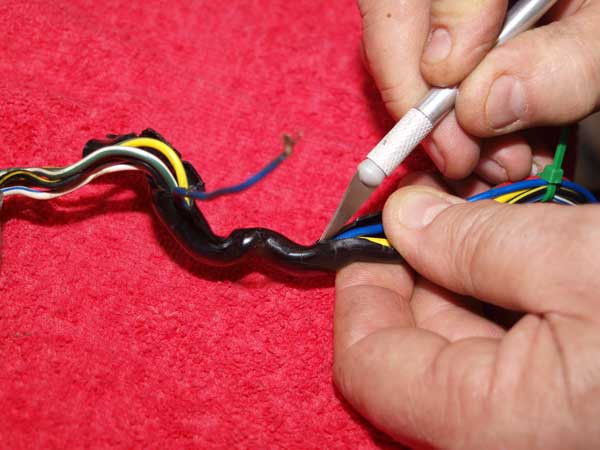
Very carefully the hardened sleeving is parted using a small blade. Keeping the cutting edge upwards ensures the wires’ insulation isn’t compromised. The separated loom is held together temporarily by thin cable ties.
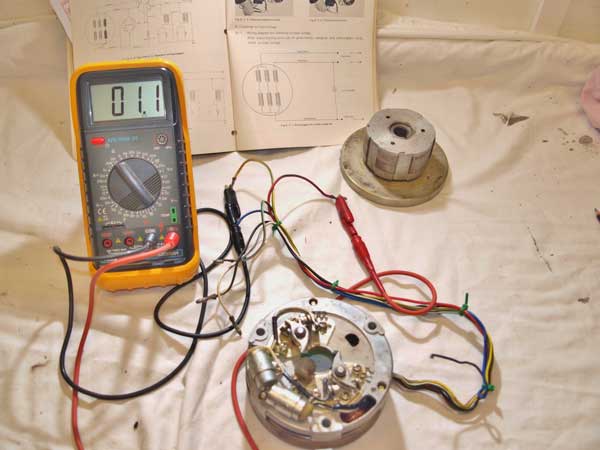
Having assessed each wire for damage the various coils are measured for specific resistances against reference values. I’m finally using my multi-meter for something other than checking fuses.
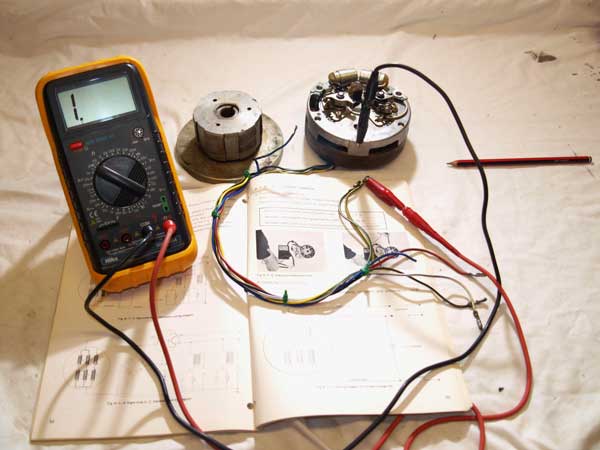
Using the factory manual again, I can satisfy myself that there’s no conductivity/continuity between the winding and the outer body of the stator.
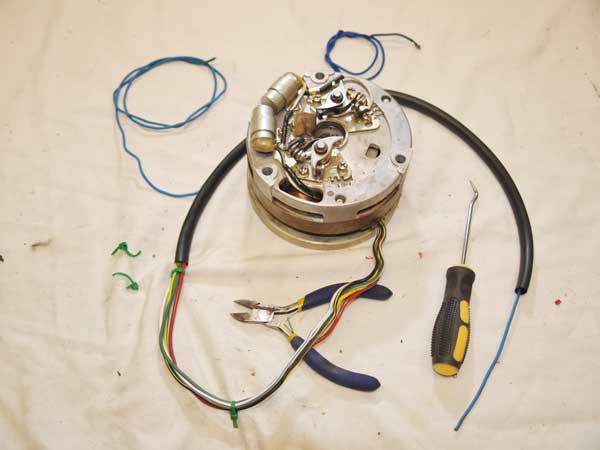
A replacement blue wire has been threaded through a new length of outer sleeving via a small hole as per factory specifications. The rest of the wiring is now carefully fed through, minus the old bullet connectors.
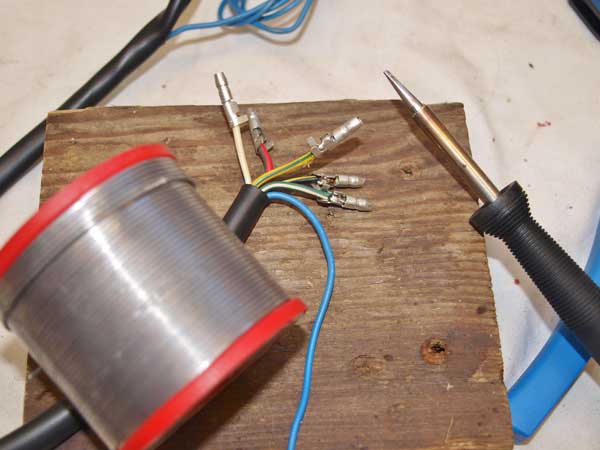
Six-volt electrics need all the help they can get, so a new set of bullet connectors get soldered in place to ensure minimal resistance.
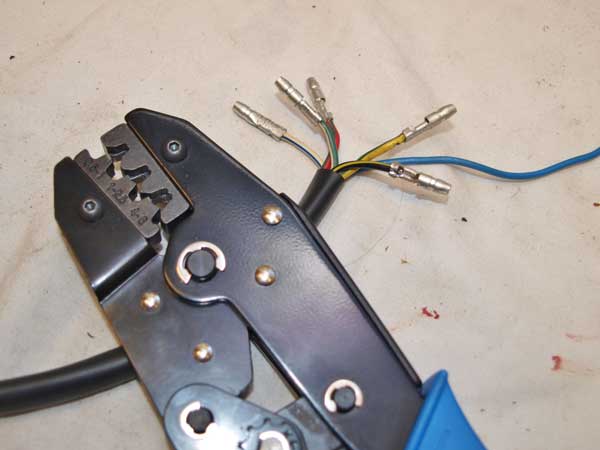
The final job, the bullets are crimped in place with the correct tool. I’m now as confident as I can be that the alternator is as good as I can get it.
To my utter amazement, there was nothing particularly difficult about the process. Like many jobs, it’s the uncertainty of doing something new, rather than the reality of the task, that creates an elephant in the workshop. Understanding the sequence of the electrical testing, what it is you’re measuring and why, are key to getting the correct results. My 1969 Suzuki factory workshop manual makes more than a few assumptions about your background and it all took a little time to fathom out. DIY manuals probably better explain things in simpler terms, but occasionally they can be a bit vague. Used together even this numpty should be able to suss out electrics. One dodge I have learnt is to use more than one manual. By running two versions in parallel, you can often find the answer one or other glosses over or ignores. All I have left to do now is sort out the vile loom and check over the corroding rectifier. Oh, the holes I dig myself!
Mastering meters
There was a time when only the very serious DIY mechanic owned a multi-meter. Normally chunky devices in Bakelite boxes, they were items of awe for most folk. A good quality example was hugely expensive and a cheap one was almost useless. With the advent of microelectronics, price has come down as accuracy has rocketed. For twenty quid you can now pick up a good quality meter that will do pretty much all you need; add another tenner and you’ll more than cover all the bases for general DIY bike work.
It’s still possible to buy a meter for a fiver but we’ll let you draw your own conclusions as to their veracity. Most meters will have a certain level of internal resistance so if you’re checking coils like we are here, take this into account. If your manual gives a figure of 2.2 ohms and you see a reading of 1.9, check your internal resistance. If it reads 0.3, then add this to your reading and you’ll be bang on.
However, it’s easy to get too obsessed with the actual numbers and lose sight of the bigger picture. For much of what we do, a figure in the right order of magnitude will probably be good enough. If we’re looking for 2.2 ohms then 0.2 ohms is too low and 22 ohms is too high. Get a reading of 2.8 or 3.9 ohms and odds are it’ll all work hunky dory.
Alternator alternatives
It’s very tempting to throw money at NOS alternators or dynamos when the original unit is found to be irreparably damaged; after all, it’s the obvious solution. However, you need to consider that what you’re buying is, potentially, a forty-year-old example of your dead one. Although they should be OK, most sellers offer no guarantee that the item will actually work.
The very earliest Japanese electrical windings were protected by shellac. This is produced from an extract made by beetles in India. As a natural product, it decays with age regardless of whether it’s been used or not. Most of the later NOS Japanese winding will have been encapsulated in solvent or epoxy based resin systems. Although these are better than shellac, they’re still first generation synthetic protectants.
Technology has moved on substantially and modern materials are so much more reliable. I’d strongly recommend having a dead alternator rewound by any of the competent specialists rather than buying and/or importing an OEM replacement. You’ll be getting new windings, a modern insulating material and hopefully a guarantee.
For more technical advice, visit Motorcycle Workshop Guides: The Complete List.
To find out more about a classic bike policy from Footman James and to get to an instant quote online, visit our Classic Bike Insurance page.
The information contained in this blog post is based on sources that we believe are reliable and should be understood as general information only. It is not intended to be taken as advice with respect to any specific or individual situation and cannot be relied upon as such.

COMMENT