Workshop Guide to Four Stroke Oil Changes
By Steve Cooper, VJMC Editor
Unless you keep on top of your riding stable it’s very easy to miss out the basic stuff like a simple oil change. Quite how some enthusiasts who own tens of bikes keep on the case is a total mystery to this numpty. If you own a Japanese four stroke you need to be on your game if you value your motor. The vast majority of Jap four strokes run their cam shafts directly in the cylinder head and it’s here that premature wear due to poor lubrication often shows up first. Once the damage is done there’s no easy or cheap fix.
After the top end of motor has taken a hammering, the chances are the aluminium swarf created in the head will be carried around creating chaos wherever it rocks up. And it’s not just lubrication that oil facilitates; it also acts as a rather effective heat transfer medium. From quite early on engines featured jets which squirted oil at, onto or under heavily stressed items within the engine. The most obvious is the underneath of piston crowns. By leaching away heat from the combustion end of the engine, the piston is cooled ready for the next big bang.
Life is tough on oil and just because it looks and feels slippery doesn’t mean it hasn’t suffered damage. Just like any other part of our motorcycles it has a definitive service life after which it needs to be replaced. For the same reasons you instinctively change brake fluid (please tell me you do?) you should also be changing the oil and filter. An oil and filter change is about as elementary as it gets with classic bike servicing, but many owners often either get the local bike shop to do the work or simply just ignore the job. If you’ve never changed the oil on a bike, the following is a starter’s guide that should take you through the basics of this crucial servicing task.
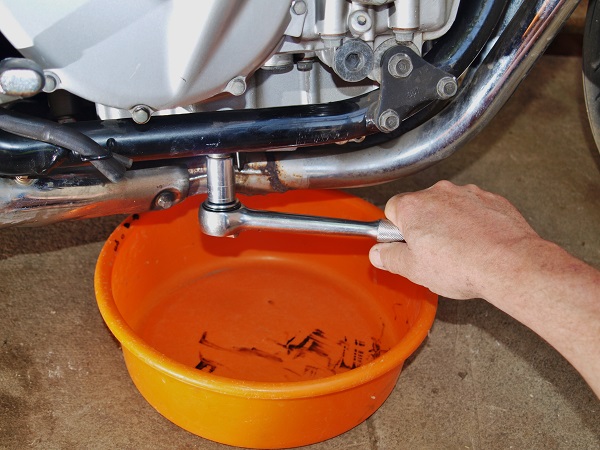
Locate the drain plug and use the correct socket or spanner. Workshop or owner’s manuals will normally give precise locations. Use brake cleaner before and after to ensure no muck can get in the sump.
Obvious but easily overlooked, the drain can needs to be greater than the volume of the sump. An old washing up bowl is generally large enough.
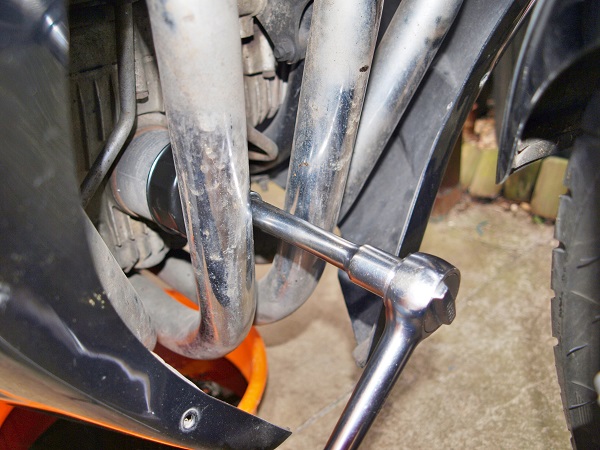
Access to the filter can be a royal pain but it still needs to be replaced. Panels may need removing and ensure the surrounding area is clean. Loosen the filter while the engine’s warm and allow the oil to drain out.
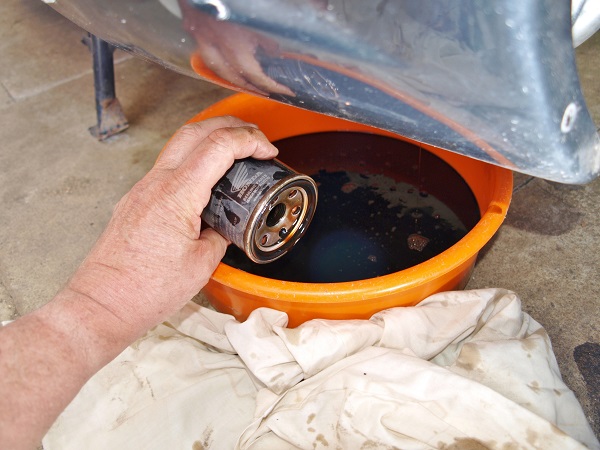
Place rags or absorbent paper under the bike to catch the inevitable drips. Cold filters are easier to handle. Tip out the remaining oil before you kick the filter around the yard!
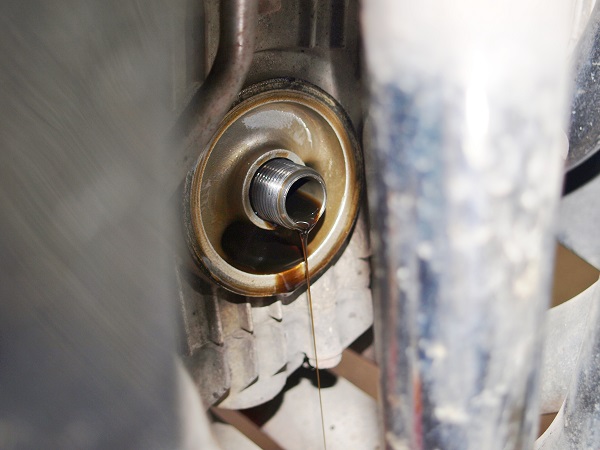
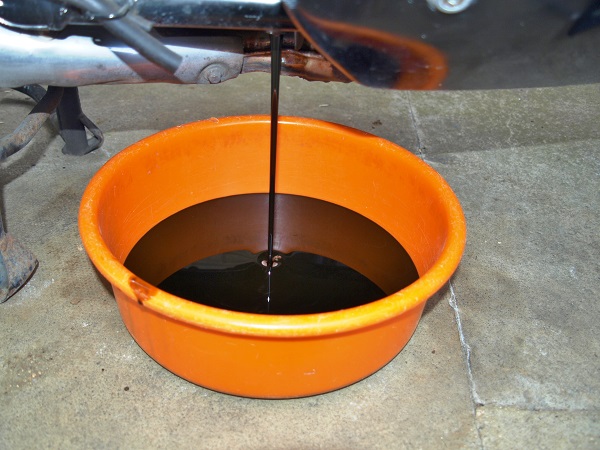
Ensure the filter housing is totally drained and empty. It’s surprising how much can continue to run out for some time after the sump stops dribbling.
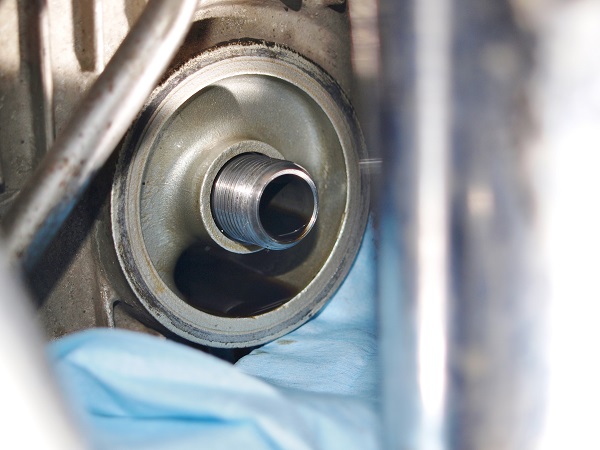
Wipe the sealing ring and the area around the sump plug with a lint free cloth to ensure there’s no grit that can enter the engine.
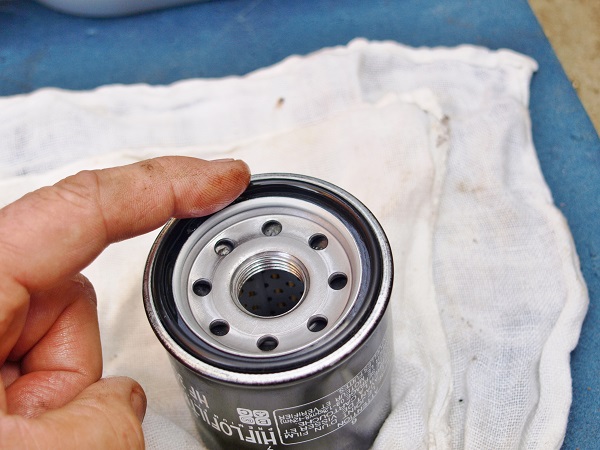
Apply a thin film of clean oil to the sealing rubber of the filter and screw it in place. Torque settings are often quoted but firm hand tight is normally good enough.
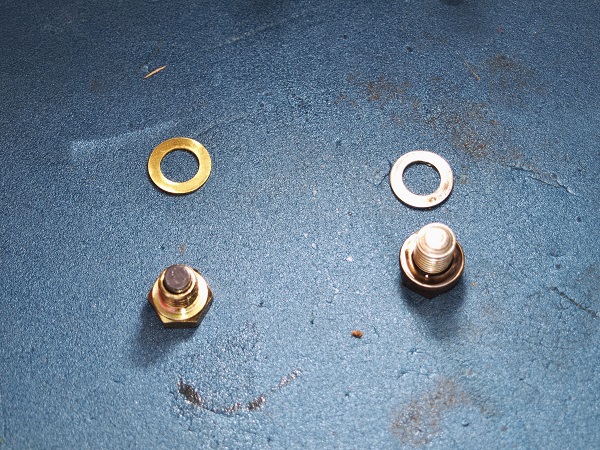
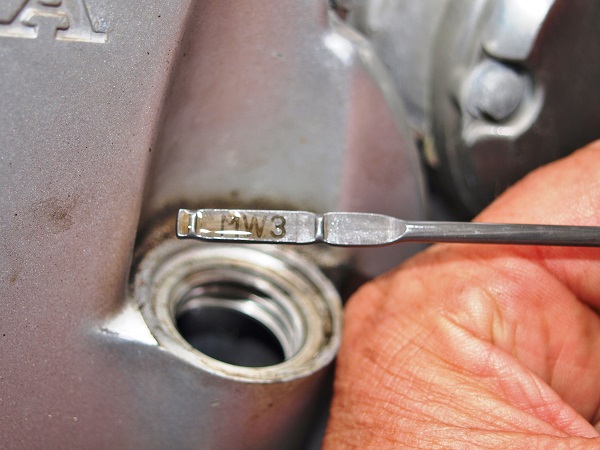
There are no excuses; always fit a new sump washer for security and peace of mind. Here we have the option of using a magnetic sump plug. Next time if there’s swarf or shards adhered to it, we know we may have a problem.
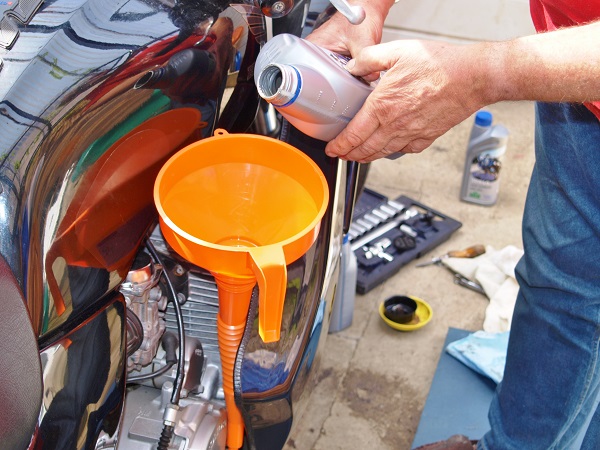
If access is tricky invest in one of these long necked funnels. Add oil slowly to allow air to escape from the sump. Use the volume specified and don’t add any extra for “good luck”; it will escape again.
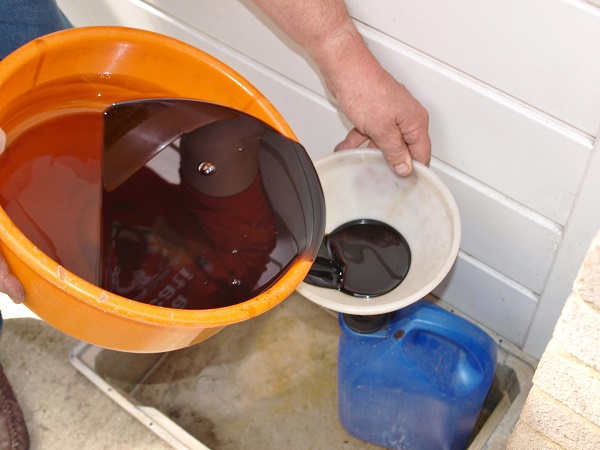
We’ve all kicked over a drain can so get rid of the old oil ASAP. I use an old plastic crate to stand everything in case it all gets messy.
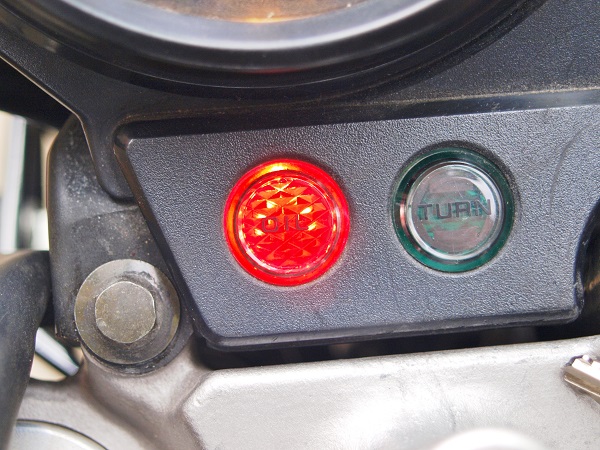
Start the engine and check for leaks; it’s better to find out now rather than ten miles into a ride. If there’s an oil light makes sure it goes out PDQ.
Finally check the oil level in accordance with the handbook. Most advise resting the dipstick on the case unscrewed but check before adding extra.
Choosing The Right Oil
It may seem as if almost every four stroke rider has a different opinion on the right oil for their classic bike. But essentially it comes down to two factors; what viscosity is recommended and whether your engine has a filter element. Find out more by reading our blog Choosing The Right Oil For Your Classic Bike.
For more technical advice, visit Motorcycle Workshop Guides: The Complete List.
To find out more about a classic bike policy from Footman James and to get to an instant quote online, visit our Classic Bike Insurance page.
The information contained in this blog post is based on sources that we believe are reliable and should be understood as general information only. It is not intended to be taken as advice with respect to any specific or individual situation and cannot be relied upon as such.

COMMENT