Tank Refurbishment
Carbs full of rust are no fun and roadside rebuilds suck. This month we look at how to keep fuel systems free from the dreaded brown pest.
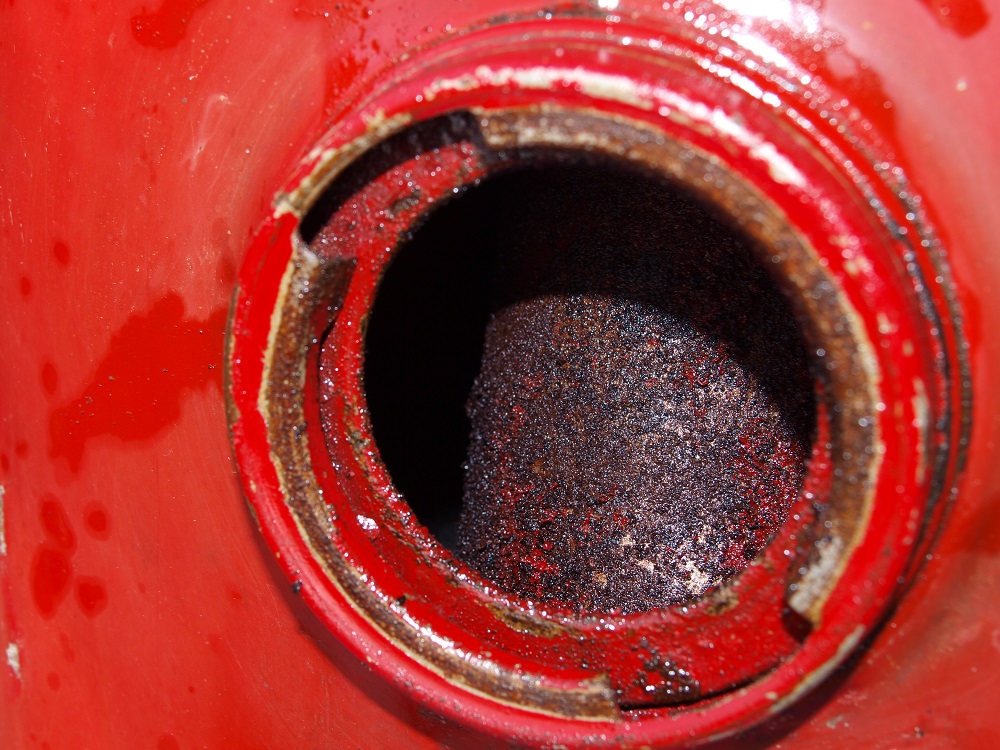
Modern fuel is even better than its older variant at causing problems in tanks. Certain components absorb moisture and eventually dump it out allowing severe rusting to occur; old tanks that have sat empty will, unless protected, rust. Both scenarios will lead to shock horror image such as this ...
Removing rust from the inside of tanks is an imperative if our bikes are to run properly but how do you do that exactly? It’s possible to buy materials that will passivate the dreaded brown scourge but these are potentially just delaying the inevitable. Unless the passivate process really can lock the reactant and the existing rust onto the body of the tank chances are vibration will inevitably loosen the coating and cause the same problems as rust. There are good and bad passivates out there but it’s beyond the remit of this feature to carry out a back-to-back comparison. If the passivation approach appeals talk to the supplier and ask how the process works, what it does, how long it’s likely to last and what testimonials they have.
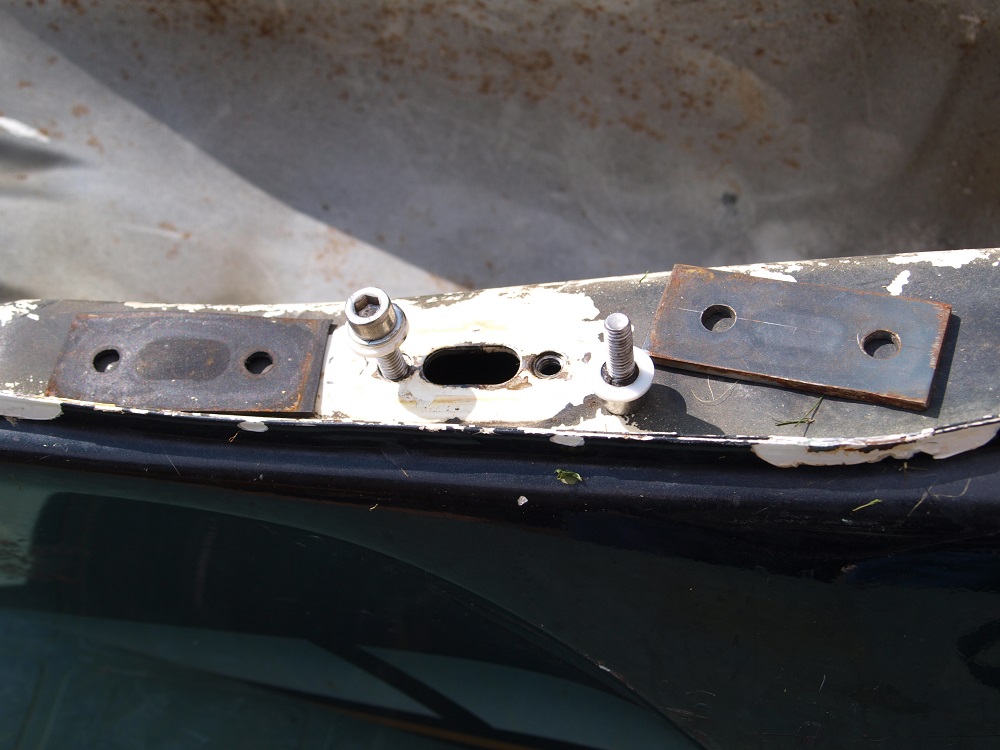
By far the best method is to use a chemical process that removes the actually removes the corrosion. There are several processes and products on the market and they all have their pros and cons. I’ve restored more tanks than I care to remember using a very old and reliable process that’s not available in the catalogues. It works by rupturing the bond between the rust and the steel leaving clean grey steel after washing out. There are similar materials out there and most of them work on acidic principles that convert rust into a water-borne solute. Beware of anything contacting hydrochloric (or brick acid); although it will unquestionably attack rust it’ll also mark paint and burn your eyes. It can also propagate more rust if it’s not properly washed out. Whatever process you opt for read the instructions and allow the chemical to do its job, these materials don’t work instantaneously. Prior to derusting remove the tap(s), any tank badges and the fuel cap if it is aluminium based (check with a magnet to confirm). Tanks with spigot threads can be corked but screw fitted taps will need a custom plate made up from steel and a piece of rubber sheet along with the appropriate screws.
It pays to remove as much fuel residue as possible and modern laundry detergents are ideal. A couple of tablets mixed with the hottest water you have will scarify a surprising amount of crud from a tank. Fill the tank to the top with a solution of piping hot detergent and leave for 24 hours, drain off, rinse until clean and then empty the tank.
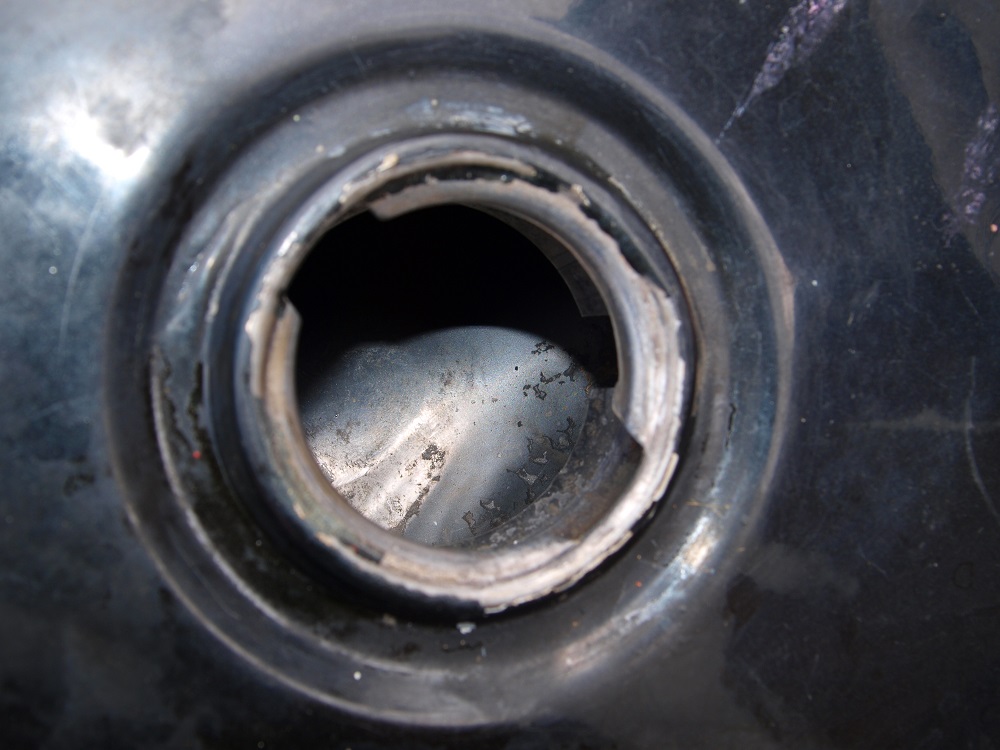
Next step is the derusting process and you will need to follow the manufacturer’s instruction to the letter here. Normally there’s no need to mask the paintwork but check just in case. Ideally suspend the tank over a large catch tank in case it springs a leak and allow the rust remover to do its job remembering that such chemical reactions normally benefit from some warmth. It’s also worth noting that a lot of rust can form on the upper roof of a tank so it’s always worthwhile inverting the tank so that all faces get treated. If the tap outlet is plugged or sealed effectively the vacuum formed will normally prevent leakage with original cap fitted. With mazac or alloy cap you can normally prevent any unwanted reaction sandwiching two layers of thin plastic from a sliced bread bag between the cap and the tank outlet. If everything works as it should the result should be a view through the filler cap like the picture below where all appreciable rust has been removed and there’s only some metallic stains remaining.
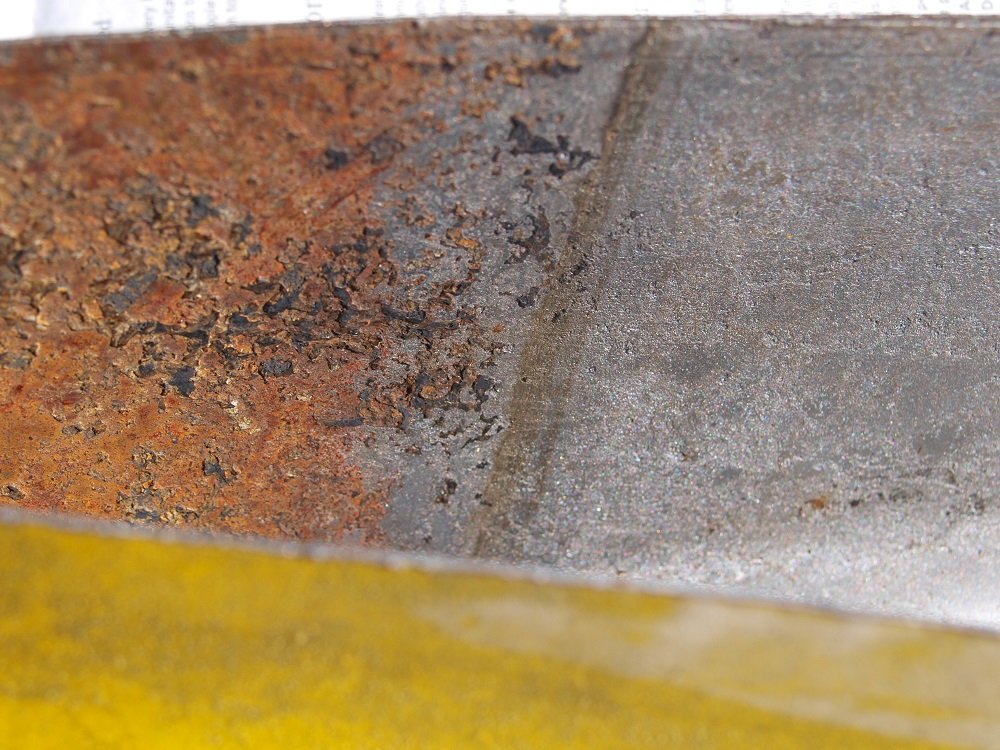
A better idea of what can be achieved can be seen in the image below where a test tank has been sectioned.
The derusting fluid can now be drained off and the tank rinsed through until clean the runoff water is clean and free from scale or sediment. As the tank will be wet rust can from quickly so it’s a good idea to drain off as much water as possible then remove the residual moisture with 250mls flush through of methylated spirits to absorb the water. One word of caution here is that although most finishes are resistant to meths cellulose paint isn’t so do a patch test before risking the paintwork. Assuming all’s well the tank can be allowed to dry and, if it’s not going to be used straight away given a spray of protective oil, tapped and capped with a sheet of thin plastic underneath to prevent any damp air entering via breather hole. And that’s it unless we have a leak or the tank metal feels too thin and flexible in which case it may be time to add a tank liner once we’ve attended to any holes.
Filling the holes and addressing the leaks
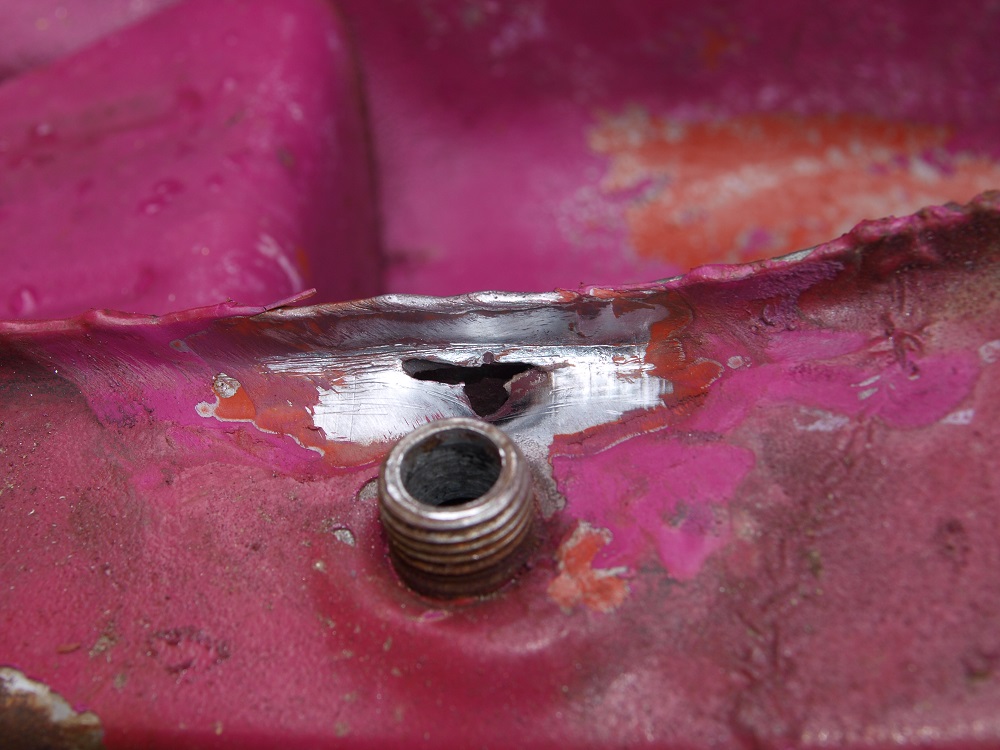
Taking rust out what looks like a perfectly good tank can sometimes reveal a pin hole or several. Assuming the paintwork is otherwise fine it’s often possible to carry out spot repairs that leave minimal visual impact. If you are really lucky any pinhole leaks will either be in areas that don’t show or are in positions that can be touched in with a dab of paint. Carefully remove the paint from around the pin hole and using a small ballpein hammer strike a small dent with the hole at the centre. Degrease the metal and add a small blob of, metal filled, petrol resistant, two part epoxy adhesive.
Once cured and internally over-coated with an appropriate tank liner the repair should be as good as the derusted base metal. If the tank is going to be repainted it’s worth lead puddling the damage to ensure the best repair possible.
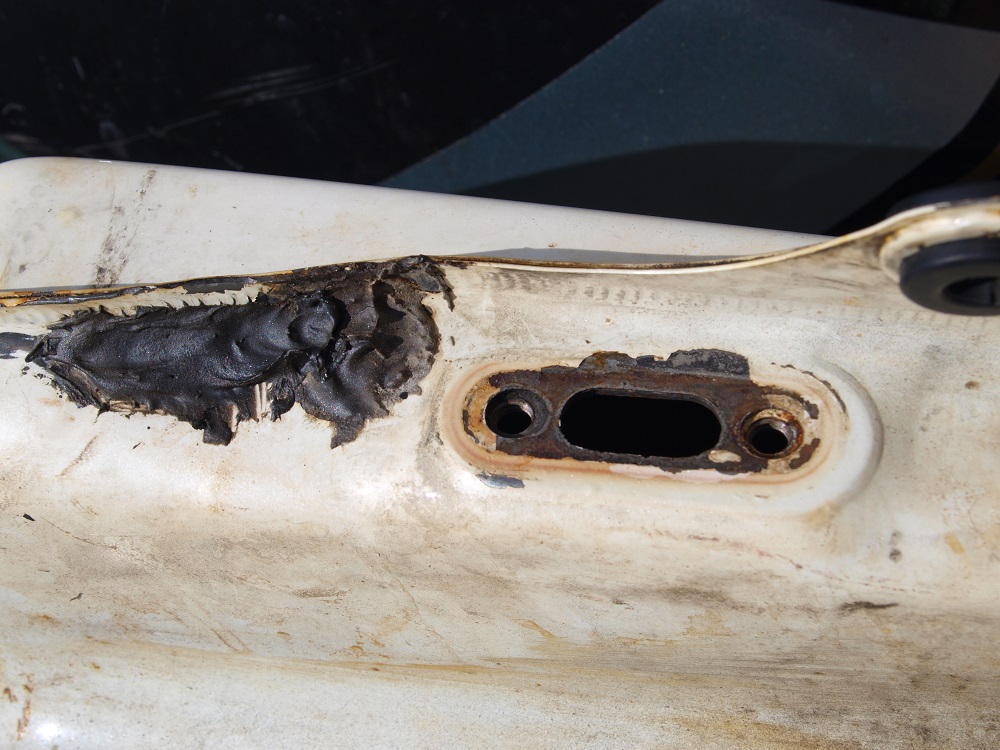
Even quite serious damage such as the above, can be redressed by lead puddling the holes and filing back to a surface ready for body filler and primer.
The cheapskate option
It’s possible to partially remove rust from a tank with nuts and bolts, broken glass, stones, gravel etc and a lot of shaking. Although you will see something for your effort not all the rust is ever removed (especially from seams), your arms will ache after just ten minutes and you’ll probably loose the will to live. It’s possible to mechanise the process with a concrete mixer and the tank wrapped in a duvet but it’s a risk and nowhere near as effective as a chemical clean. Electrolytic reduction of rust from tanks is possible but produces substantial volumes of highly explosive hydrogen; you have been warned!
Tank liners - the pros & cons
Twenty years of tank restoration has taught me there’s no need to line a petrol tank unless it satisfies several criteria i.e.
- it is already been shown to be leaking
- it is rare and prone to corrosion
- is thin and needs reinforcing
If any of the above matches your tank it’s probably not a bad idea to line but there are a few rules that need to be followed. Under no circumstances add a tank liner to a rusty tank as all you are doing is storing up trouble. For the same reason that you’d never put a fibre glass patch over a rusty car panel you shouldn’t do the same to a tank. Without exception the rusting will continue (albeit at a slower pace) and a rust blister, petrol soaked paint bubble and/or a leaking seam are inevitable. Modern fuels now contain ethanol. Some older tank sealants aren’t compatible with ethanol and will lift off within days of coming into contact with petrol. Ask your supplier if the tank liner on offer is ethanol resistant and if you get a blank response go elsewhere for one that is. Finally you need a tank liner that has some elastic properties to it or all your work will be in vain. After a good run residual heat from the engine will rise to the tank and warm it; if your tank liner doesn’t give and expand the tank will fractionally move away from the cured material and the bond will be ruptured allowing fuel to seep behind the coating onto the steel. Conversely when the bike is sitting over-winter in a cold garage or shed the tank will contract and if the liner can’t absorb the movement it’ll crack with the same potential problems.
Removing tank liners
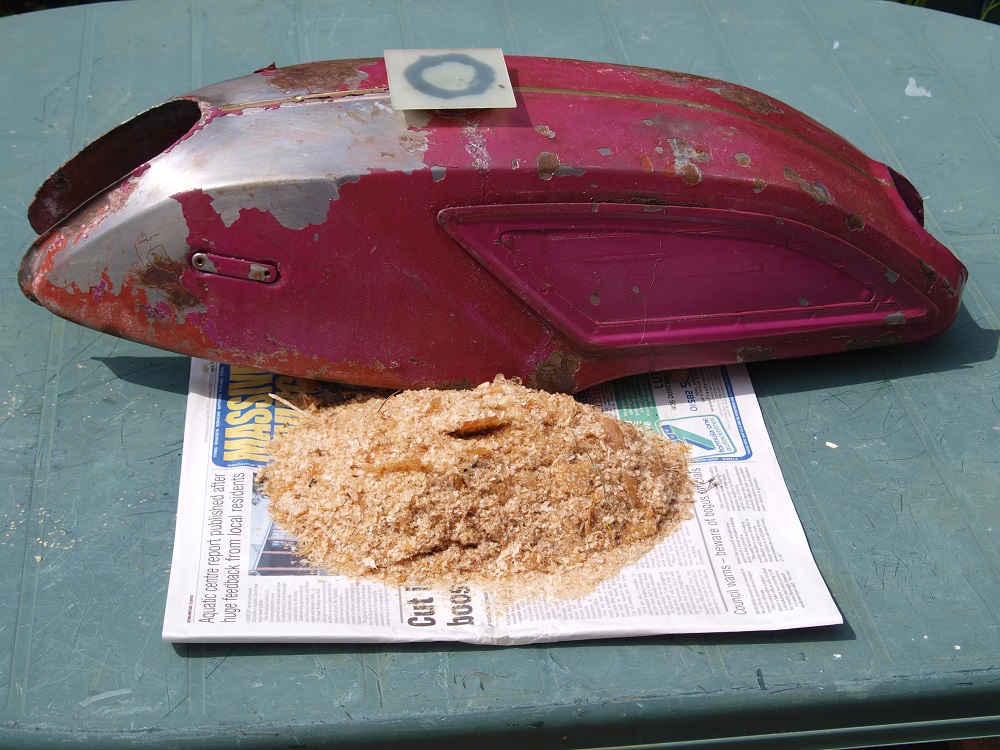
There’s normally no need to remove a tank liner unless the tank is damaged or leaking. However, many attempts often half-hearted and we find ourselves picking up the pieces. From personal experience I’ve seen only three successful methods of removing these failed coating completely. Number one option is to ask your friendly chrome plater to drop the offending unit into his dechroming tank where the chromic acid will digest the lining. Option two is to burn the lining out via a gas torch or bonfire and then derust; both are guaranteed to destroy the paint. The third option is to use either a proprietary remover or make your own; both will employ methylene chloride. Using thick grade builder’s polythene and the aluminium foil tape used on ducting (not duct or gaffer tape which is porous) it’s possible to mask up a tank so that it will resist the aggressive organic solvents needed. My own personal brew is based on two litres of the cheapest solvent based paint stripper I can find, the same amount of glycol based brake fluid (used stuff is fine) and five litres of white spirit or similar to act as an extender. Alternatively if the nanny state in your neighbourhood hasn’t band it is use cellulose thinners in place of white spirit; this solvent blend will also soften tank liners. With a cork or blanking plate over the tap hole(s) add the brew to your tank and leave soaking for a minimum of one week on each internal face. After being pickled the liner should swell and lift off the steel. It may be necessary to periodically drain and filter but a liner free surface is normally assured. Sometimes you’ll be amazed what you can get out of badly line tank as per the contents of my humble little Suzuki Stinger here...
Installing tank liners
Tank liners normally stick like the proverbial so it’s imperative that the tank is well masked before getting stuck in. Consider any known leaks especially if you are lining a fully painted tank; degrease where appropriate, mask well with newspaper and tape then add a layer of aluminium ducting tape tightly applied as this will be your only barrier between the tank’s paint and the liquid liner. With this in place add another double layer of newspaper and fix this securely with a good quality masking tape (Picture 11). Ensure any externally visible surface is protected and fit a cork or blanking plate over the tap holes. Follow the manufacturer’s instruction to the letter and mix, stir or blend as directed. With two pack systems do not be tempted to err from the stated ratios or it will end in tears. Pour in the liner, block up the filler neck and ensure every surface is thoroughly coated allowing the tank to rest on all six faces of its basic cube shape for a couple of minutes each. When your happy drain off the excess and allow the liner to cure as directed; do not be tempted to add a double layer as this will not help and may actually delay or hamper the curing process.
...And finally
Don’t risk a rusty tank; it’s simply not worth it. A mate ran his immaculately restored, prize winning RD400 with a rusty tank and it cost him big time. Giving it the berries the bike suddenly gained power, revved like a banshee and then went bang seizing a piston, tearing the rod out of the gudgeon pin, then breaking and punching a hole through the crank case. And the cause was what? A main jet 50% obscured by fine compacted rust from his internally corroded tank. Rusty tanks; don’t let them get away with it!

Hi I have a Honda 70 adv that had a rusty tank looks like I've done a good job with the rust using and full nuts and a full tank or white vinegar what I want to know is if it has a full tank of petrol will this prevent rusting again or would you advise on a sealer?
Biker, 30/07/2021
COMMENT