Workshop Guide to fuel tap refurbishment
Fuel taps; pretty much every bike has at least one, and like many motorcycle components they get ignored until they go wrong. Fortunately, most taps likely to be encountered within CMM’s demographic are going to be alloy castings running a rubber or synthetic rubber seal. Unfortunately, age, stale fuel and, worryingly, modern fuels all tend to degrade the sealing ability of the tap. The normal scenarios are either a leak or a tap that won’t turn. The good news is that there are specialists out there who can offer repair kits or even just the service parts you need. It might be tempting to simply go out and buy either an NOS tap if one is available or a reproduction unit. However, we’re mechanics so it’s yet again time to break out the tools and embark upon another fettling session.
 1
1
First job is to remove the tap. I find a precision with a flat punch often frees up the threads of the screws. An impact driver head and cross head bit on the ratchet handle normally gets out even the most recalcitrant fittings.
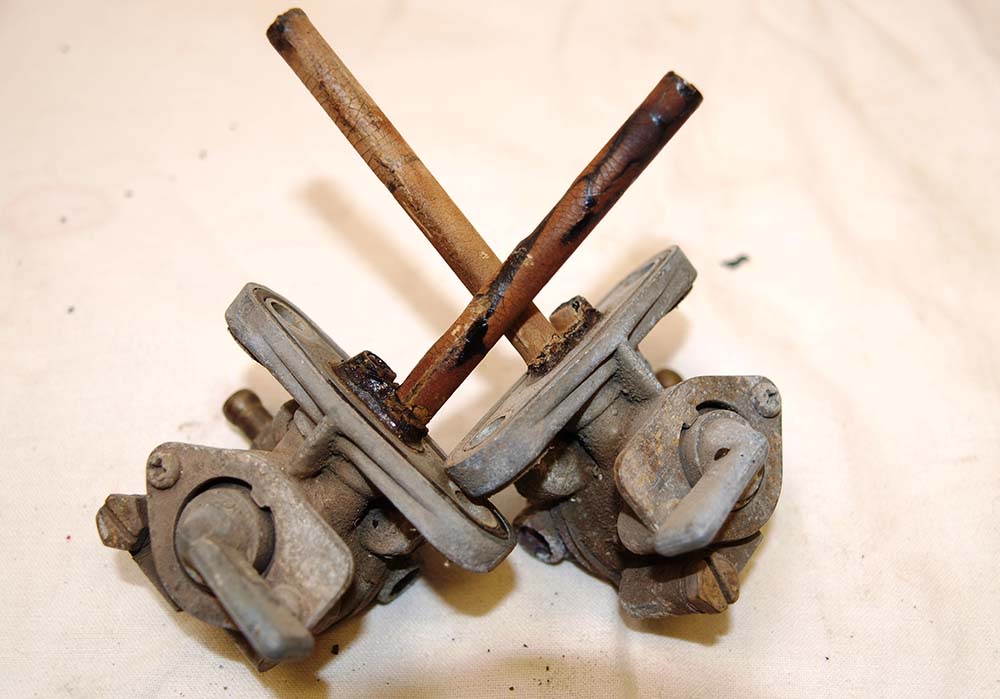
Truly vile and there’s undoubtedly worse inside. At this stage carb cleaner and stiff brush are probably the best course of action followed by hot detergent in an ultrasonic cleaner.
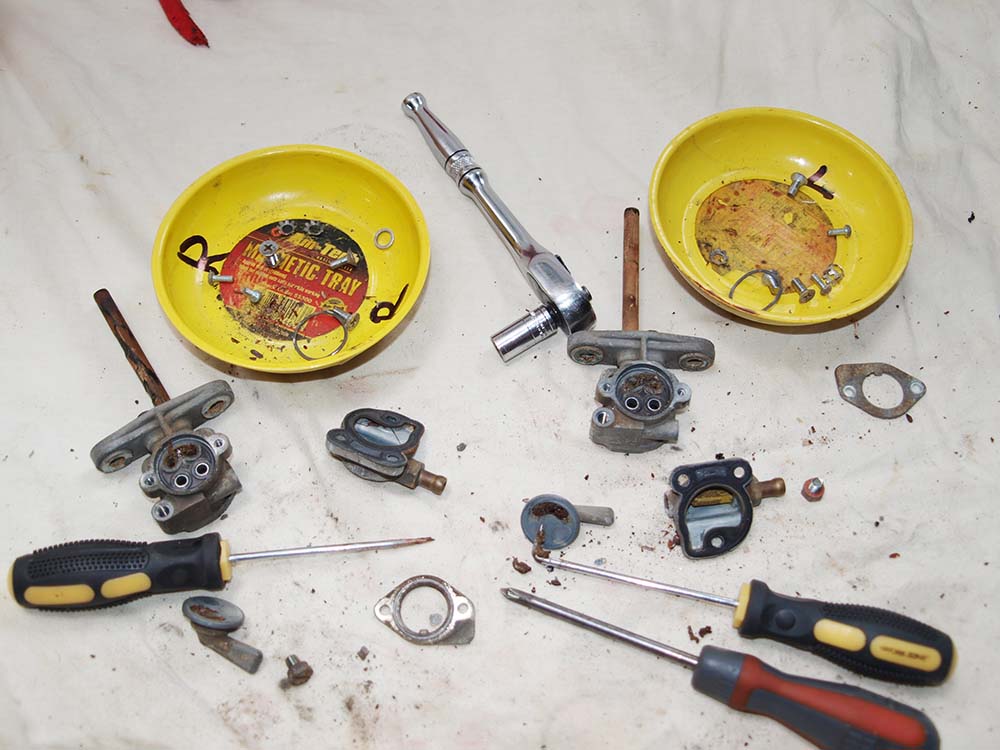
Usual strip-down rules apply; the correct tools are paramount. Left and right-hand parts identified from the start. These taps are handed and getting the bodies and levers mixed may give hours of fun...not!
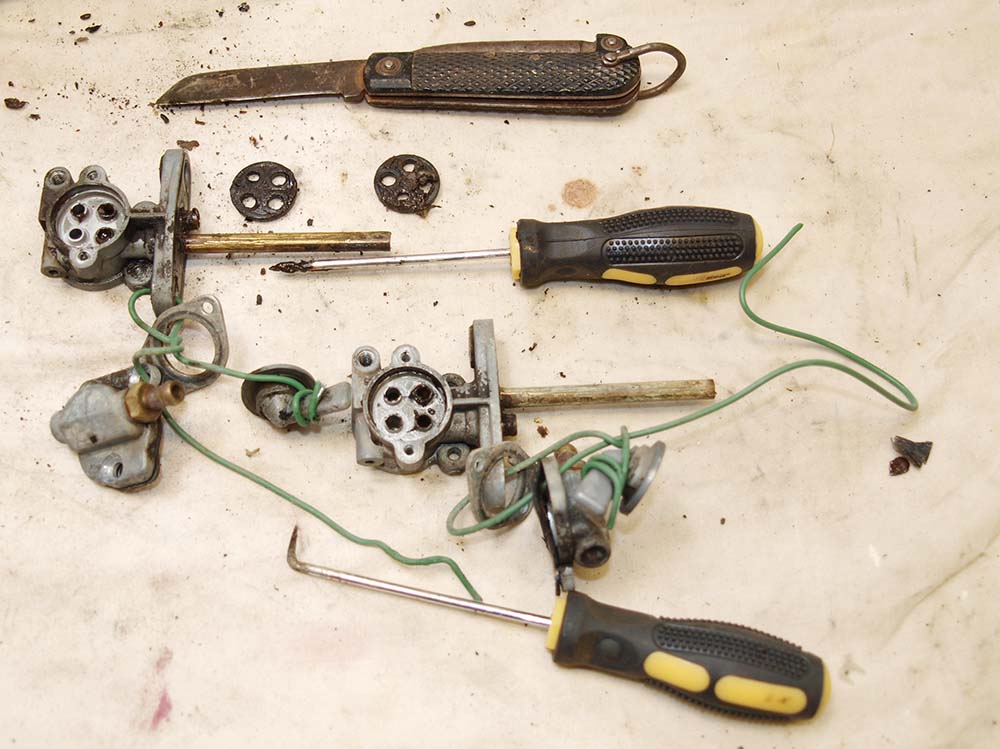
An old knife is useful to pry away the various parts which will be stuck firmly together. Careful use of picks and wire should open up the various passageways to allow the solvent to do its work.
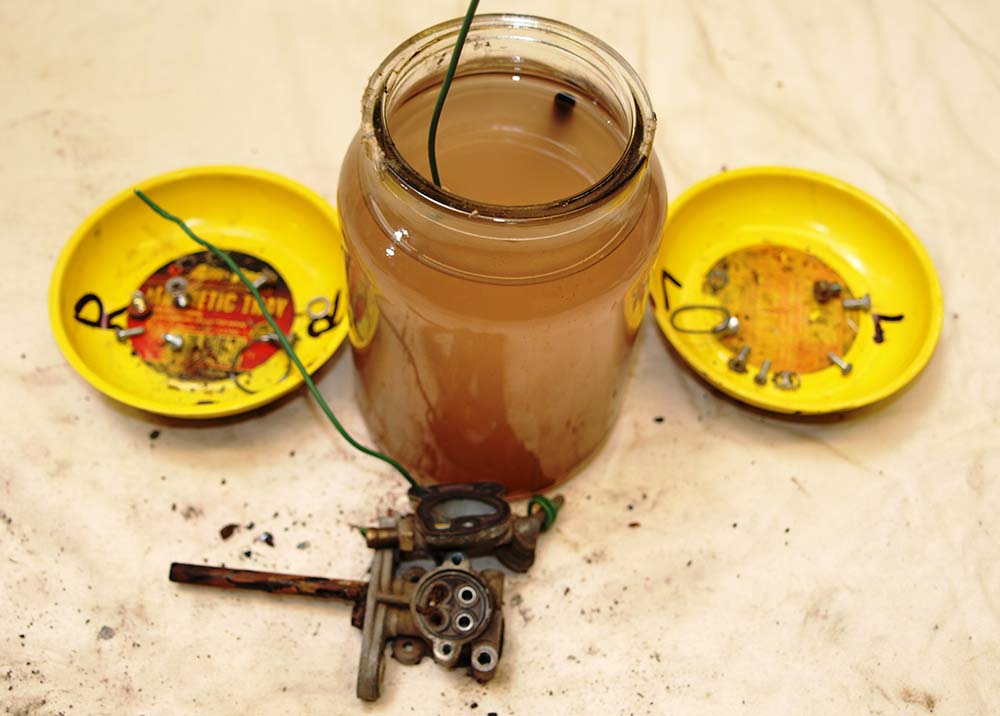
Protracted soaking in paint thinners normally does the trick. Alternatively, boiling the components in detergent solution may help shift the crud. Caustic cleaners will eat alloy in less than a minute; be warned.
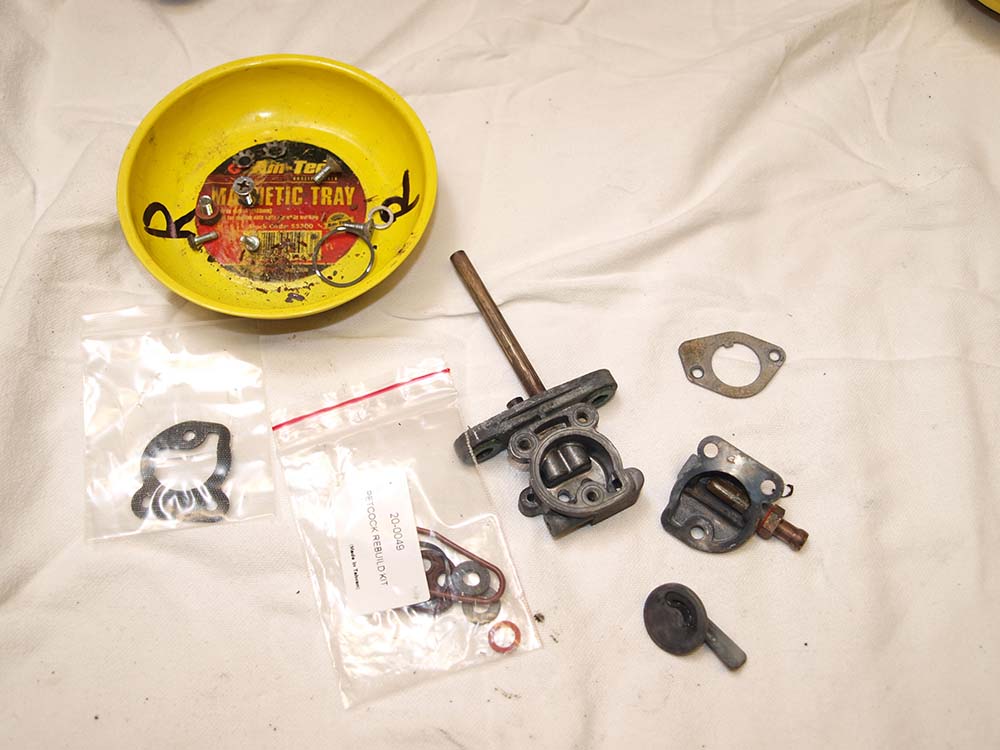
I’m using a tap kit from Heiden Tuning (XS650 specialists) which contains all the seals, washers and gaskets needed. The newer the service kit, the more likely it is to be able to handle modern petrol effectively.
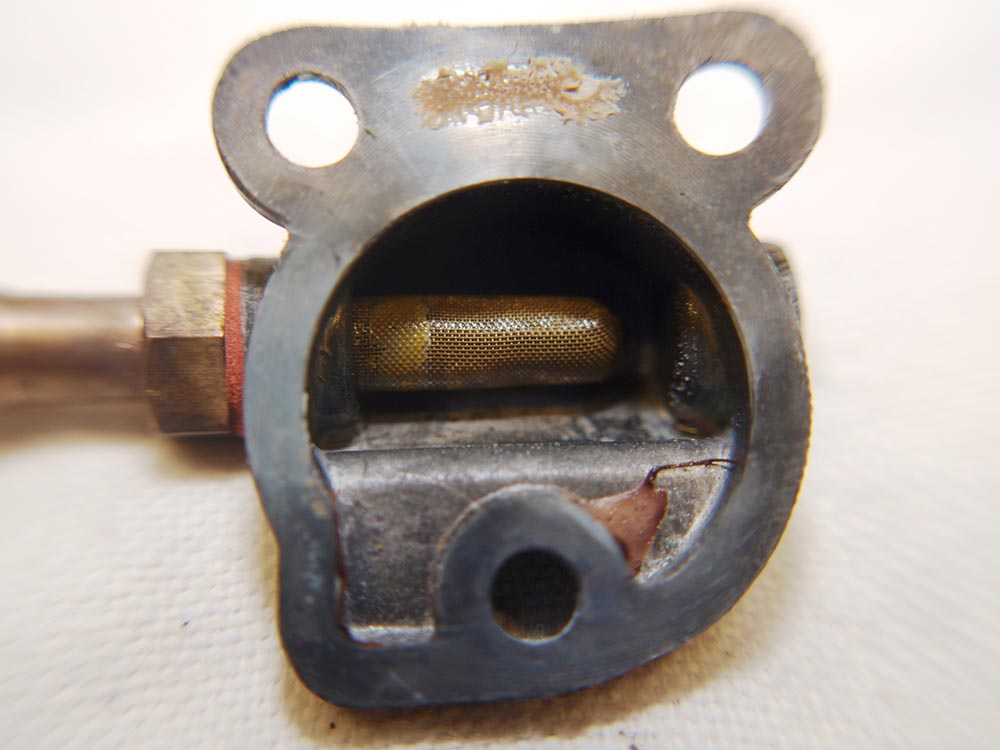
Ensure gasket surfaces are clean and free of old materials; petrol’s especially good at finding leaks. If the internal filter is damaged, you may have to install an inline one unless you can find some suitable metal gauze.
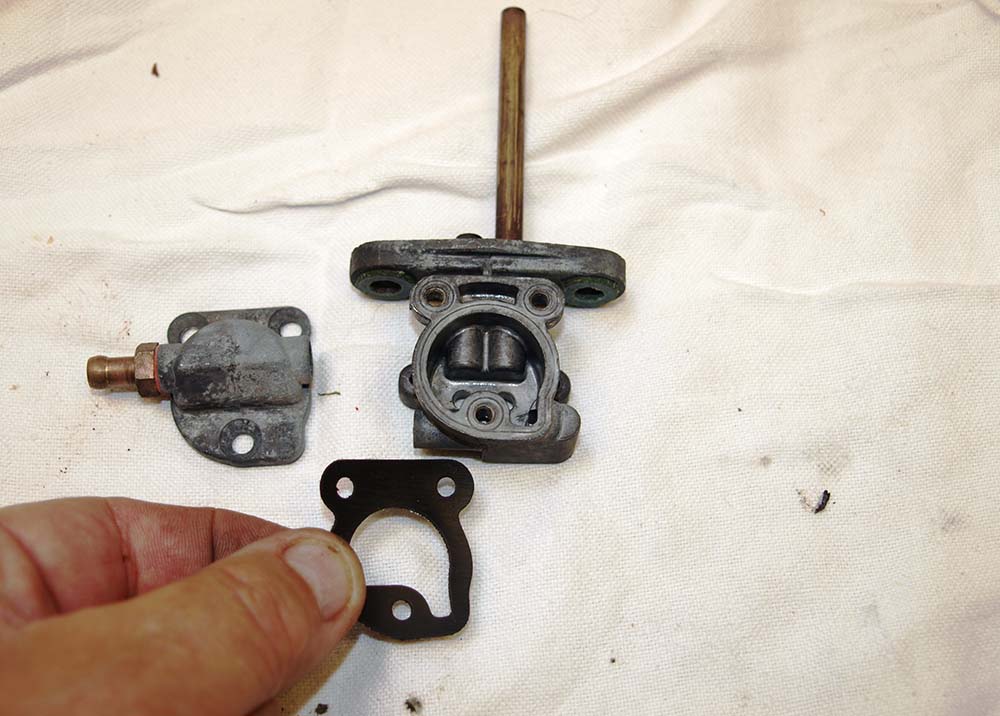
Make sure the gasket goes on the right way round; if it’s correct it’ll fit perfectly. If the raised ring of the body’s mating surface is damaged, you may be forced to use additional fuel resistant sealer.
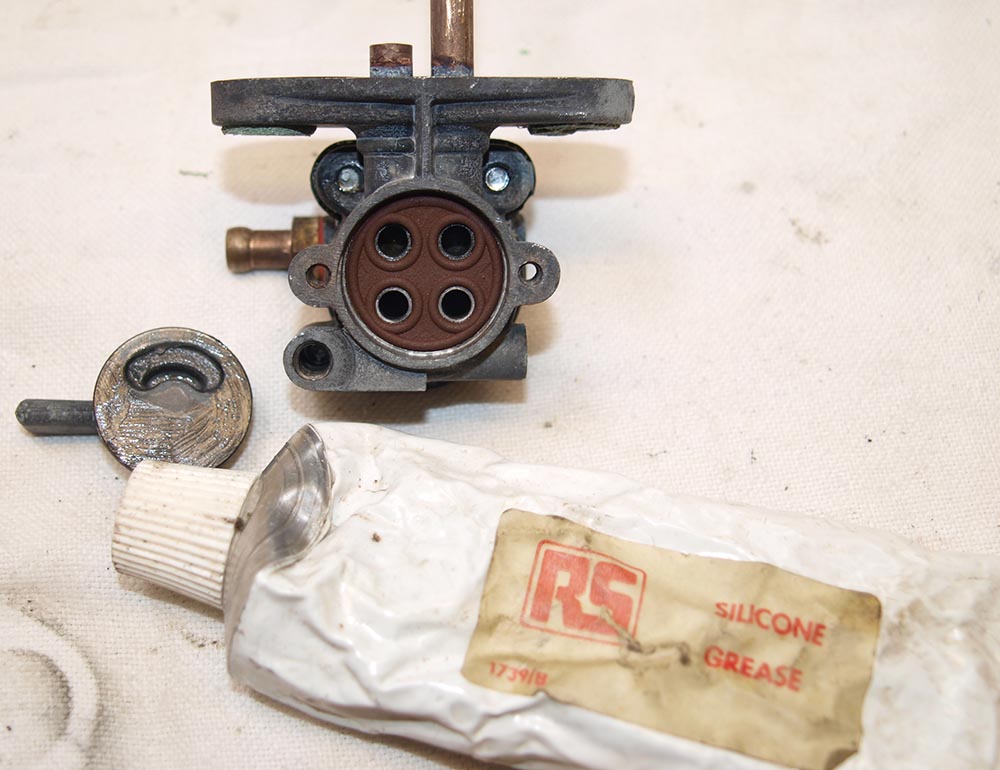
A discrete smear of silicone grease on the back of the lever body gives the tap rubber an easier start in life. Tap rubbers are likely to shrink or swell in the presence of petrol so be prepared for an initially sloppy or stiff tap.
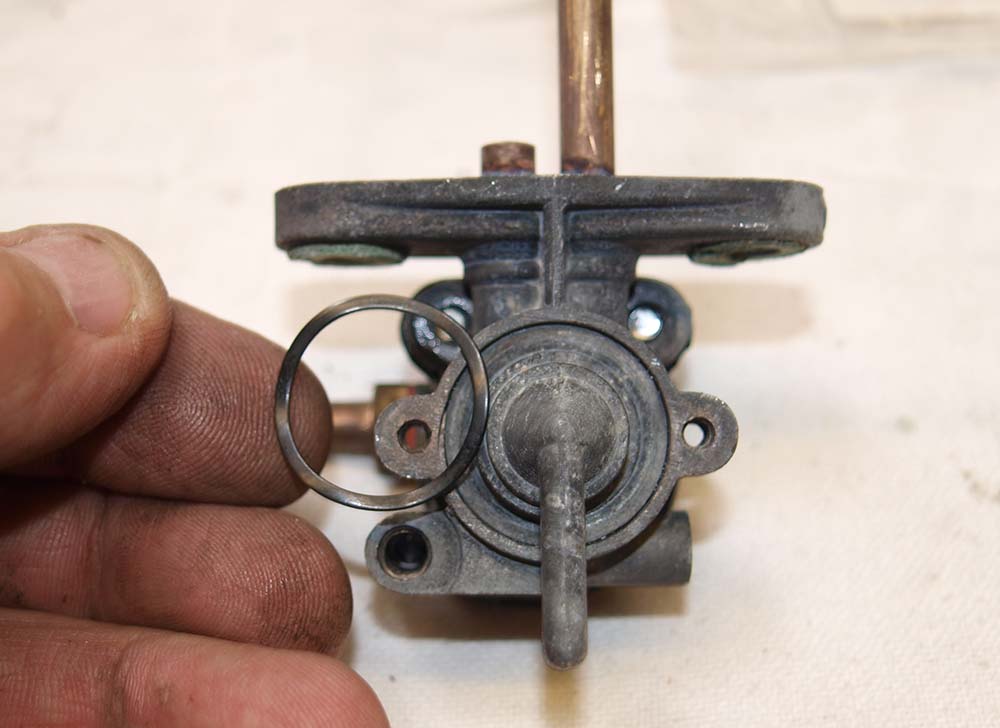
Never forget to fit the wave washer over the outside of the tap handle. This and the outer, screwed on, plate force the inner face to seal against the tap rubber.
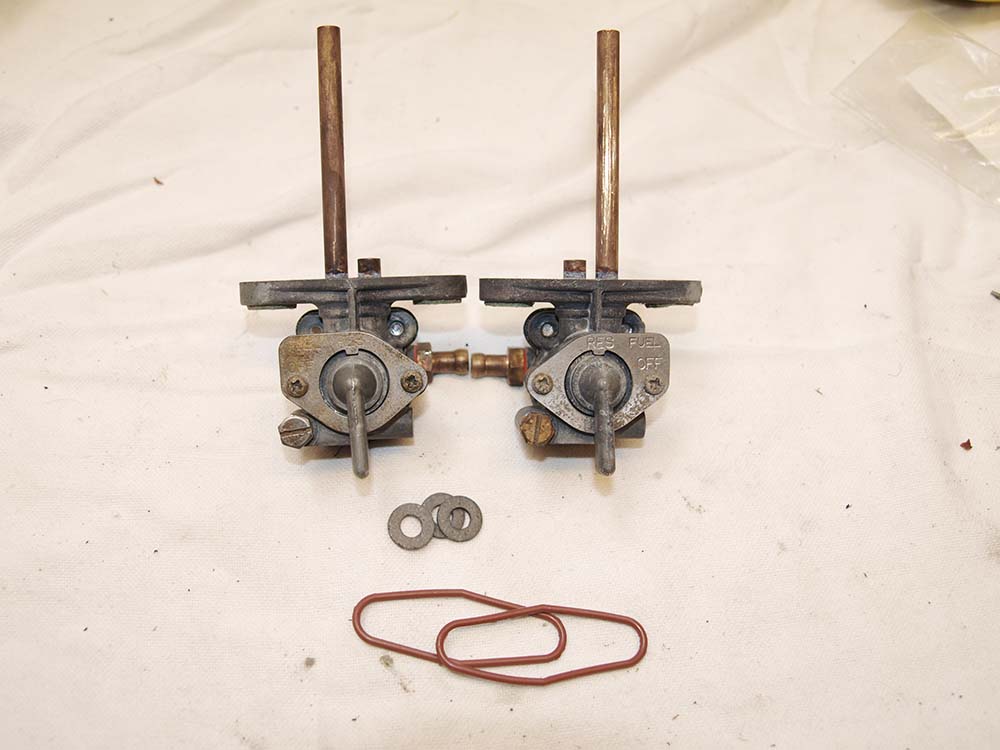
More leaks occur from the joint between the tank and the tap than anywhere else. New tap body and fixing screw seals are the simplest and safest way of avoiding a fuel leak.
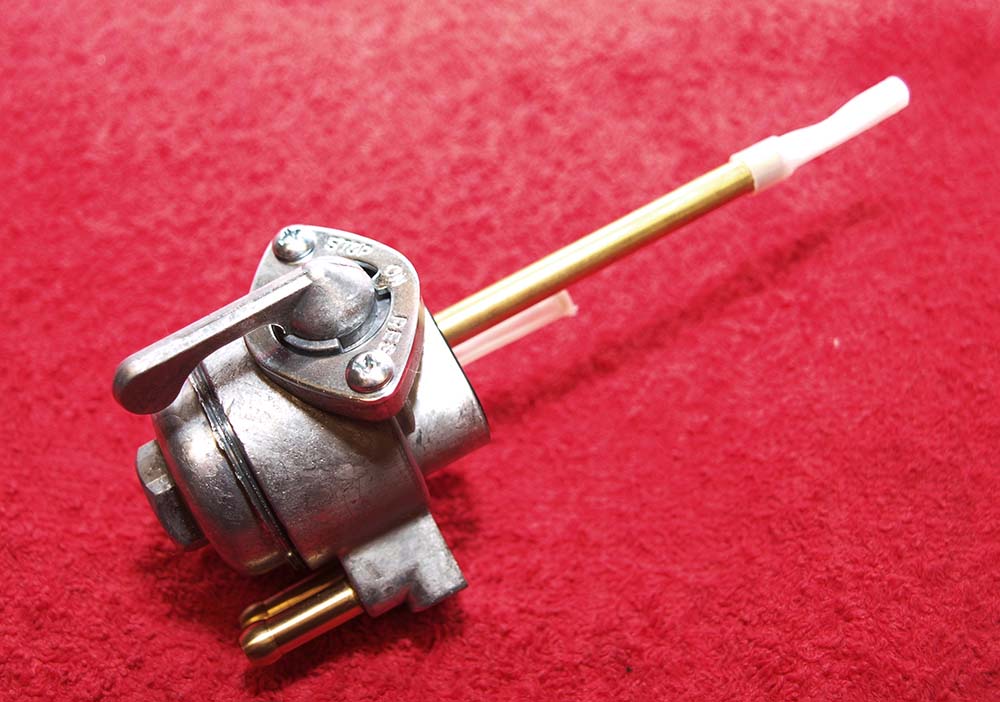
And if the tap is broken or corroded beyond redemption, there’s very often a Plan B. Check out the specialists not just for service kits but for aftermarket replica taps. Most are now really good quality reproductions.
Repairing fuel taps rarely takes more than half an hour of bench time. The majority of the work is outside the shed draining the remaining fuel, removing the tank and then refitting it. If you’re really lucky the tap may even be one of the threaded spigot types, and these can very often be removed in situ. Fuel leaks aren’t just messy and inconvenient; they are now an MOT failure and have been for a number of years. At best, a leaking tap will stain your engine and stink out your garage; at worst it could very well be the cause of a fire. Speaking as someone who’s seen their own bike go up in flames, I can attest it’s not an experience I’d wish to repeat. Leaking taps aren’t just a liability; they’re potentially life threatening.
If you're midway through a restoration, make sure you take a look at our Classic Bike Insurance for when your bike gets back on the road.
The information contained in this blog post is based on sources that we believe are reliable and should be understood as general information only. It is not intended to be taken as advice with respect to any specific or individual situation and cannot be relied upon as such.

COMMENT