Workshop Guide to Fuel Caps
by VJMC editor Steve Cooper
Modern fuel is causing rust wherever it goes. Even worse it’s also taking out taps and filler cap rubbers and one of my bikes needs the cap looking at. The rubber is badly granulating, there’s evidence of rust and when I came to drain the tank out I found the balance pipe that connects the two sides was blocked at both ends.
You might reasonably think that you know all you need to know about your petrol tank. After all it has one big hole at the top, several smaller holes in the lower portions and a tap that allows the fuel to be delivered to the carburettors. Simple surely? Well by and large yes, after all what could possibly go wrong with such a simple set up?
Of course nothing is ever straightforward when it comes to old motorcycles and the passage of time can have dramatic effects on the tank and its accoutrements.
At least once a year when you read a problem solver page in a bike magazine there’s inevitably always one issue that refers to fuel starvation and a suggestion that the filler cap’s venting system is blocked. The oft quoted asinine advice is to try riding the bike without the cap and see if the problem still occurs. If you’ve ever tried this, you’ll know just how messy it can all get.
Filler caps can get blocked and back in my MZ days it was a regular part of the service ritual to wiggle a pin into the breather hole of the filler cap just to make sure it was clear then hit it with a garage airline. The same things aren't normally possible on Japanese bikes simply because the wretched vent isn’t even visible. So if all of this isn’t a good enough reason to break out my tools and the trusty Olympus camera I don’t know what is!
Fuel Cap Refurb

After 43 years the rubber cap gasket has well and truly given out; there’s no way it’ll ever seal again. Modern fuel is super volatile and will evaporate at a frightening rate given all of these opportunities. Compare the escape routes available compared to the vent hole sighted at 3 o’clock.
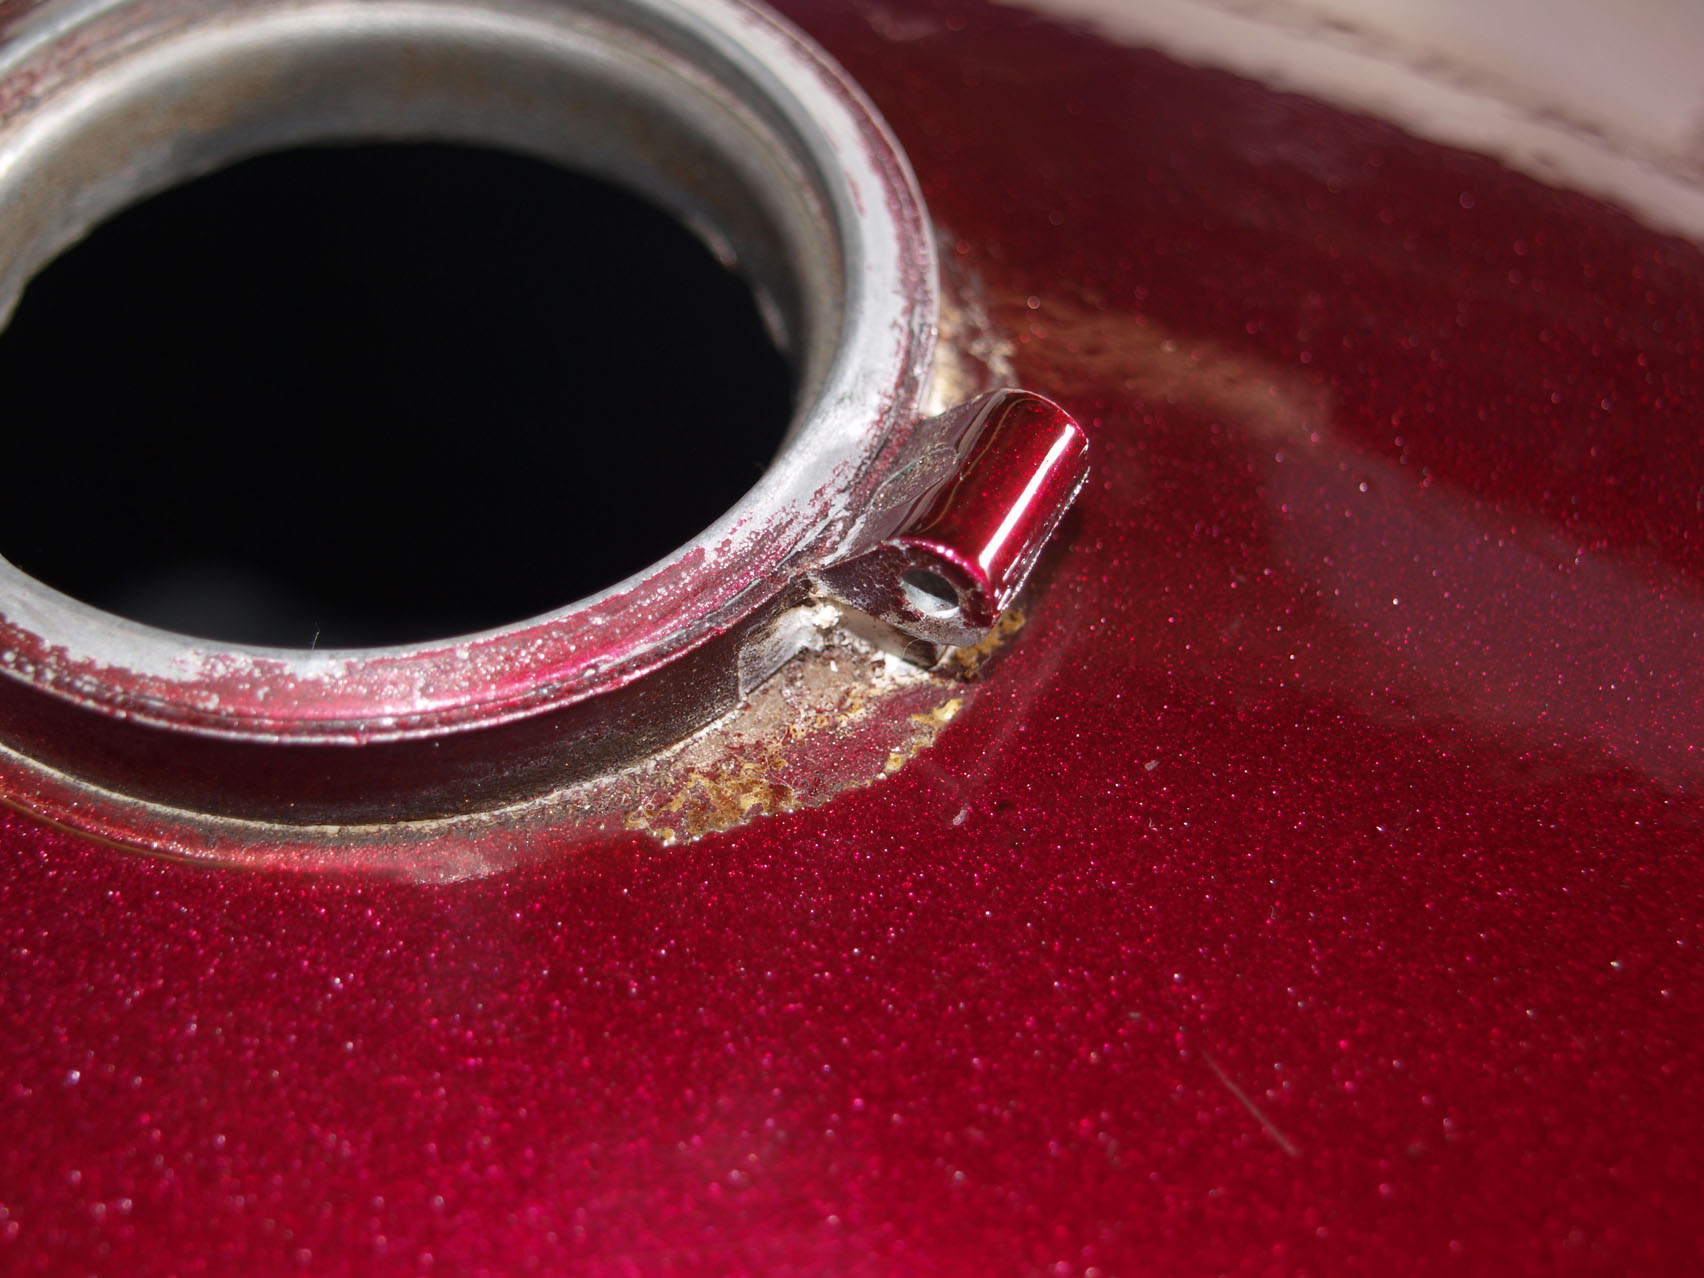
And this is what can happen…both the candy lacquer and the metallic base coat have begun to be eaten away by the fumes from the petrol.
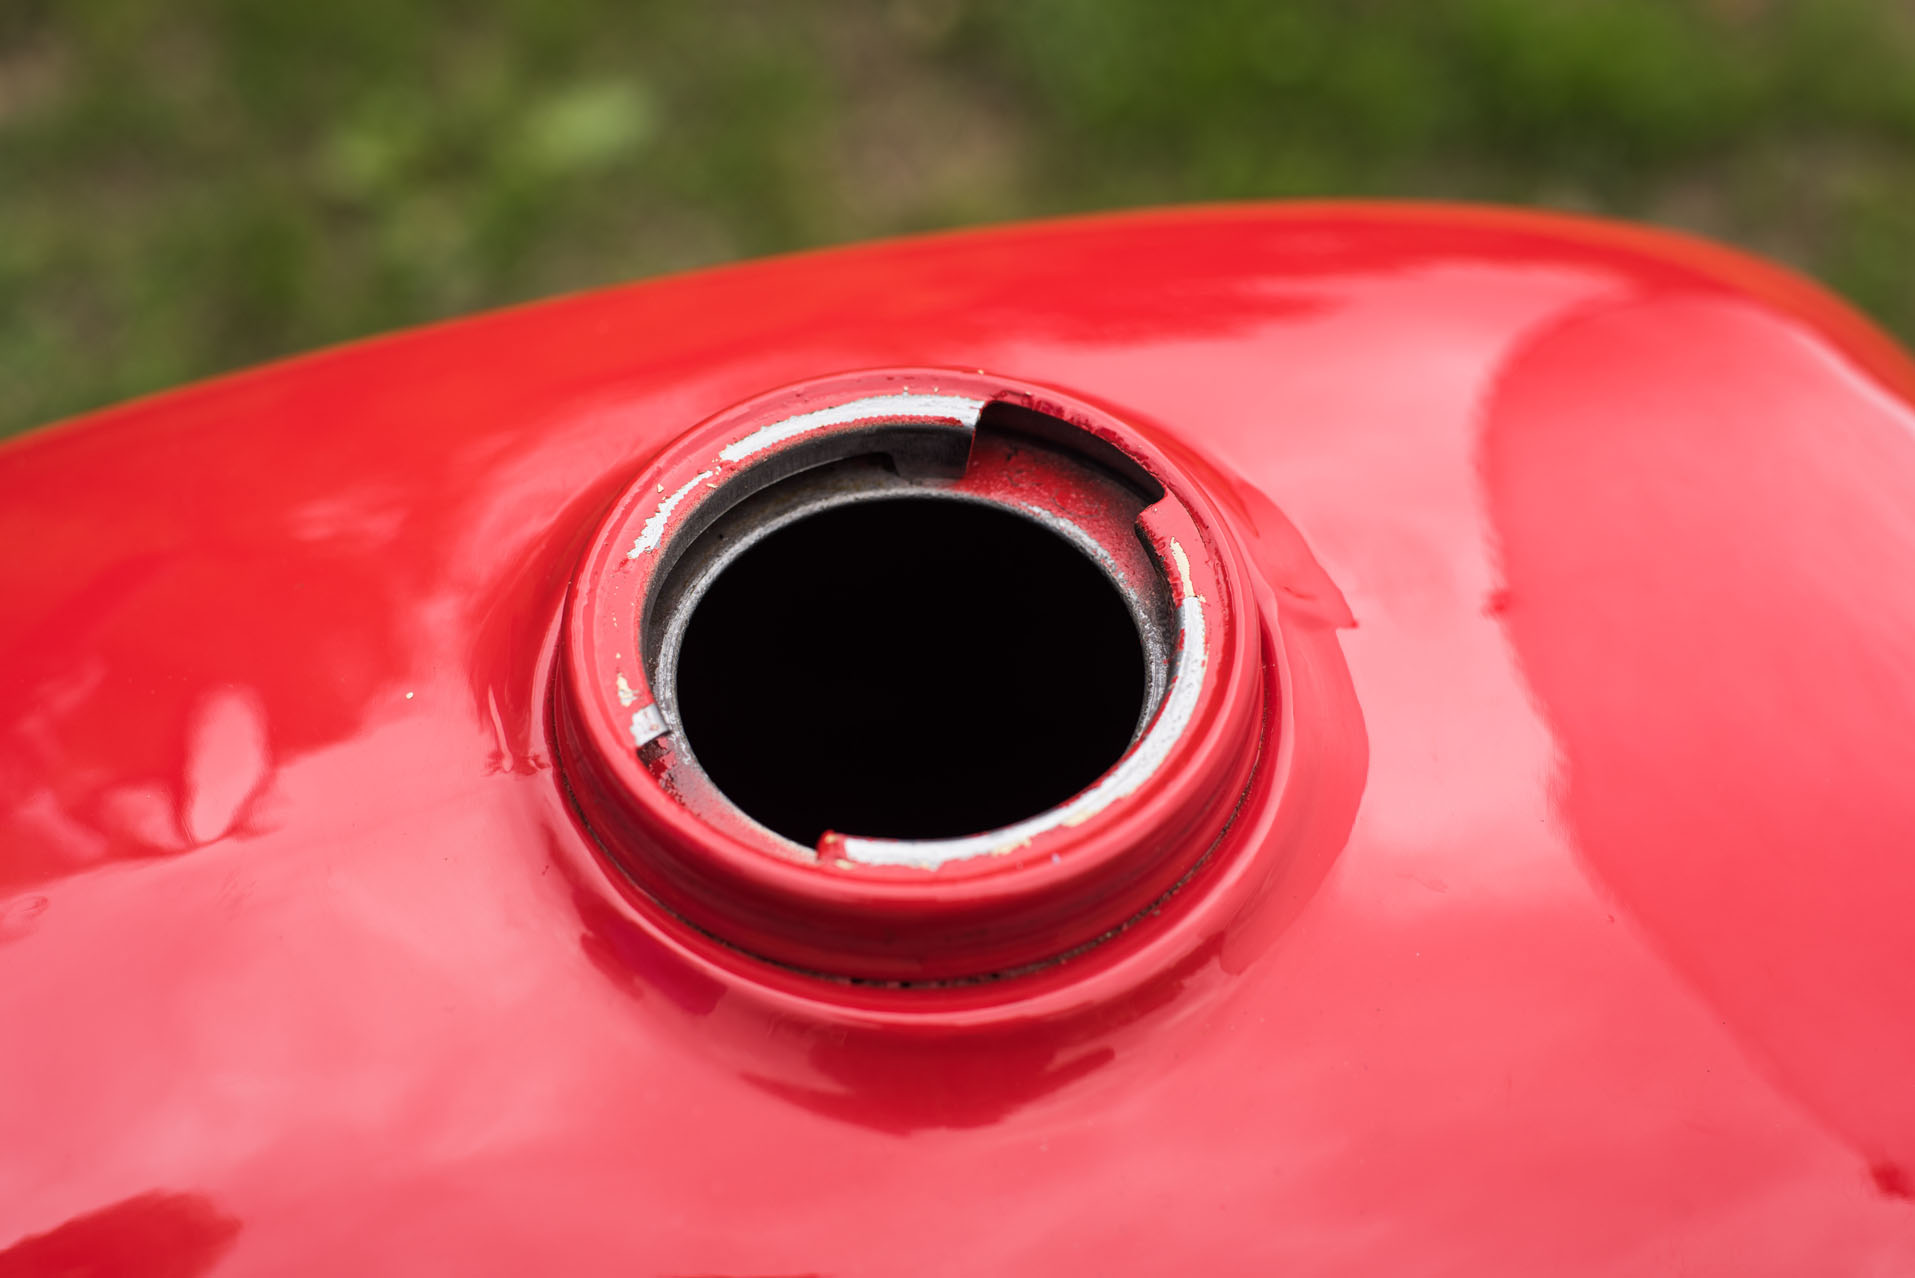
And it’s not just 70’s paint that’s being affected. This is a freshly restored MZ tank that’s done little work. The fuel has already begun to attack the red gloss. This is actually powder coat which is normally impervious to most solvents!
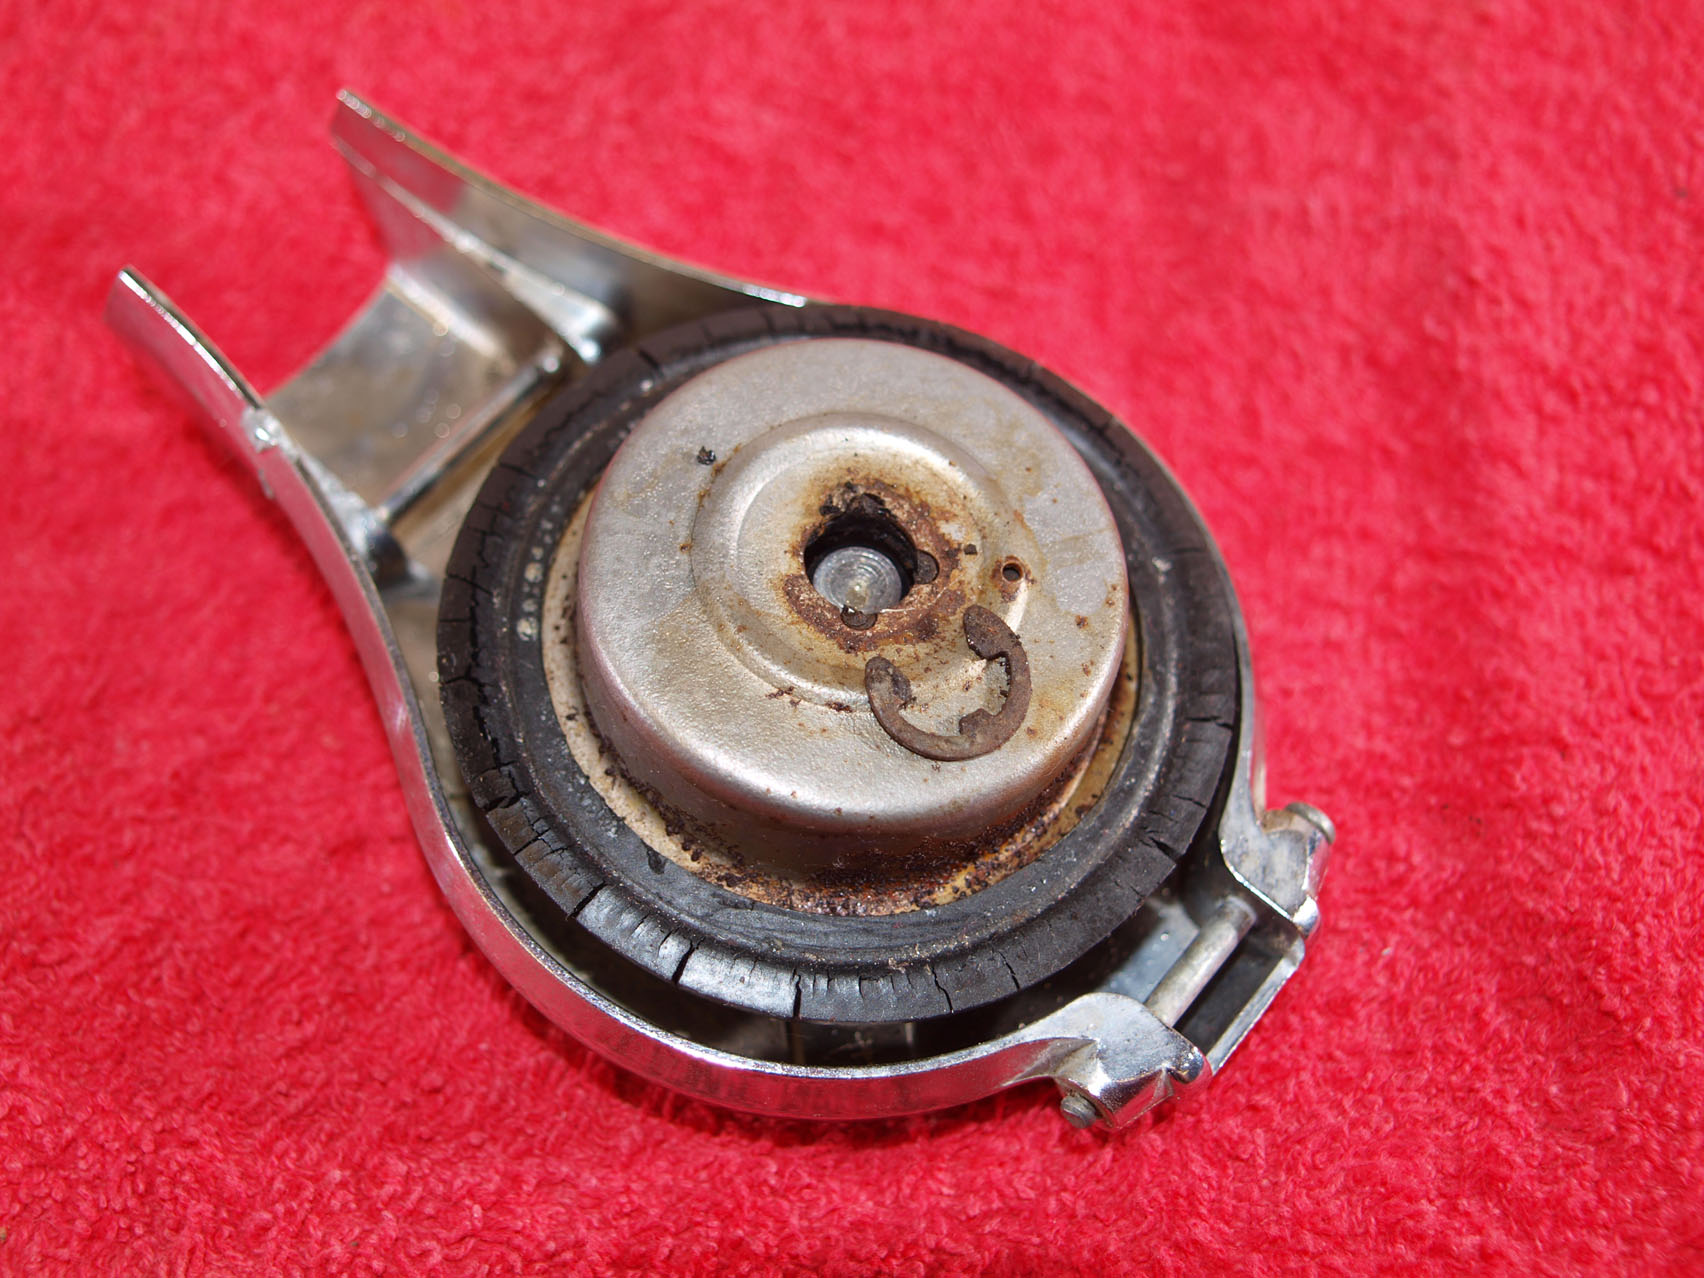
Dismantling on this cap starts with the removal of an E-clip which in this instance had corrosion-welded itself to the chrome alloy central mounting post and the internal steel cap.
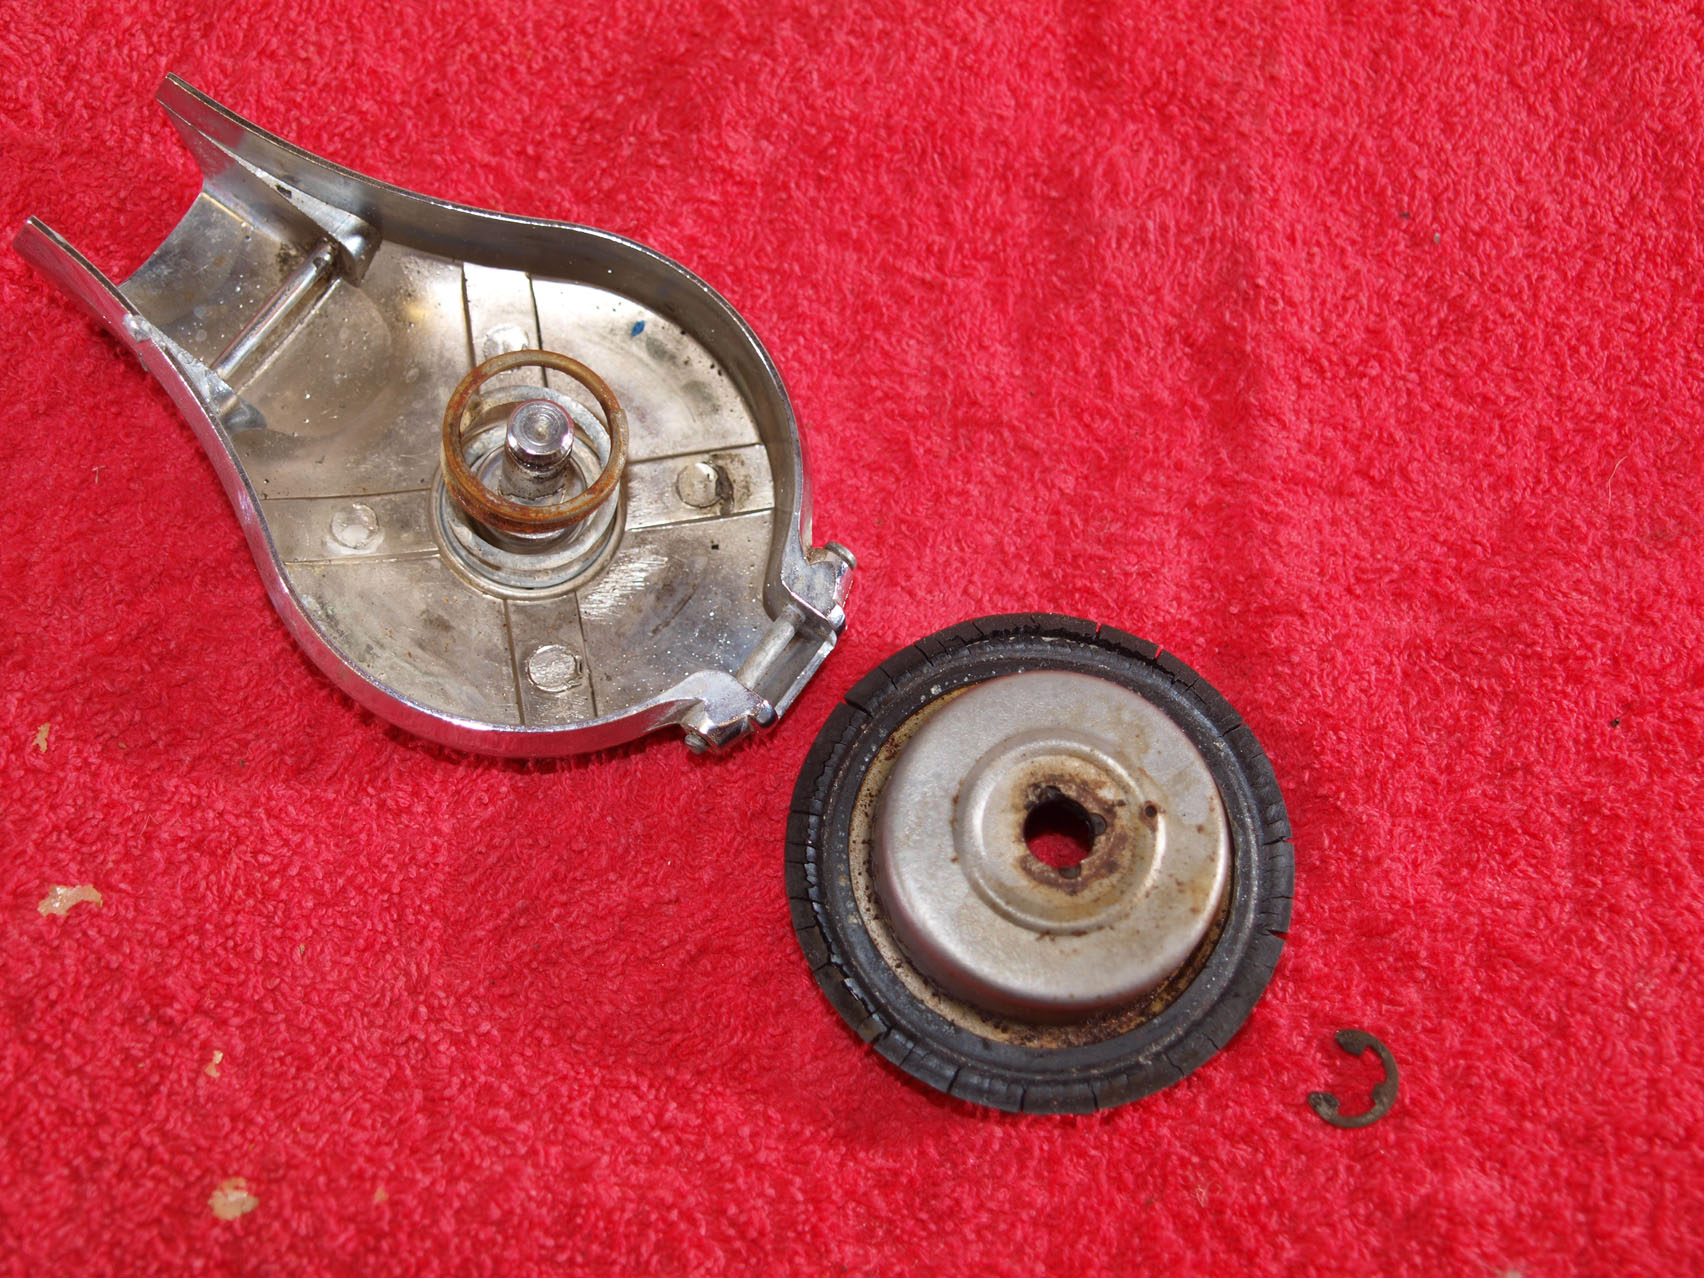
Apparently there’s several parts to the cap arrangement, so it makes sense to dismantle with care and attention whilst maintaining a record of what goes where.
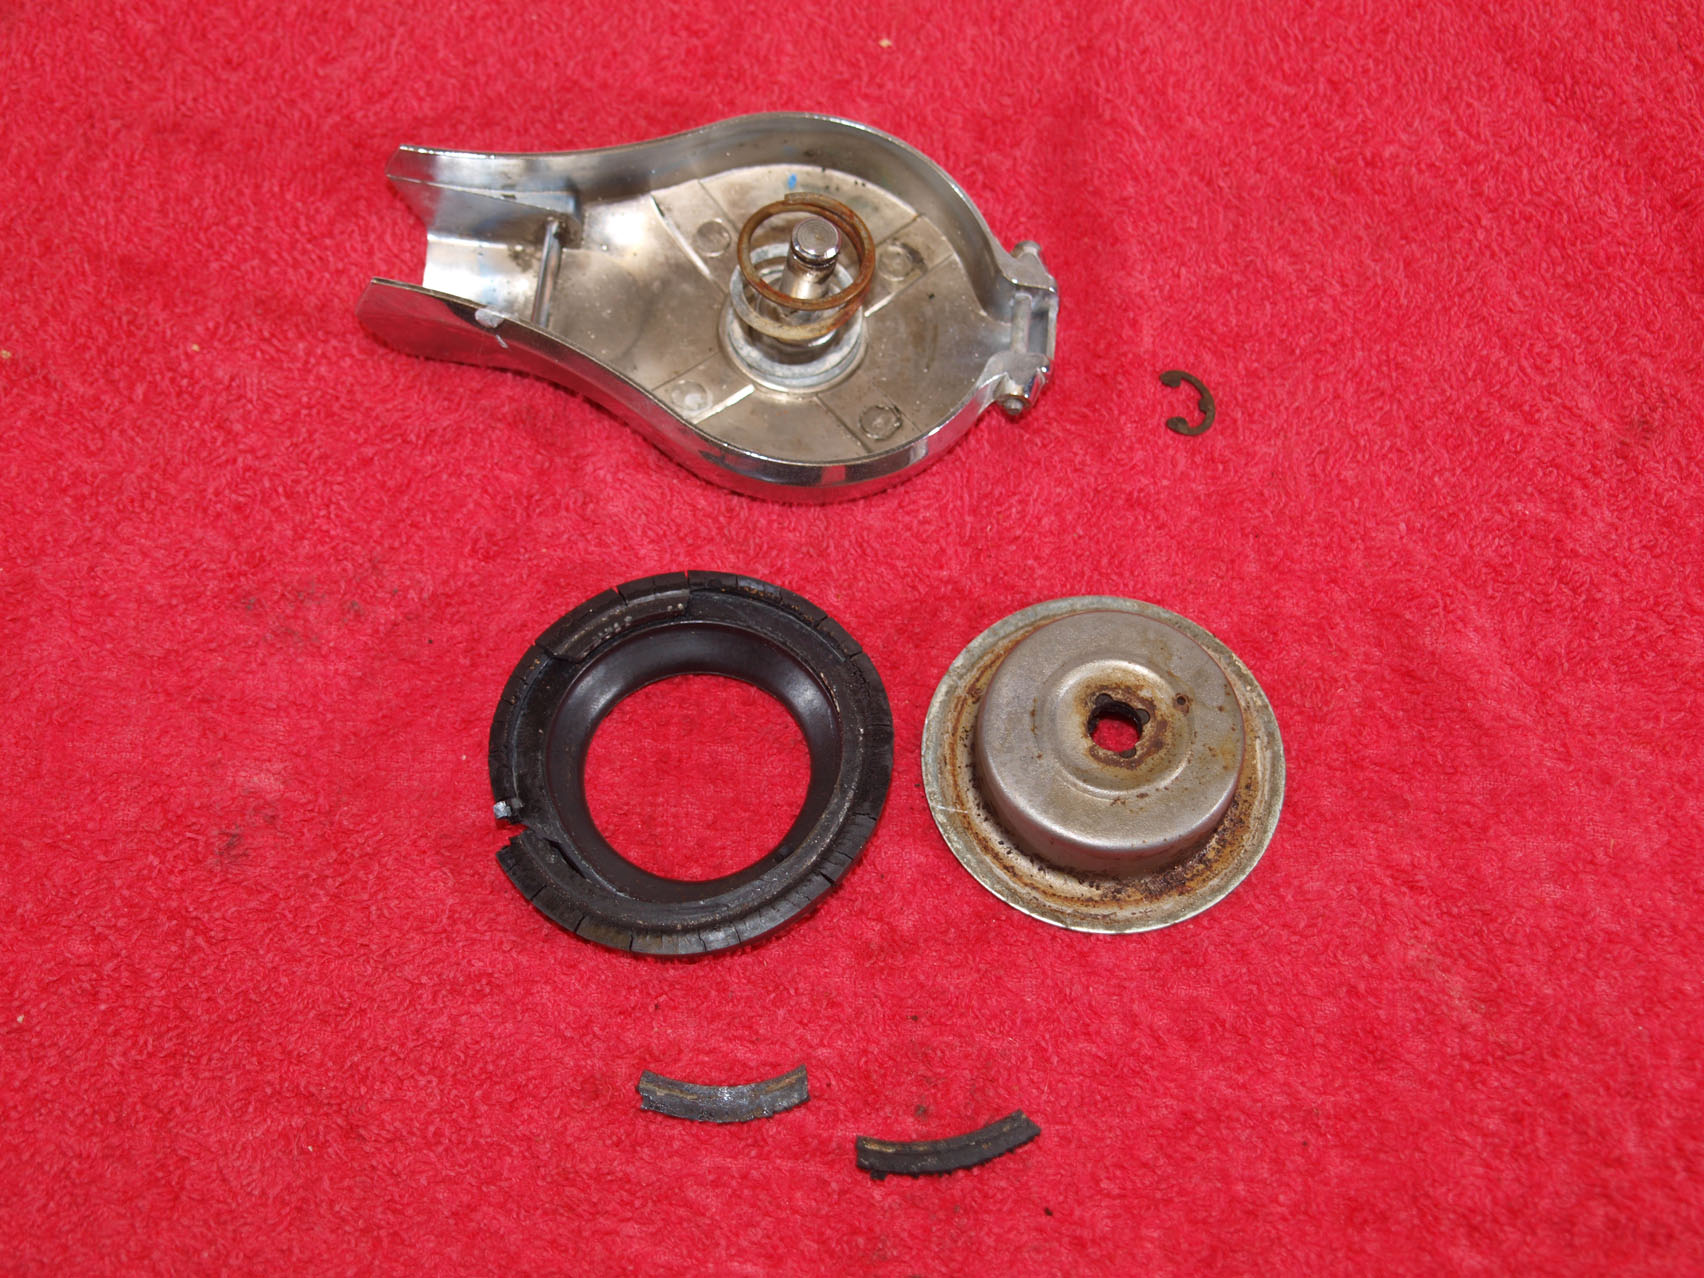
The rubber gasket needs to be removed so that the internal plate which is part of the breather can be inspected and cleaned. Any doubts about the seal’s integrity are swiftly allayed; it falls apart when handled.
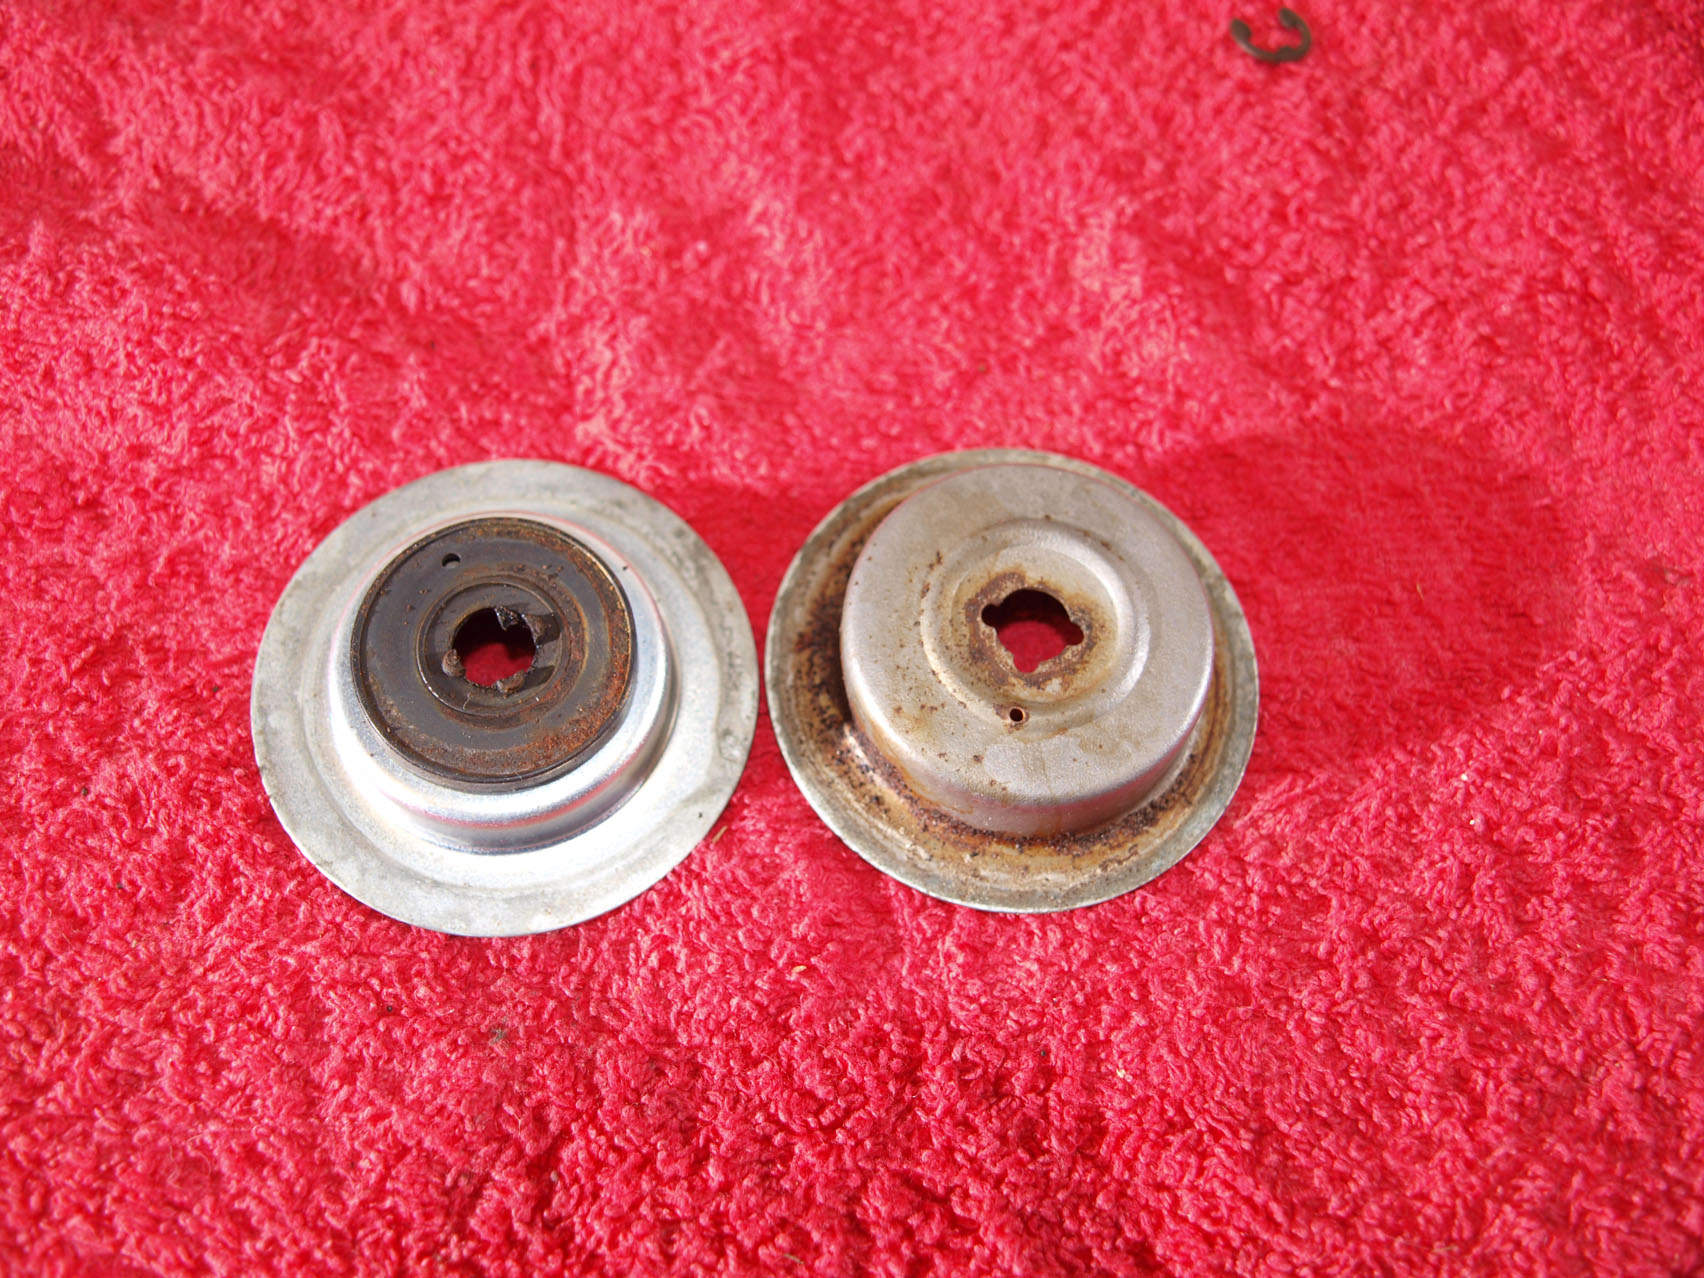
With the seal removed the rest of the cap’s internals are revealed. At this stage careful notes and/or photographs are a must. What looks logical now probably won’t in an hour’s time. Note the orientation of every component.
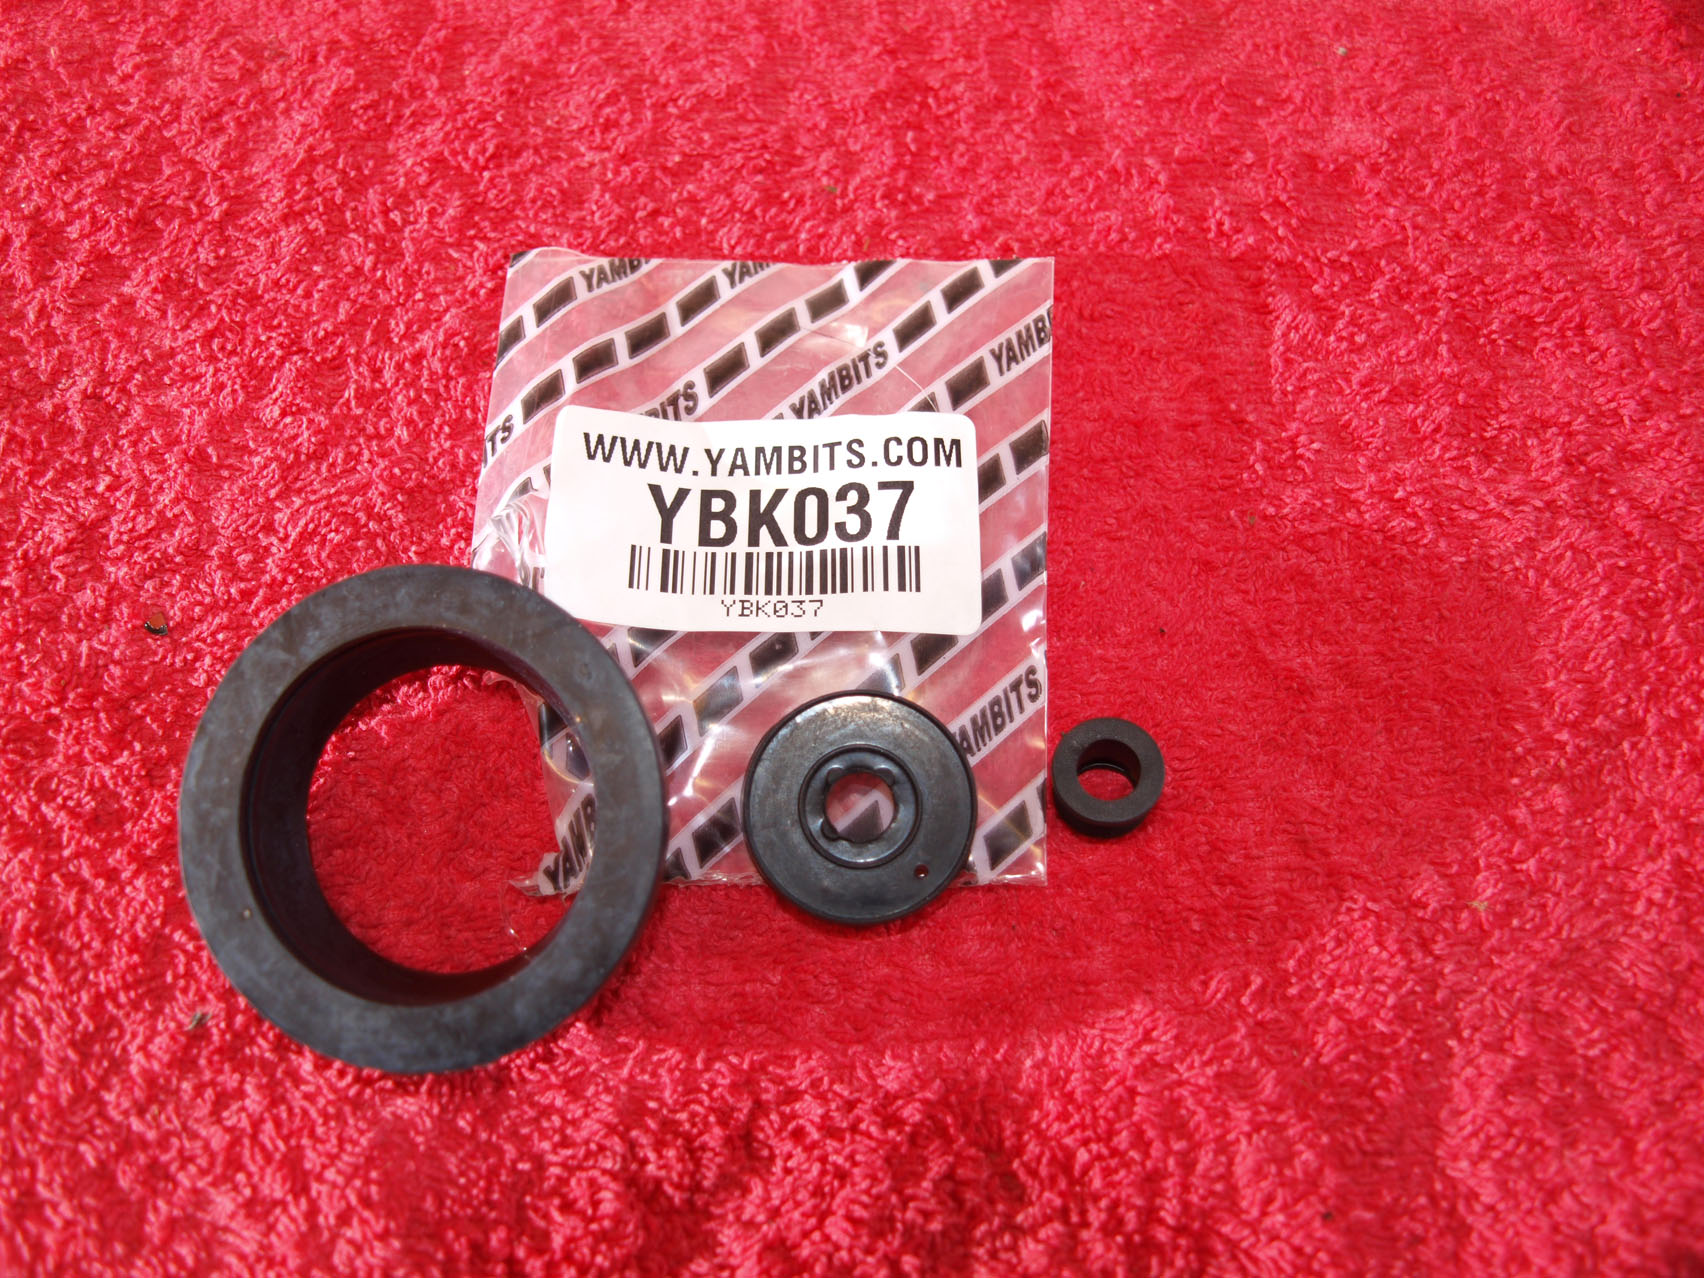
Yambits to the rescue. They sell a kit with the parts needed plus another collar seal I don’t recognise.
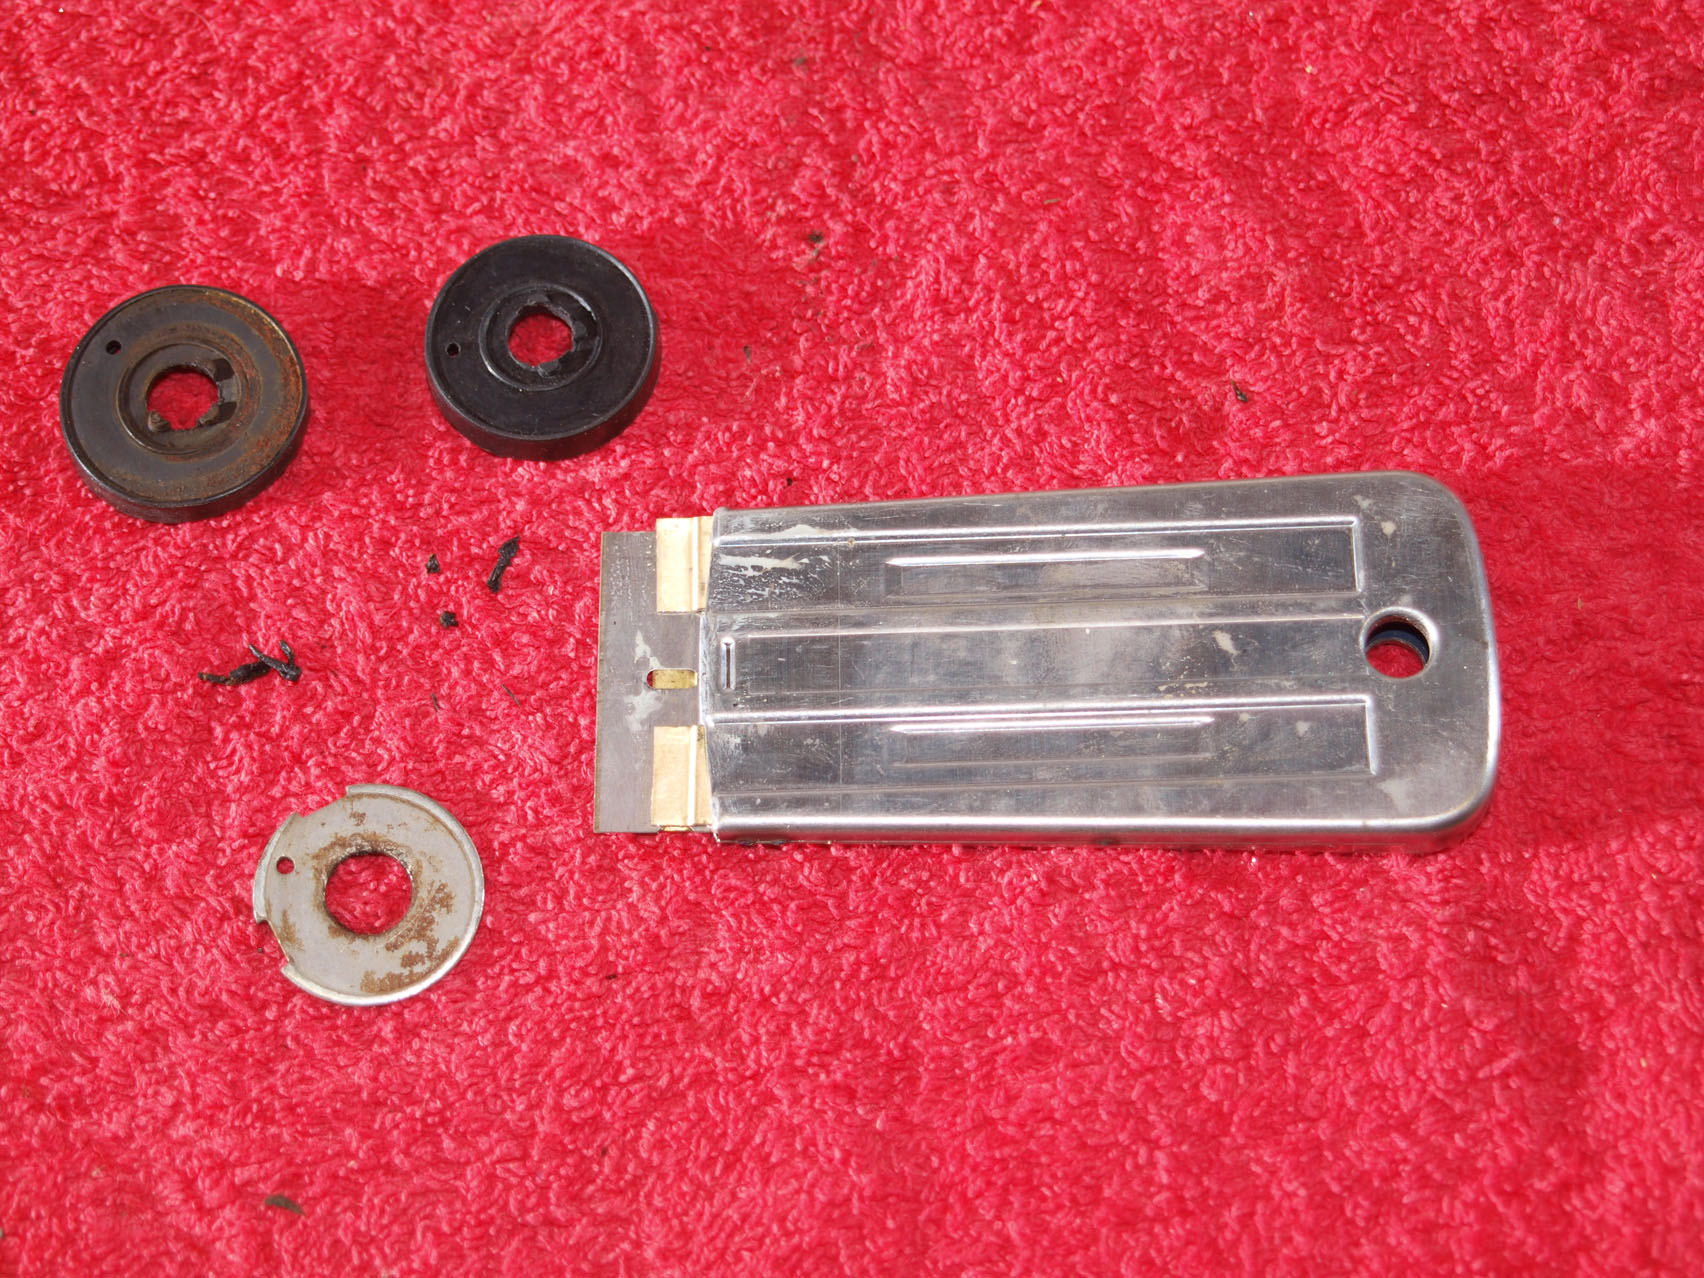
A razor blade’s required to remove the hardened rubber from the internal disc. Amazingly this little pressing is a key part of what’s turning out to be a surprisingly complex piece of engineering.
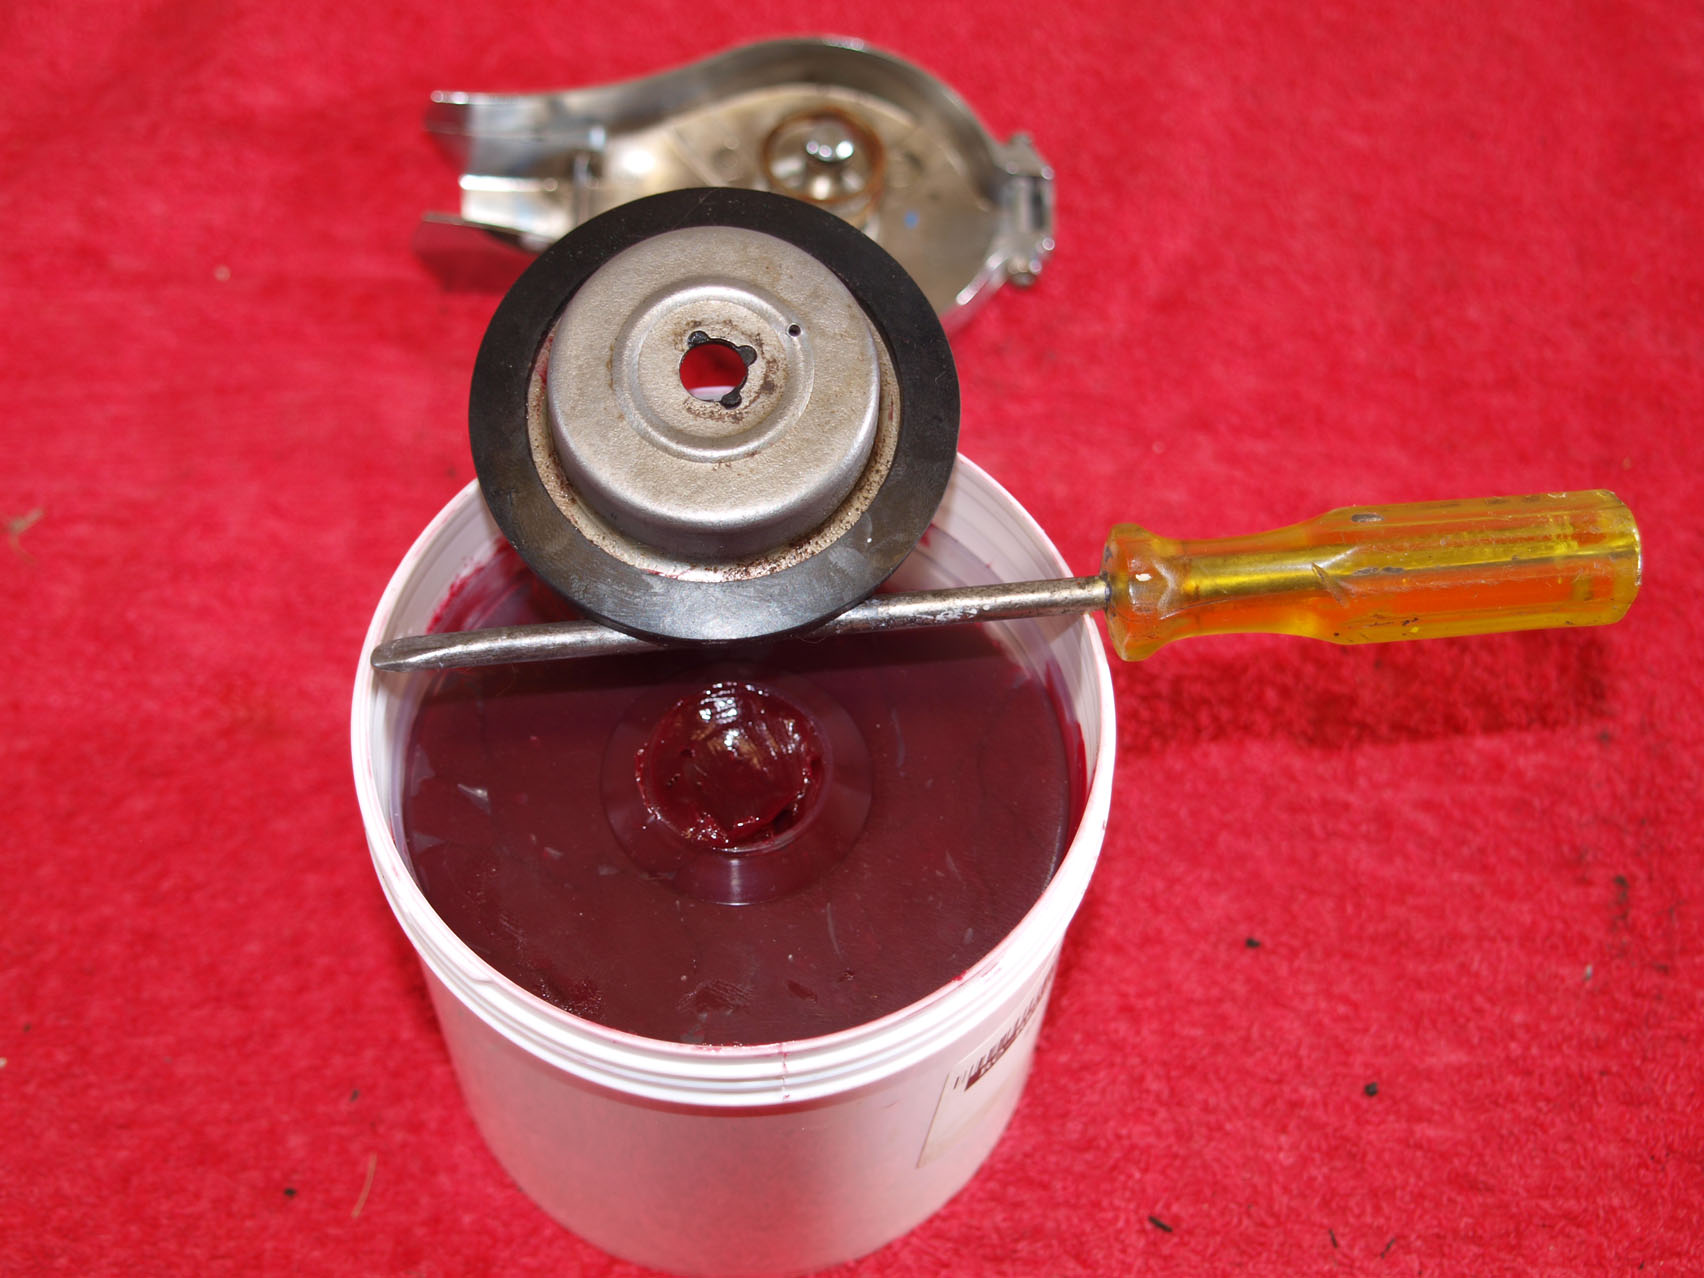
Neither parts books nor the web could provide info on the orientation of the components. Dismantling notes proved to be vital as did rubber grease to assist in the fitting of the lipped seal.
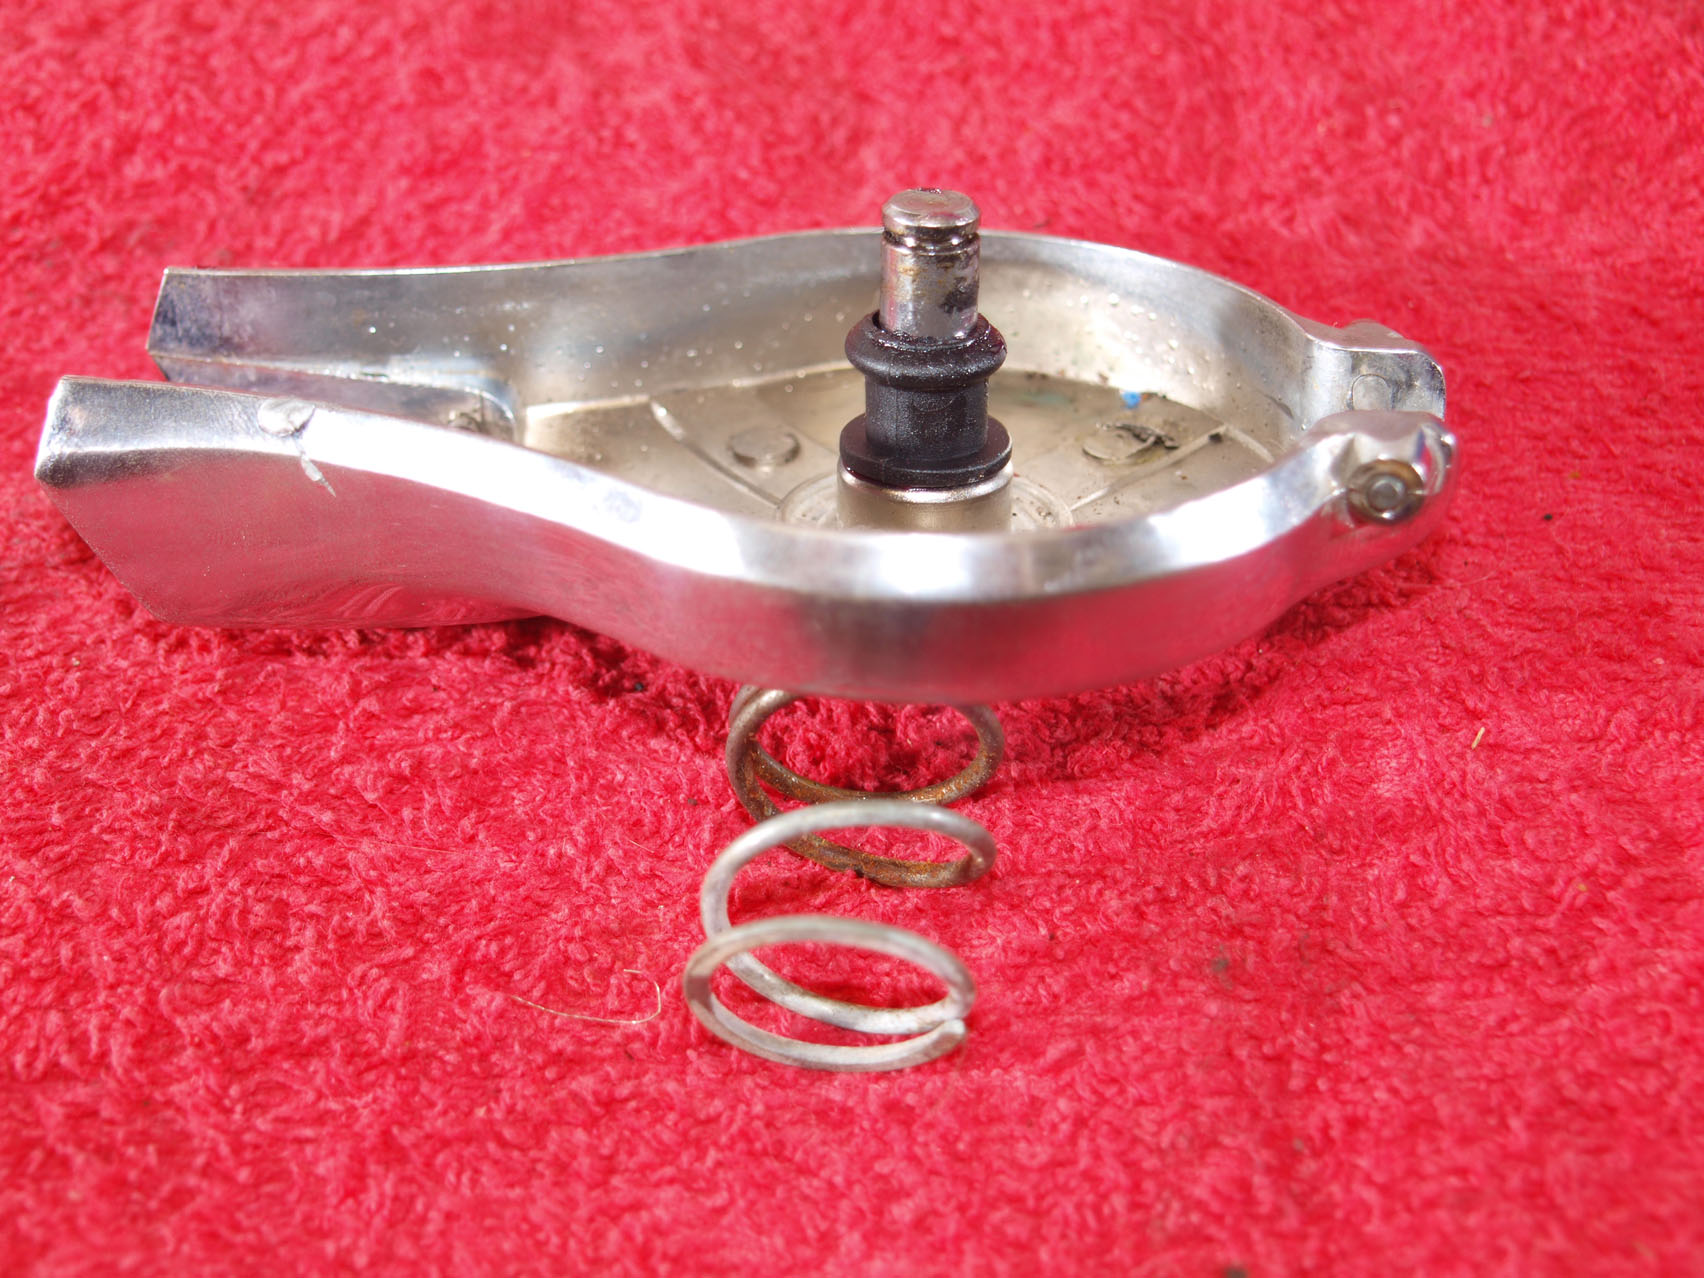
But Yamaha USA’s excellent on-line fiche system did confirm where this little fellow lives. I wonder where the old one went?
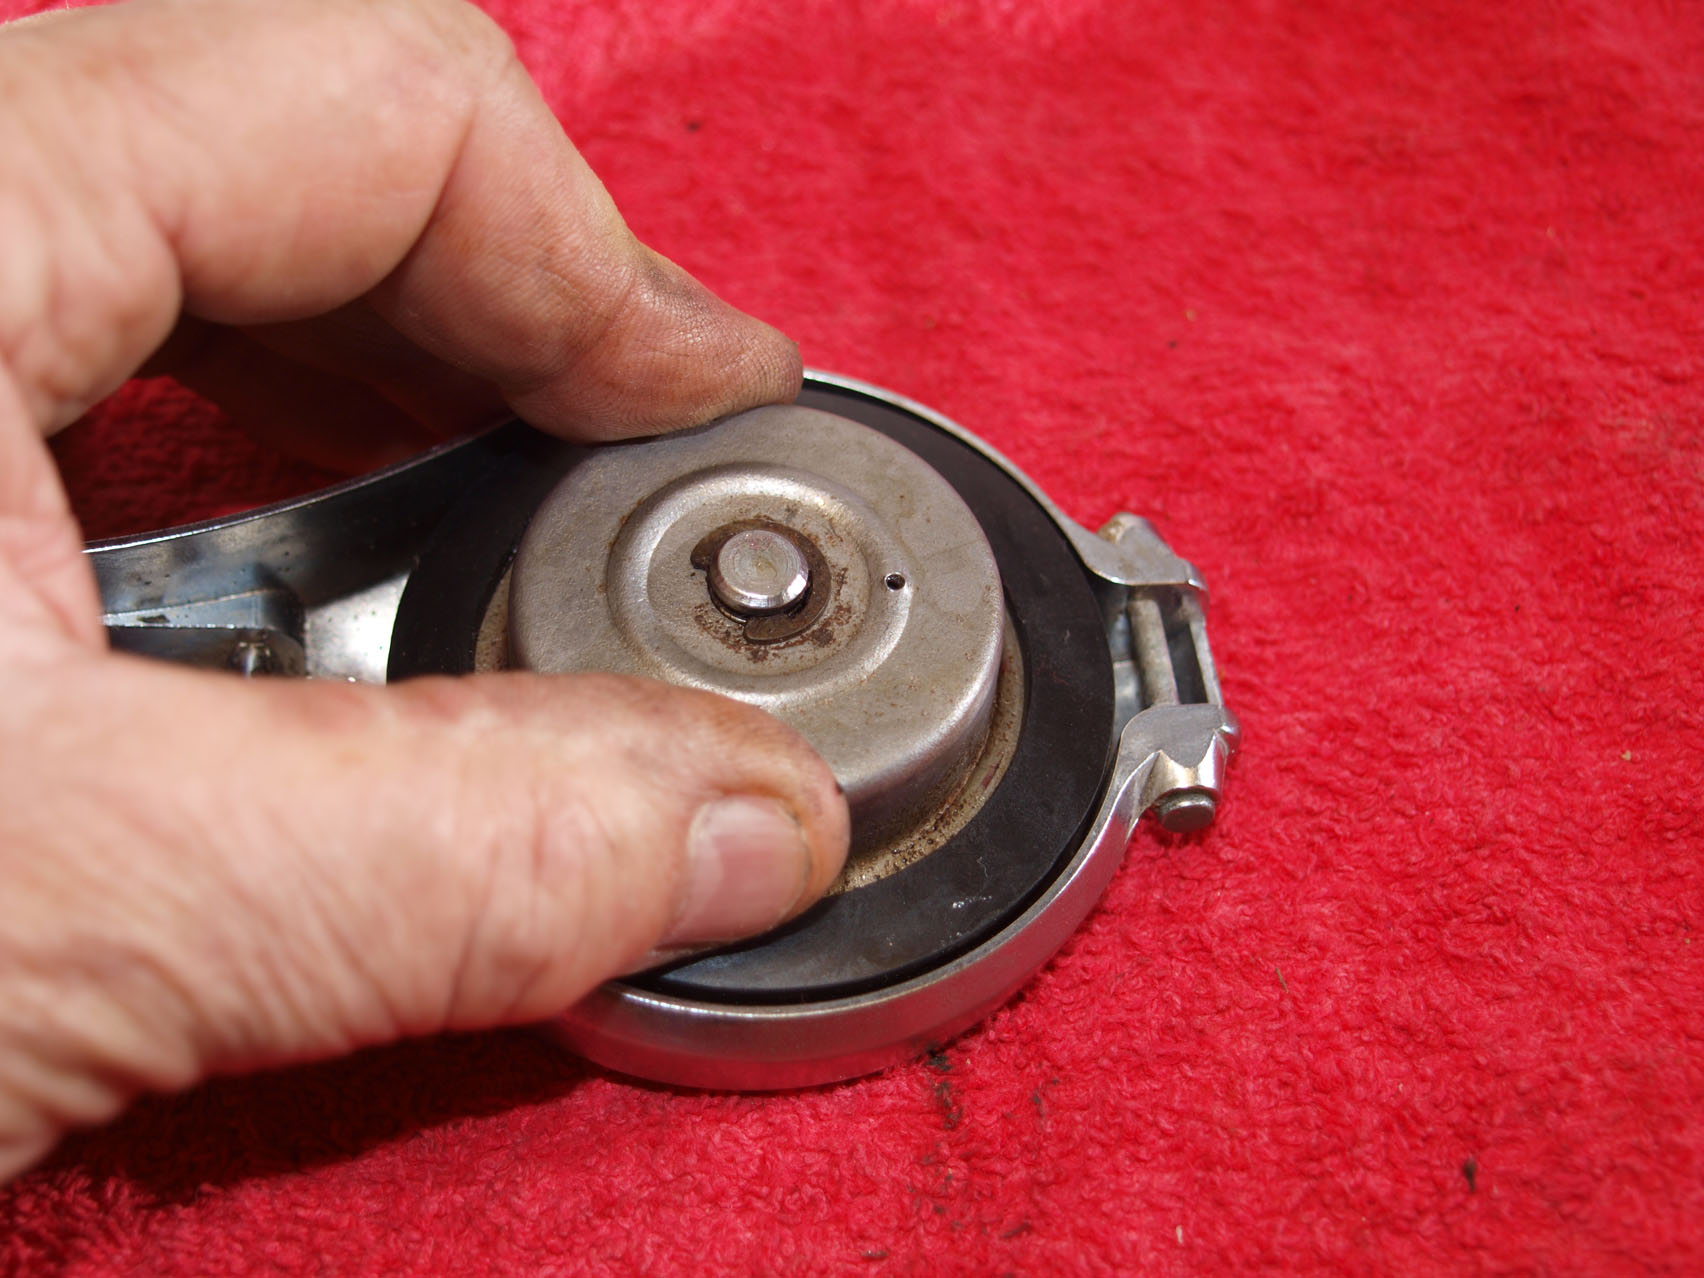
The E clip has been cleaned up and will be fine. Although I guess I shouldn’t be I’m still amazed at how much corrosion and staining has been caused by ancient fuel. Even a zip wheel failed to remove some of it.
Balance Pipe Cleaning
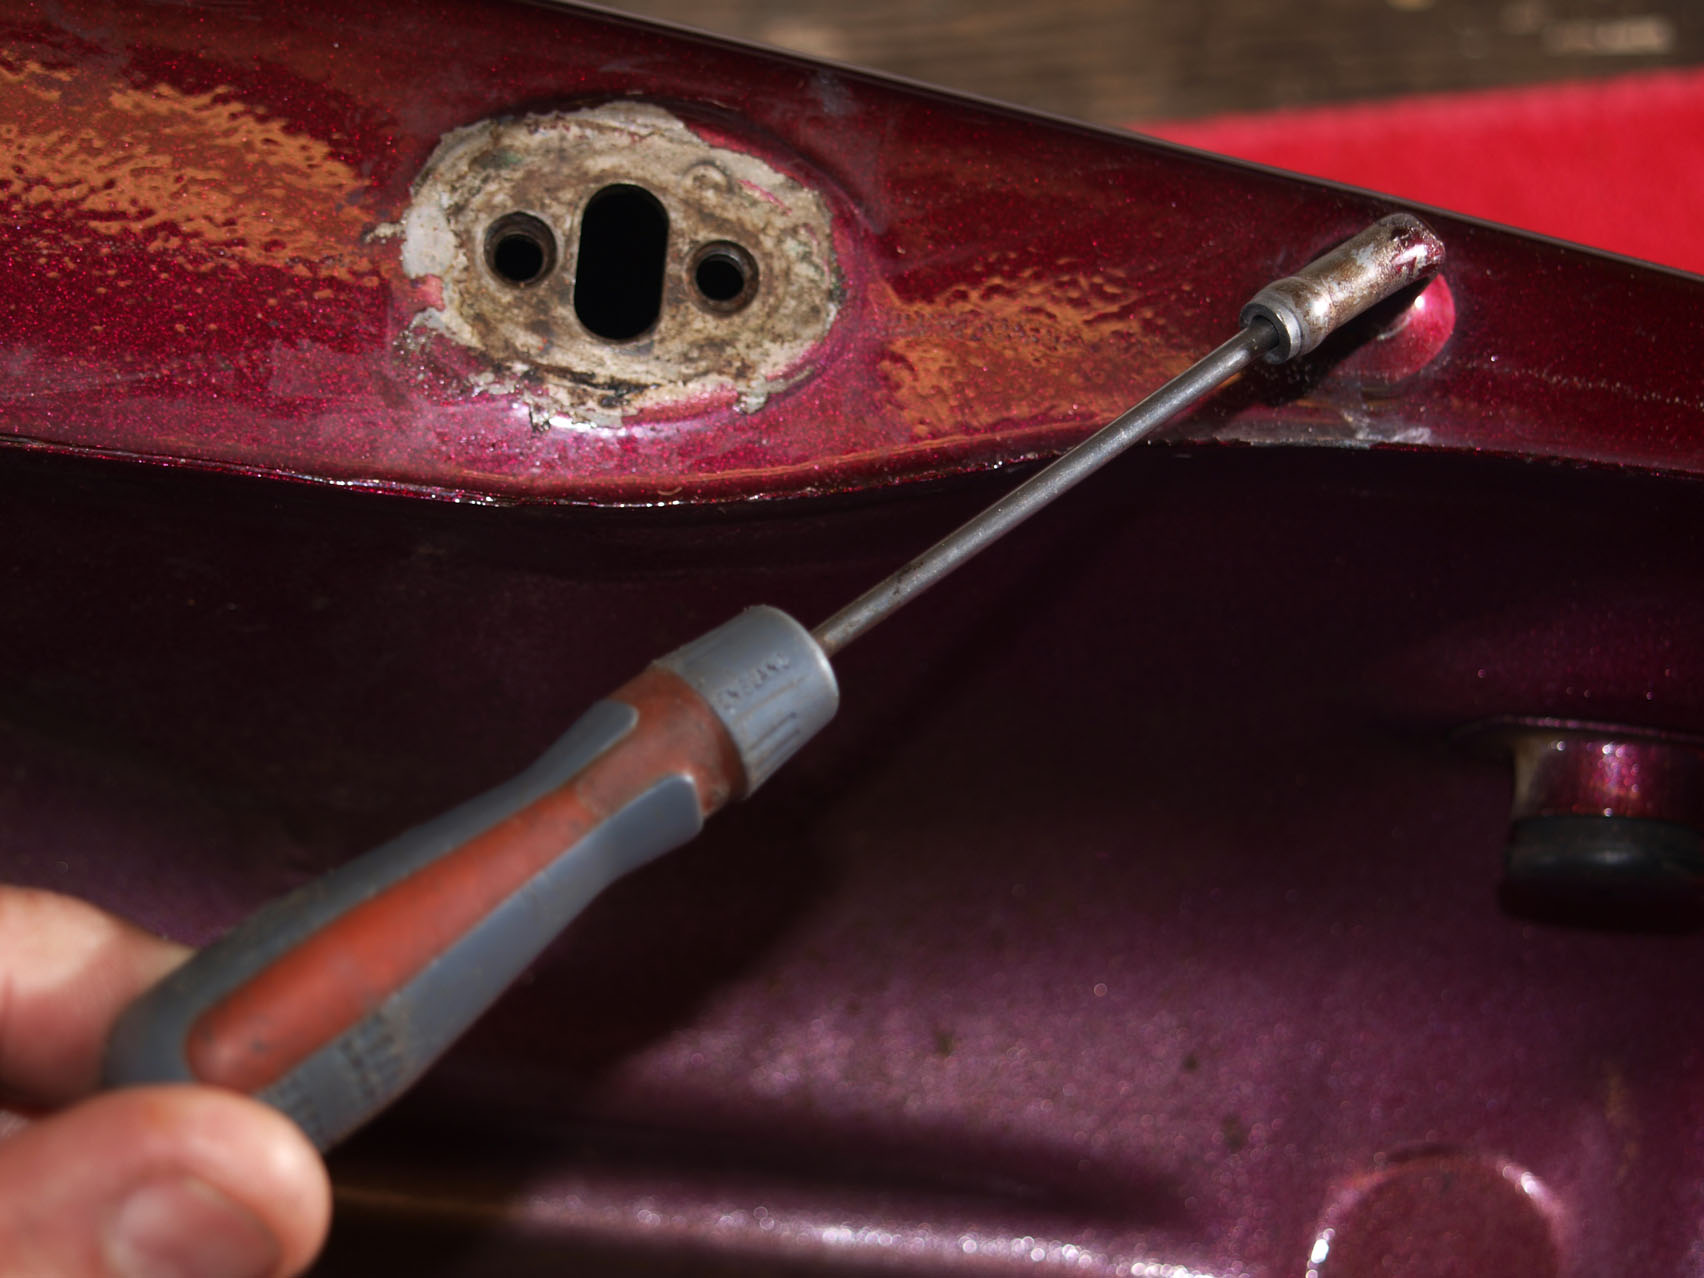
Many older Jap classics run balance pipes in their bases and after decades these can become seriously blocked. An electrical screw driver sorts out the easily accessible end but what about the 90 degree bend and beyond?
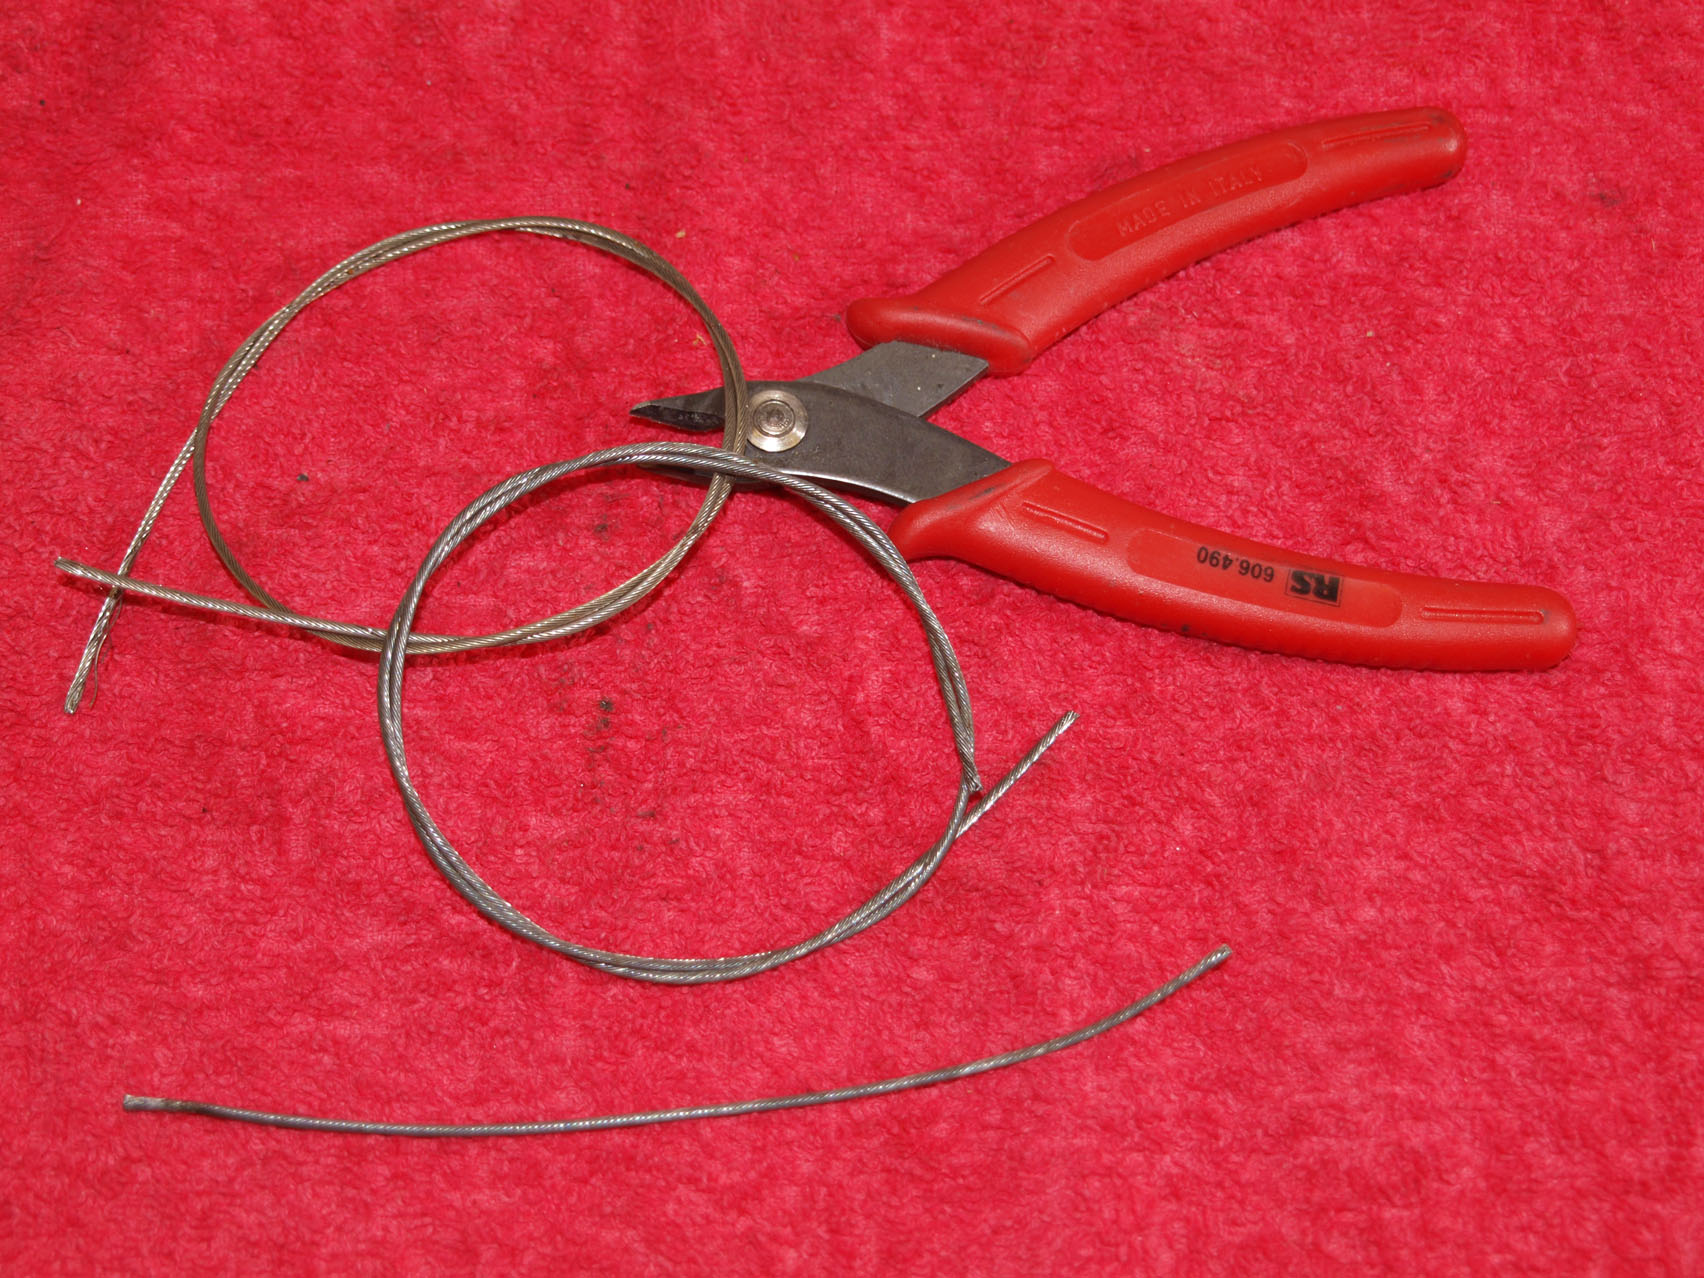
Never throw a broken Bowden cable away. A short length cut with side cutters or similar will now be our saviour….hopefully!
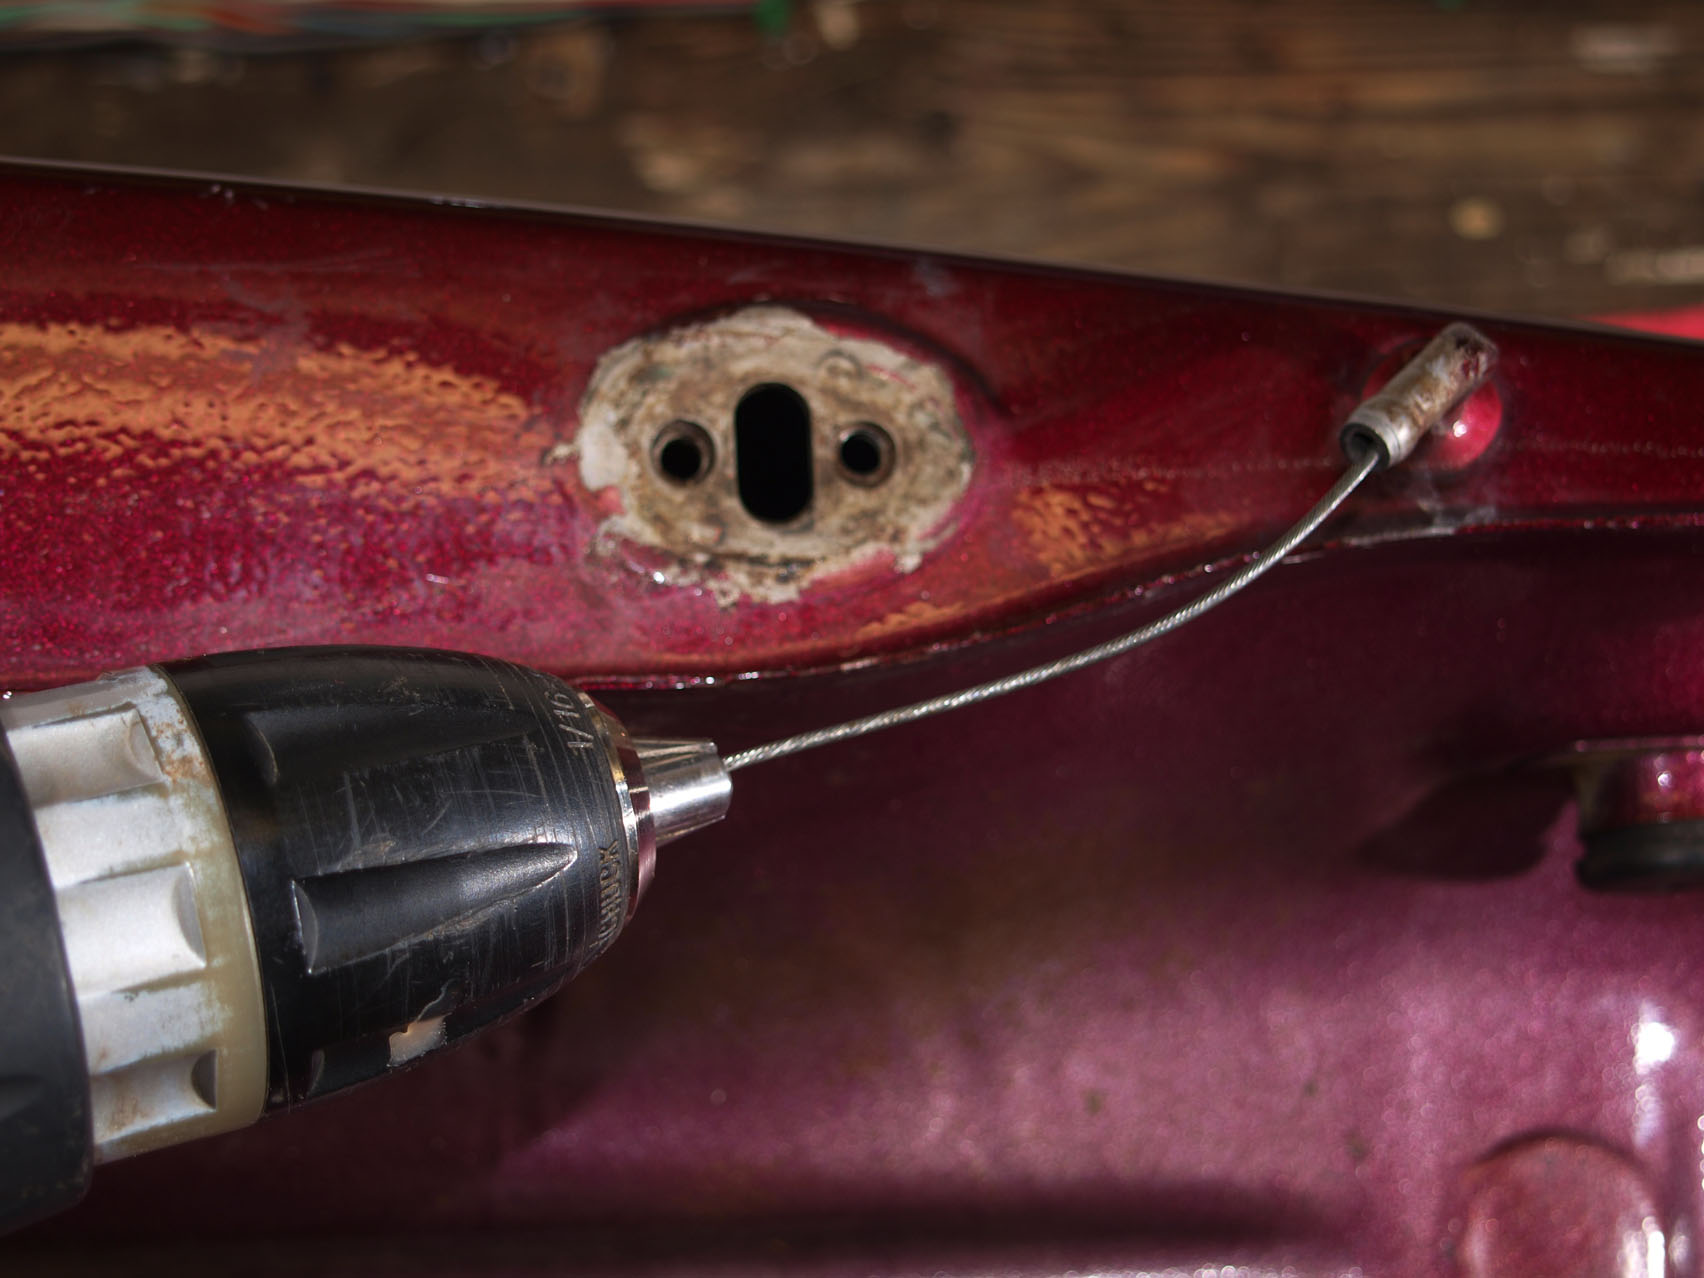
Using a cordless drill running at slow speed the steel inner’s fed into the balance pipe gently then pushed and pulled to act as a flexible burr. Where possible open the end of the cable to provide more cutting area.
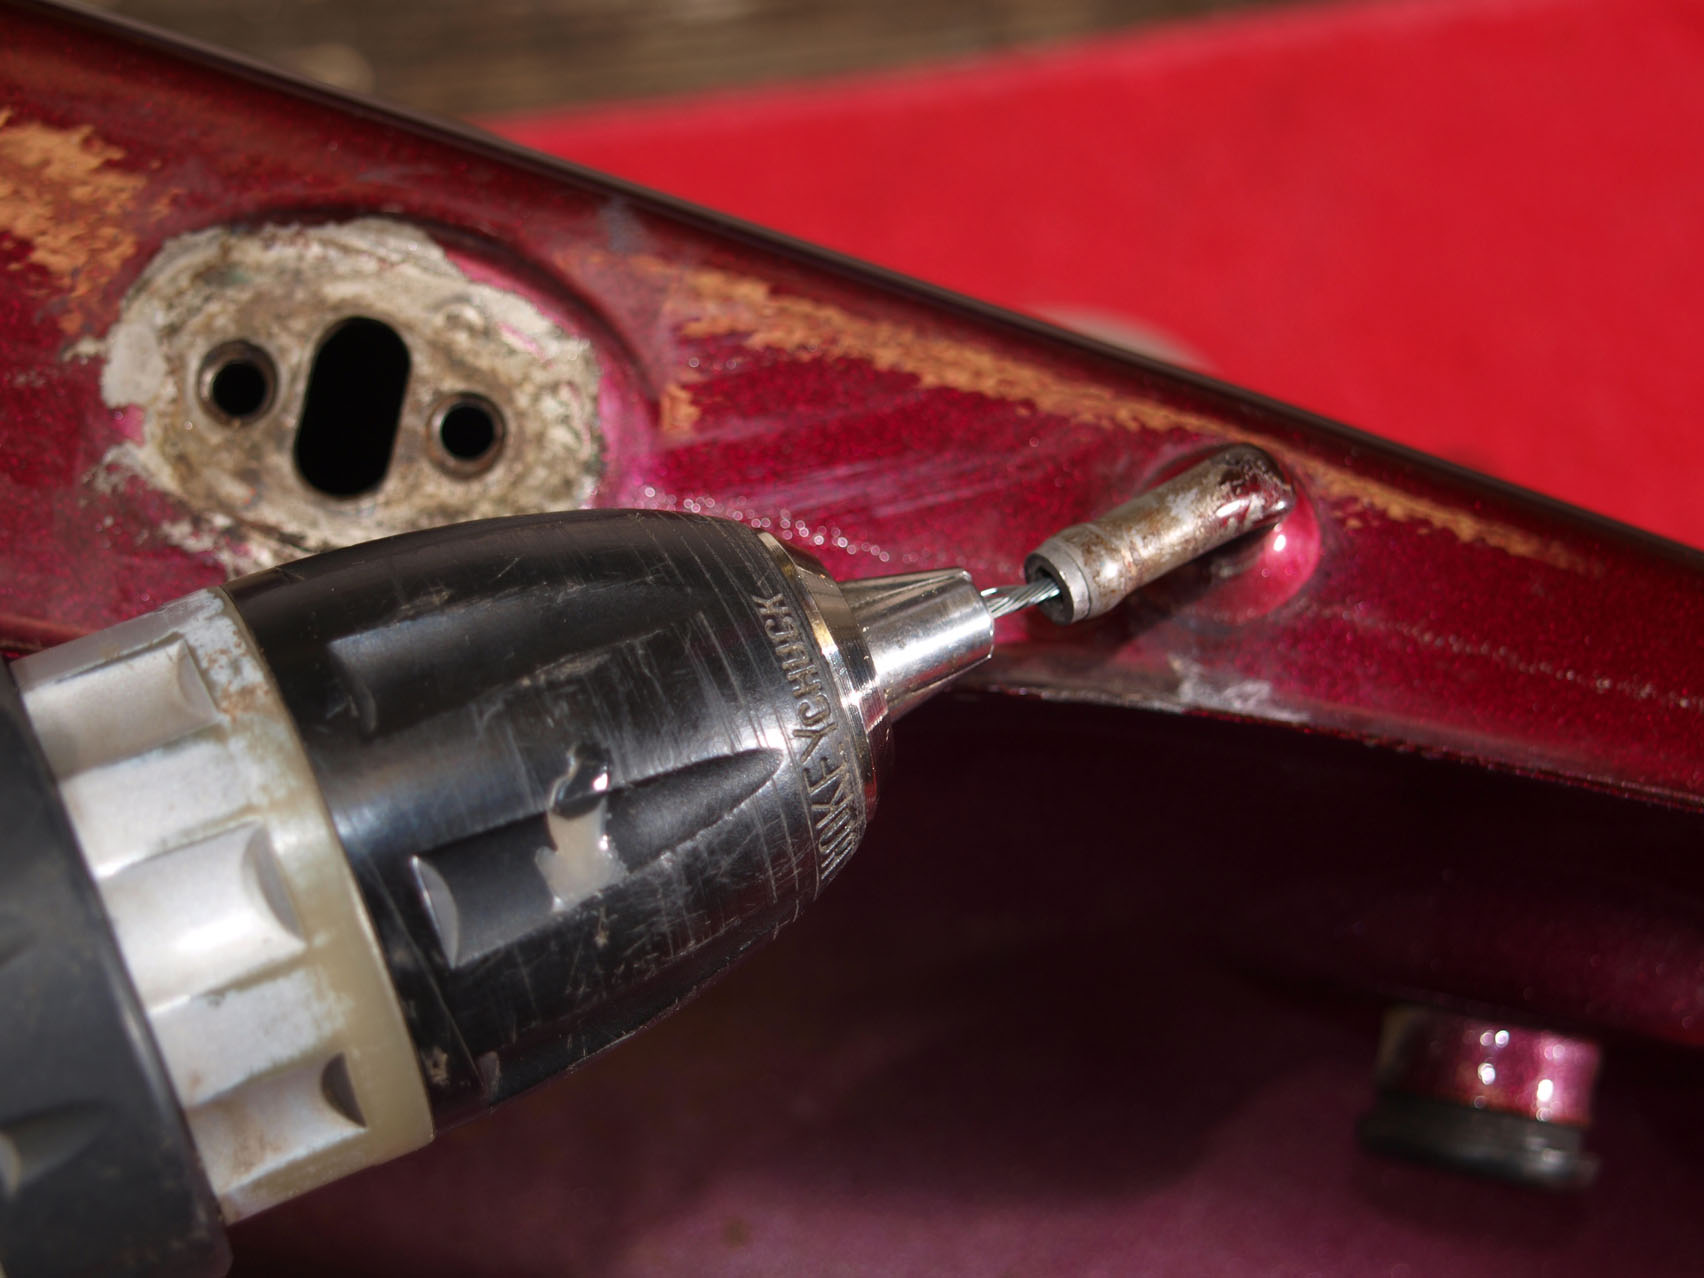
Eventually the blockage gives up the fight and the cable goes all the way through. Careful reaming of the pipe should eradicate all the rust. When both sides are clear the tank will need to be swilled out to remove any debris.
As the saying goes – every day is a school day – and it’s certainly been the case here. Although the Yamaha filler cap appears to be unnecessarily complicated at least it’s rebuildable. Many aren’t and probably the only way you’d clean out their breather would be protracted immersion in a solvent, attacking it with an airline if there’s an obvious orifice and/or ultrasonic agitation. For something less than the diameter of a pencil lead the breather hole can cause a huge amount of hassle. The balance pipes cleaned out here arguably aren’t strictly speaking necessary on an old classic.
Many bikes only get ridden a few miles at a time and it’s always possible to lean the machine over by the side of the road and persuade fuel into the tap side of the tank. However, none of us is getting any younger and you only need to get beyond that tipping point to realise it might have been a jolly good idea to have cleaned those steel pipes out. A bike on its side lying in the gutter is a truly sad sight and even more so when you know it could have been so easily avoided.
For more technical advice, visit Motorcycle Workshop Guides: The Complete List.
To find out more about a classic bike policy from Footman James and to get to an instant quote online, visit our Classic Bike Insurance page.
The information contained in this blog post is based on sources that we believe are reliable and should be understood as general information only. It is not intended to be taken as advice with respect to any specific or individual situation and cannot be relied upon as such.

Read a very helpful FJ article on refurbishing a bike petrol tank internally using a simple inexpensive method and now i can't find it . Can you help me? Regards
Desdan, 02/12/2023
COMMENT